How to Deliver Manufacturing Quality at Speed

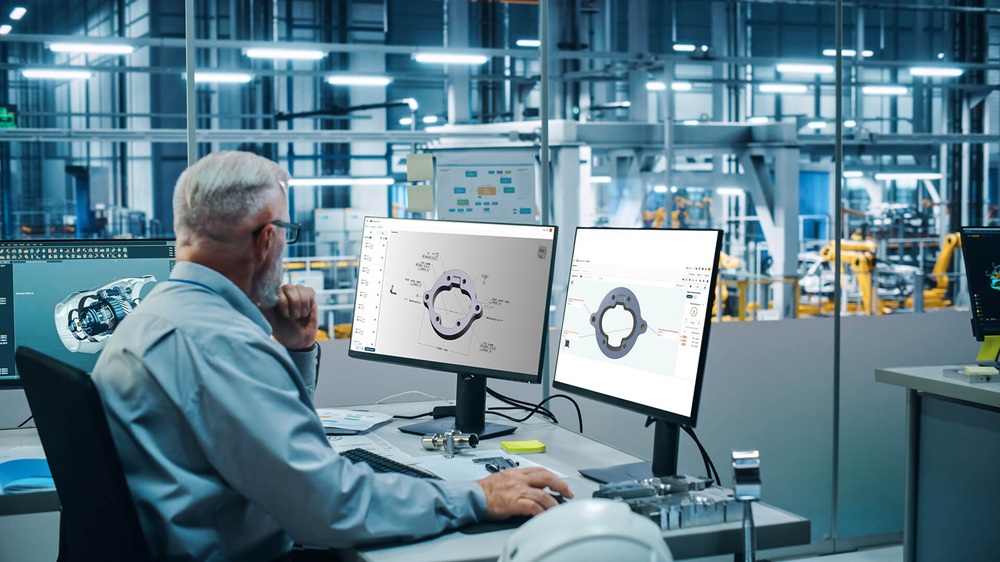
Hexagon’s Manufacturing Intelligence division has launched its Autonomous Metrology Suite, software developed on the company’s cloud-based Nexus platform, which is designed to transform quality control. By removing all coding from CMM workflows, Autonomous Metrology Suite helps manufacturers accelerate critical R&D and manufacturing processes as experienced metrologists become harder to find.

Manufacturers across automotive, aerospace and general engineering report the same pressures: shorter product lifecycles and frequent design revisions have increased the need for high-accuracy measurement, but there are fewer skilled CMM programmers and quality data is scattered and underutilised. These issues slow new-part introduction and make it difficult to repeat good results shift after shift.

Hexagon’s Autonomous Metrology Suite tackles the problem head-on. A digital twin of every connected CMM synchronises with its physical counterpart, so the correct inspection program always reaches the right machine, helping to eliminate possible human error. All quality, utilisation and environmental information flows straight to a cloud dashboard, creating a continuous digital thread supporting data-driven decisions on the shop floor.

All applications in the suite share a consistent modern and intuitive web interface that guides both new and expert users through the process, helping to democratise the creation of CMM programs and reduce the level of skills required to interact with the solution. Depending on complexity, programming could be reduced from days to hours, following which the program deployment to one or more CMMs, execution and reporting can be fully automated from a single interface.

These efficiency gains are driven by a set of tightly integrated applications built on Hexagon’s Nexus platform, automating and streamlining the entire metrology workflow.

More information www.hexagon.com

Magnet rings enhance exoskeleton accessibility

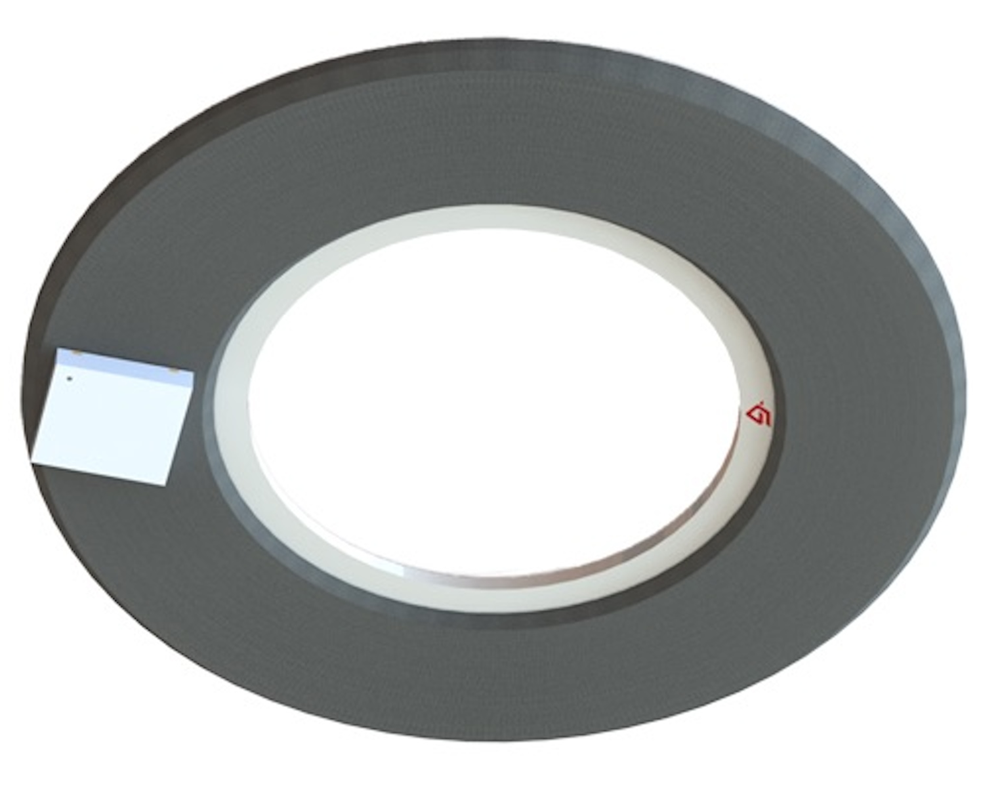
Hutchinson is announcing its collaboration with Wandercraft, a pioneer in medical robotics, on an innovative project aimed at making exoskeletons more accessible to the general public. As an expert in the development and manufacture of angle and speed measurement solutions for magnetic encoders, Hutchinson is contributing to the success of this initiative by integrating compact Nonius magnet rings for precise and immediate angular control.

The Atalante X autonomous walking exoskeleton, a key tool for healthcare professionals, is dedicated to rehabilitation in medical centres. A new platform for personal use is currently being developed to enable a major advance in autonomy for private individuals.

Wandercraft is working on optimising its robot and standardising its components to make the product accessible to as many people as possible.

The engineer-to-engineer approach of Hutchinson and Wandercraft teams has enabled the development of a tailor-made system adapted to the architecture of the new robot. Each of the robot’s joints is equipped with a sensor featuring Nonius magnetic targets designed and manufactured by Hutchinson, enabling instant and absolute angular control. As soon as the robot is activated, the position of each axis is known before any movement is triggered.

Hutchinson’s compact magnet rings enable the creation of leaner, lighter exoskeletons. The cost of the system, including a Hutchinson magnet ring and the iC-Haus chip, is said to be cheaper than a traditional encapsulated sensor solution.

ʺMobility is part of Hutchinson’s DNA,” says Laurent Khouri, industry market leader at Hutchinson in Segré-En-Anjou Bleu, France. “Today, we’re proud to be part of a pioneering human adventure that will enable people to regain their freedom of movement.”

More information www.bit.ly/44q0ib5

Faro leaps into 3D metrology marketplace

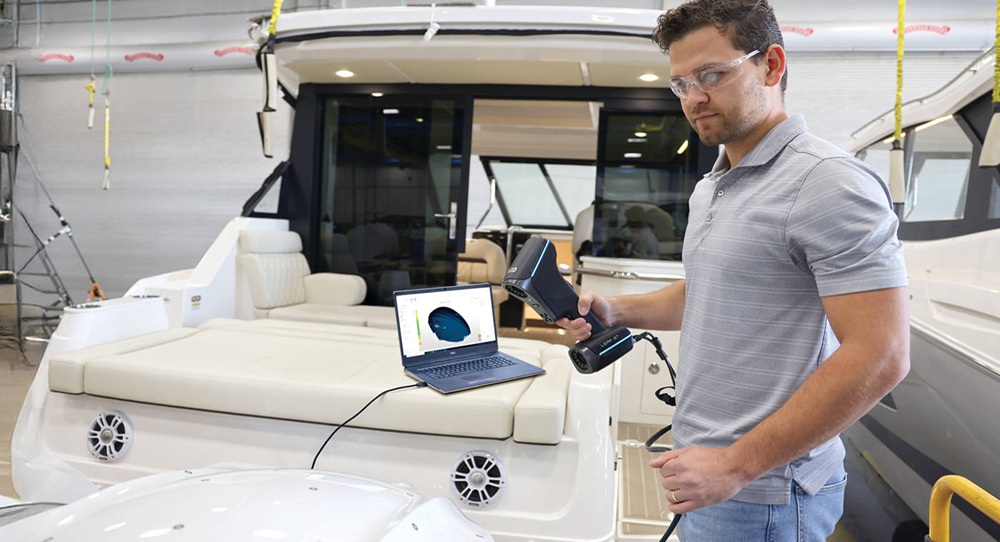
Faro has unveiled its Leap ST handheld 3D scanner. Designed as a metrology-grade tool with the versatility to measure and verify any surface or part with the flexibility of five operating modes, the company says Leap ST is a breakthrough in handheld 3D metrology technology. Compact and portable, Leap ST is intended for many workflow applications and industries. A sampling of those applications includes aerospace and automotive, transportation equipment, metals fabrication, and more.

Leap ST’s adaptability ensures quick set up with fast time to data and high data quality. The five modes are: ultra-fast scanning for fast coverage to measure part features for small to medium parts; hyper-fine scanning for capturing geometries of complex objects with high resolution; photogrammetry to maintain best accuracy over large sized objects; deep-hole scanning for maximum allowable depth with hard-to-reach areas and deep holes; and large-area scanning  for capturing large features that need inspection or when a first rough scan of a medium-to-large part is required.

Leap ST is also fully compatible with Faro CAM2, an application-focused 3D measurement software platform and its dedicated editions – CAM2 Scan Professional and CAM2 Expert – as well as third-party solutions like PolyWorks.

Developed to streamline industrial metrology applications like dimensional controls, incoming part and first article inspections, part-to-CAD comparisons, assemblies, and repeat part measurements, Faro says CAM2 increases the efficiency of measurement routines and provides an effective correlation between quality assurance and production operations.

According to Faro, Leap ST and CAM2 are among the best 3D laser scanner and software duos on the market today, equipped to address most precision measurement tasks.

More information www.faro.com

Martin Precision enhances measurement capabilities

Martin Precision Ltd, a supplier of precision-engineered components and assemblies for the aerospace and defence sectors, has strengthened its quality control processes with the integration of advanced metrology solutions from Bowers Group.

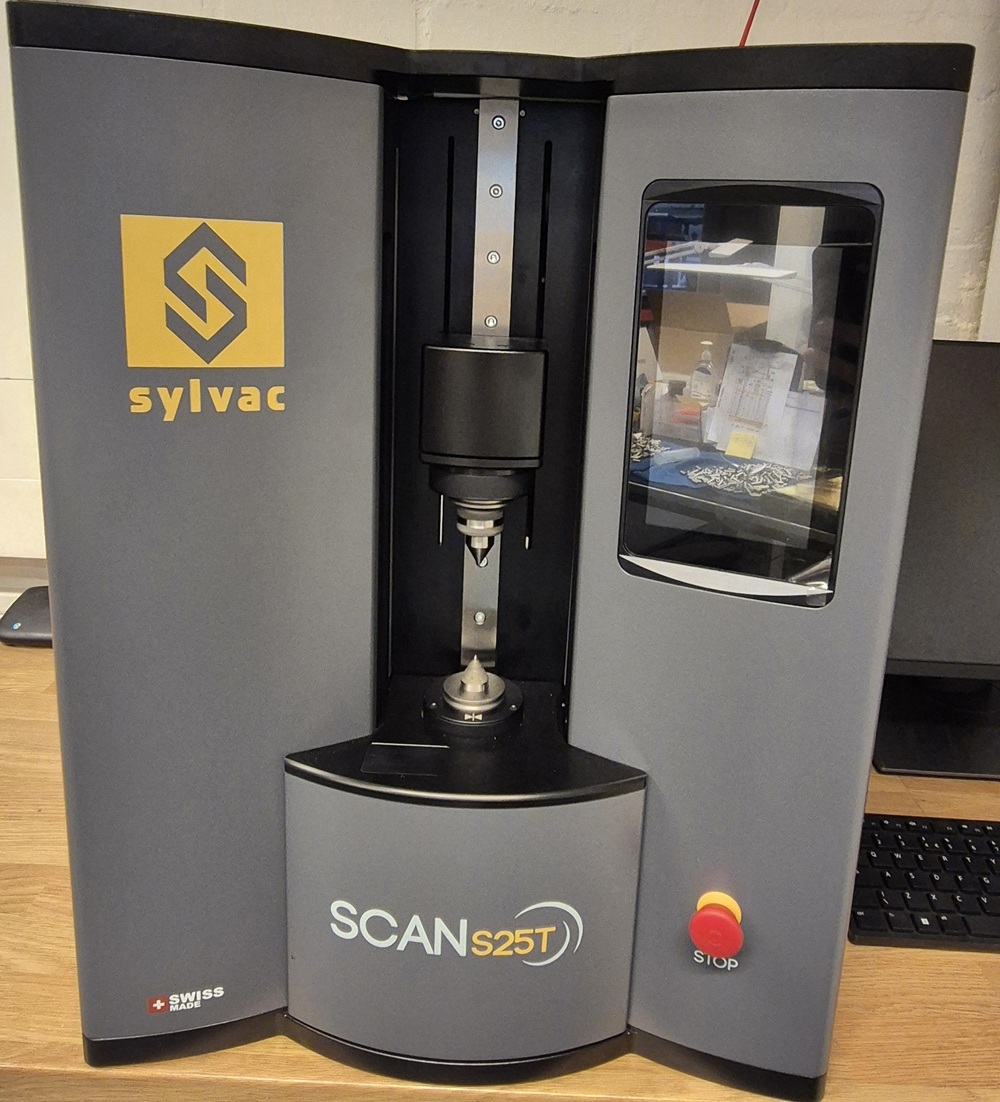
Supplying industry giants such as Rolls-Royce, Incora, Siemens, Farsound and Leonardo, Martin Precision invested in a suite of metrology tools, including Sylvac Scan 25T and Sylvac Scan F60T optical measuring machines, a Baty R14 profile projector and Bowers XT3 Holematic bore gauges, which have been a trusted solution in its operations for over a decade.

Alan Muir, quality manager at Martin Precision, says: “The Scan machines have proven to be reliable, user-friendly and highly accurate for the tolerances and sizes we work with. They have significantly improved our inspection efficiency, making them a valuable addition to our operations.”

The Sylvac Scan 25T and F60T optical measuring machine play a crucial role in final inspection, ensuring batch consistency and compliance with strict industry standards. Meanwhile, Bowers XT3 Holematic bore gauges are used throughout production and inspection testing to verify the internal dimensions of key components such as bolts, unions and small fasteners.

To enhance efficiency further, Martin Precision uses pre-programmed measurement routines at the final inspection stage, allowing for seamless batch processing and accurate digital recordkeeping. These records are vital for securing First Article Inspection Report (FAIR) approval and maintaining the company’s stringent quality assurance standards.

With the daily use of Sylvac Scan machines, Martin Precision has experienced significant improvements in accuracy, reliability and inspection speed. The company has successfully reduced inspection times, allowing for a more efficient workflow.

More information www.bowersgroup.co.uk

Starrag ensures precision without compromise

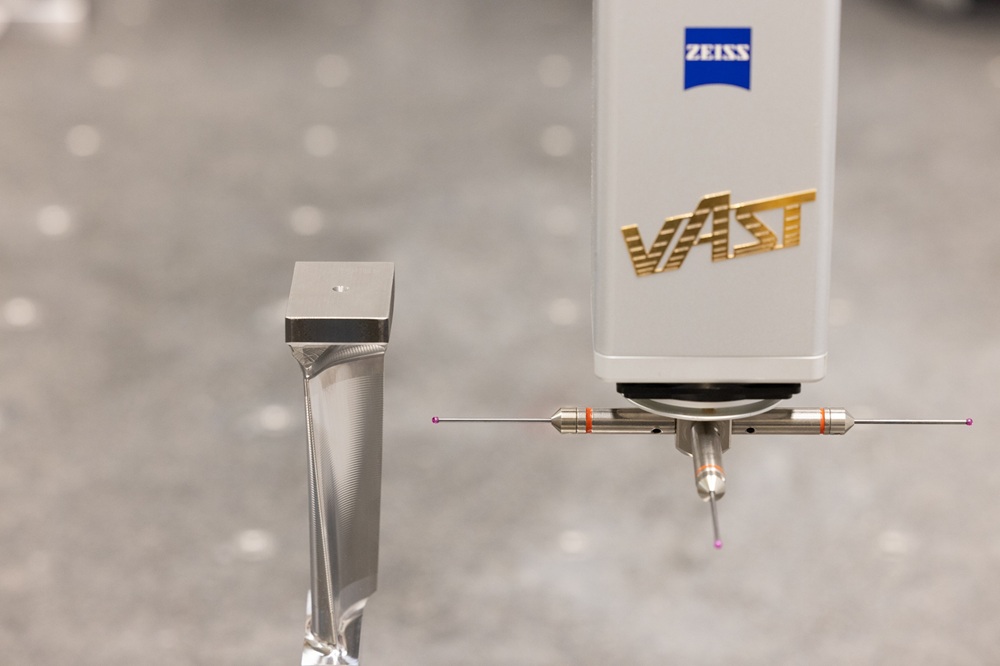
Starrag develops and produces manufacturing solutions for many leading manufacturers in the aerospace industry. By way of example, to shorten the measuring times for turbine blades, the Swiss company was the first in the world to work with the Zeiss Prismo fortis CMM as part of a pilot project.

Starrag says people react with fascination and great amazement when they see how accurately and quickly turbine blades can be measured on a Zeiss Prismo fortis, using Zeiss CMM Acceleration Mode for aerospace applications.

Roland Ziltener, plant director at Starrag AG in Rorschacherberg, remembers the project well: “We had a look at the machine in Oberkochen and were immediately impressed.”

To check whether the new development delivers the required precision despite the considerable optimisation of measuring time, all turbine blades manufactured by Starrag on behalf of partner customers were measured with the Zeiss Prismo fortis over 18 months. As the size, material and geometry of the turbine blades are different, the machine was “widely tested”, says Ziltener.

To evaluate the accuracy of the Zeiss Prismo fortis, the measurement results were compared with reference values from the Zeiss Prismo navigator. Zeiss used this information to optimise further the start-up and acceleration behaviour of the rotary table and the machine. Zeiss also simplified the usability of the machine and the creation of test plans during the pilot phase.

The pilot project showed that productivity in the measurement of turbine blades can be significantly increased with Zeiss Prismo fortis. The standard measurement, which took 4 minutes and 30 seconds at Starrag and delivered accurate and reproducible results, was reduced to 70 seconds during the pilot phase.

More information www.starrag.com