Easy and powerful autonomous visual inspection

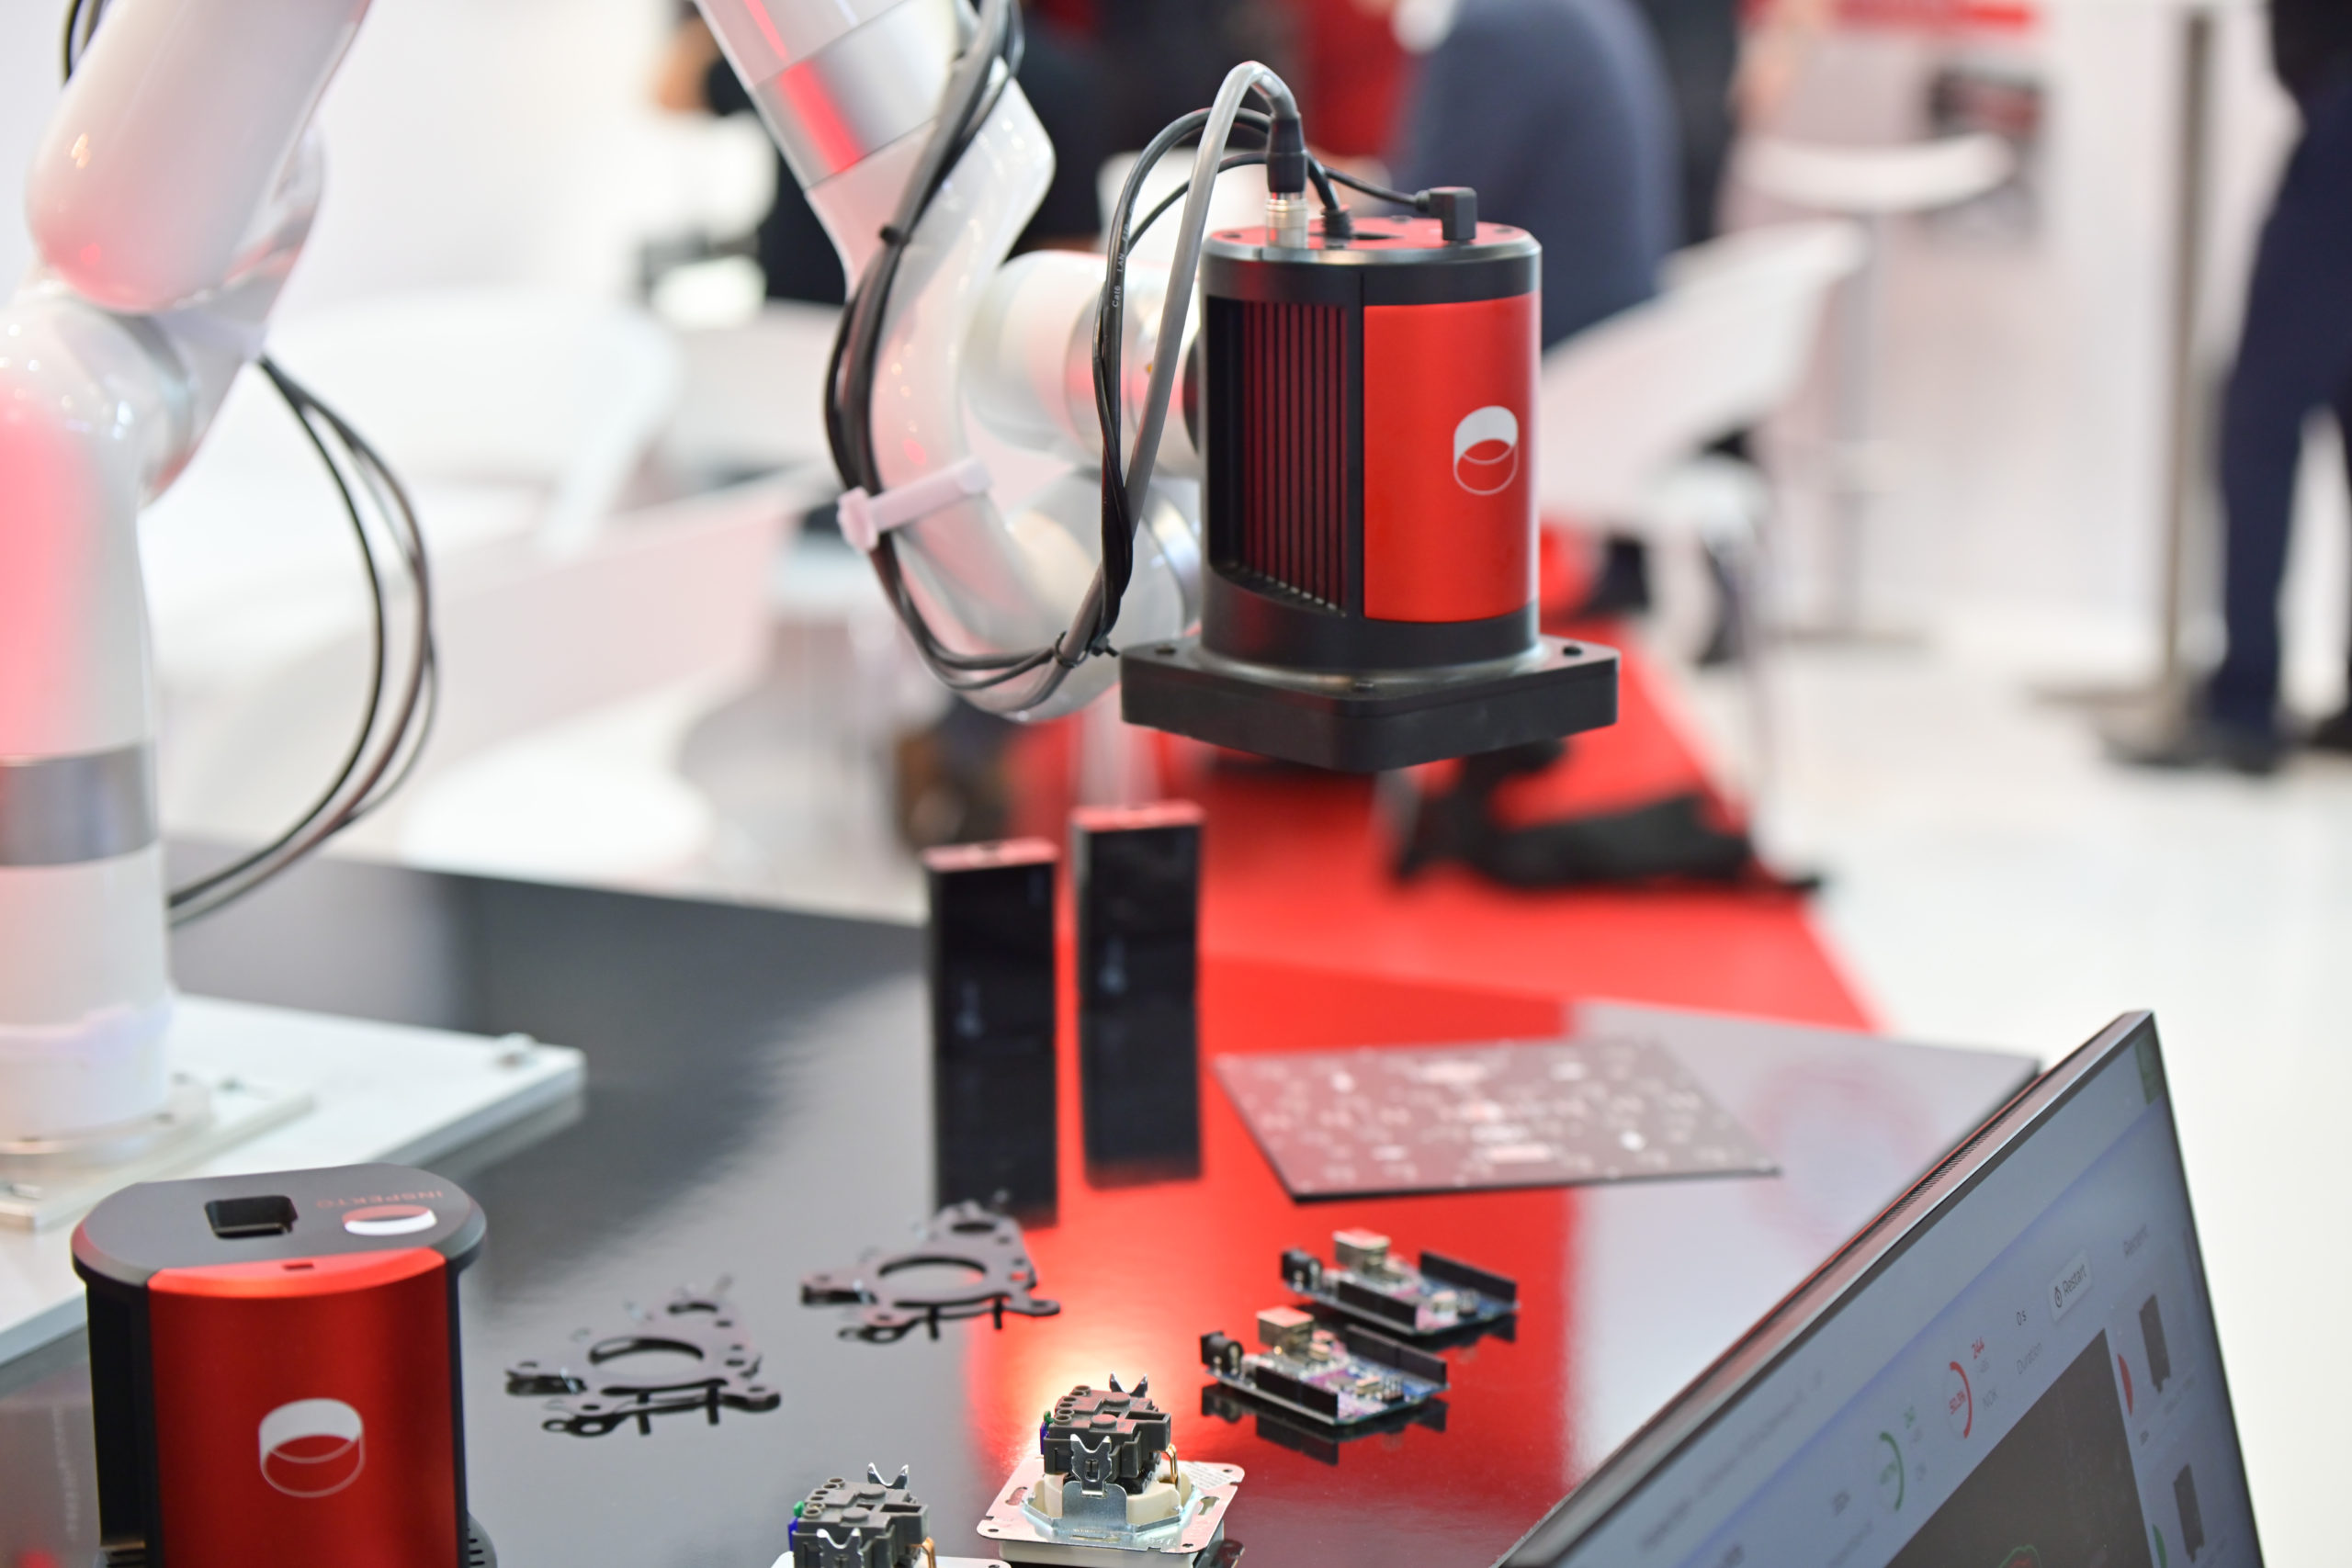
Inspekto has launched a new software version of its Inspekto S70, said to be the only autonomous machine vision system on the market. Based on accumulated customer feedback from numerous field deployments, Inspekto S70 offers smart features such as a recommendations centre that guides users in creating and maintaining inspection profiles over time, improving usability, versatility, process integration and accuracy of inspection. Inspekto S70 enables manufacturers to focus on agile manufacturing and process automation, while optimal quality inspection runs autonomously.

When setting up a machine vision system to inspect a new product, users must create a data file with the inspection characteristics. This is known as an inspection profile. The Inspekto S70 guides users step by step in the creation of new inspection profiles, with no machine vision expertise, making the process extremely intuitive. This allows manufacturers to achieve quality inspection independence and ensure that their own teams can perform quality control of their ever-changing production lines quickly and easily.

The Inspekto S70 now incorporates a new profile centre to help users easily improve and optimise profiles over time. This is a set of smart tools that guide users when adjusting a profile, in order to reach the desired performance level and ensure it is continuously adapting to mitigate changes in the production process and environment, such as tooling change, sub-component replacement or lighting variations. The profile centre also allows users to compare previous and new profiles for the same item to continuously improve the inspection performance.

To ensure continuous inspection performance throughout the life cycle of the inspected part or product, users benefit from autonomously generated, AI-based active recommendations to adapt the profile to production changes, either process- or environment-related.
For further information www.inspekto.com

Hewland invests in Bowers DigiMic

Bowers Group’s newly launched DigiMic digital micrometer has already impressed within the engineering sector, with Berkshire-based Hewland Engineering reporting improved efficiency within its quality and inspection processes.

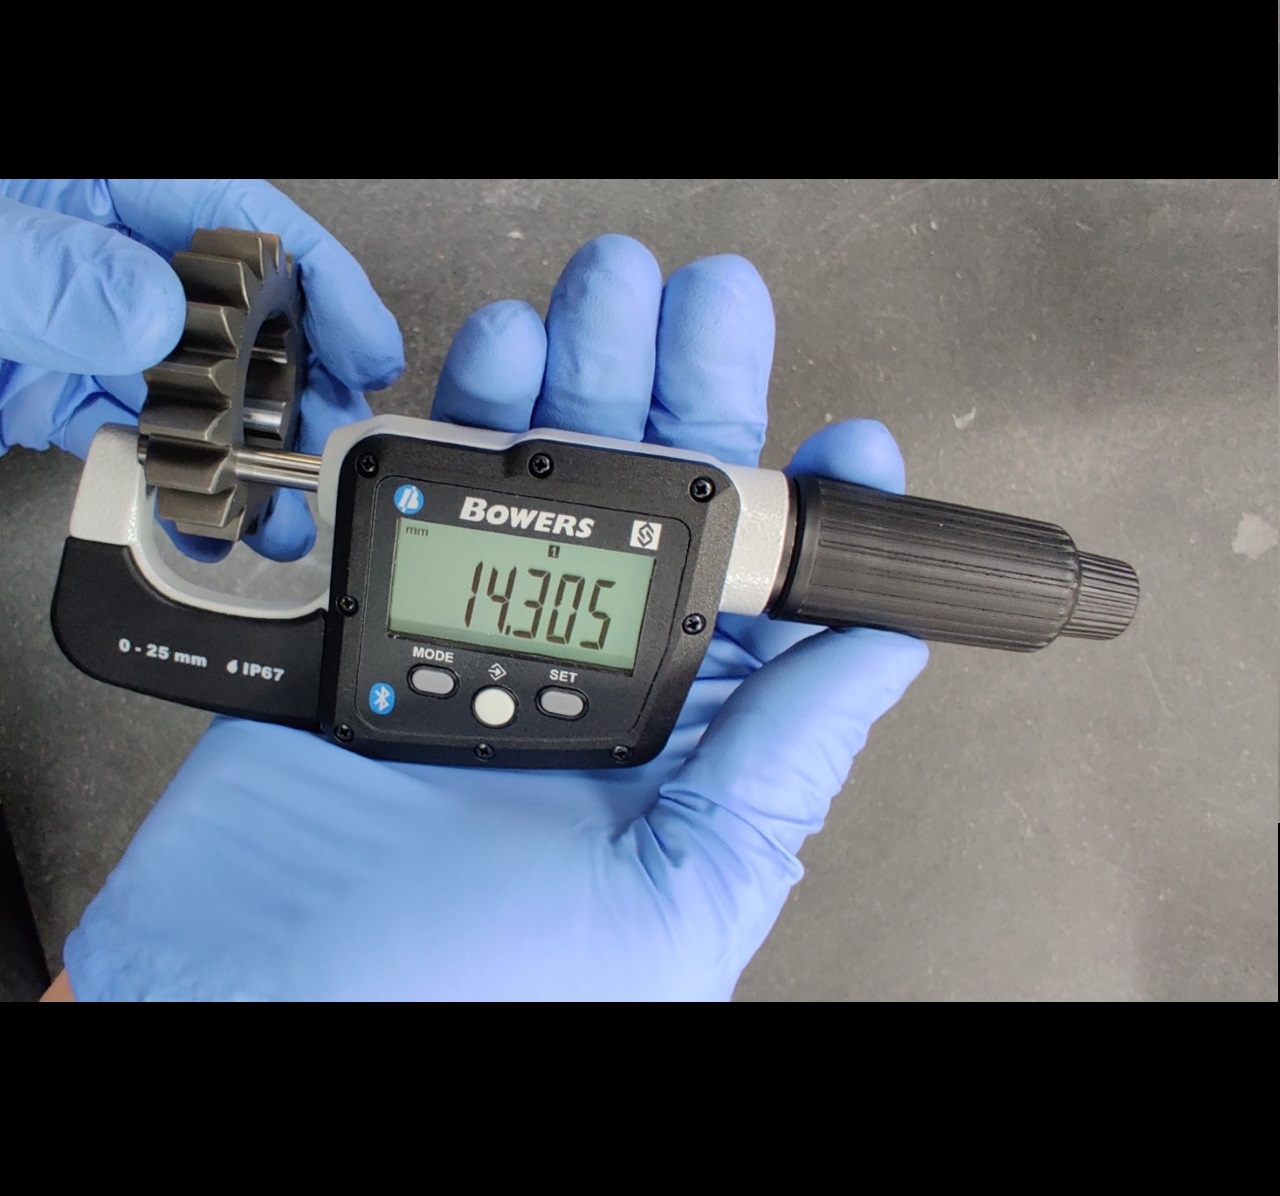
Adrian Jarych, QHSE engineer at Hewland, says: “As a quality engineer and inspector I find the DigiMic really useful for everyday component inspection work. It’s easy to turn on, easy to calibrate, and it’s ready to use. The thimble is smooth and the accuracy is great. The parts we produce find use in motorsport and automotive transmissions and gearboxes, where precision is key. I know I’m getting trustworthy readings from the DigiMic.”

Used by Hewland Engineering to measure diameters and widths of components such as layshafts, pinion shafts, gears, hubs, clutch shafts, drive shafts and many other gearbox components, the DigiMic has already proven its reliability with pinpoint accuracy. The DigiMic boasts an accuracy of 2 μm maximum permissible error and 2 μm maximum error range. Ergonomically designed to fit comfortably in the hand, the device is a robust micrometer for shop floor use. Manufactured with an IP67 protection rating, the extra-large digital display makes reading data straightforward, with the user gaining immediate visual confirmation of the measurement.

Feedback from Hewland Engineering has indicated that the DigiMic has helped achieved an accurate thickness of gears and bearing journal diameters within its 0.01 mm tolerance. It offers the company an easy-to-use device with a large, clear digital screen, with the weight of the micrometer providing a substantial, high-quality feel. The Bluetooth connectivity to Sylvac software means that reporting has never been easier, making the creation of control plan reports more efficient by recording digital data rather than handwriting results.
For further information www.bowersgroup.co.uk

Rotary axis table for portable CMMs

RPI, a provider of rotary measurement and angular positioning devices, has expanded its metrology product range with the launch of OctoScan, improving productivity by up to 40%.
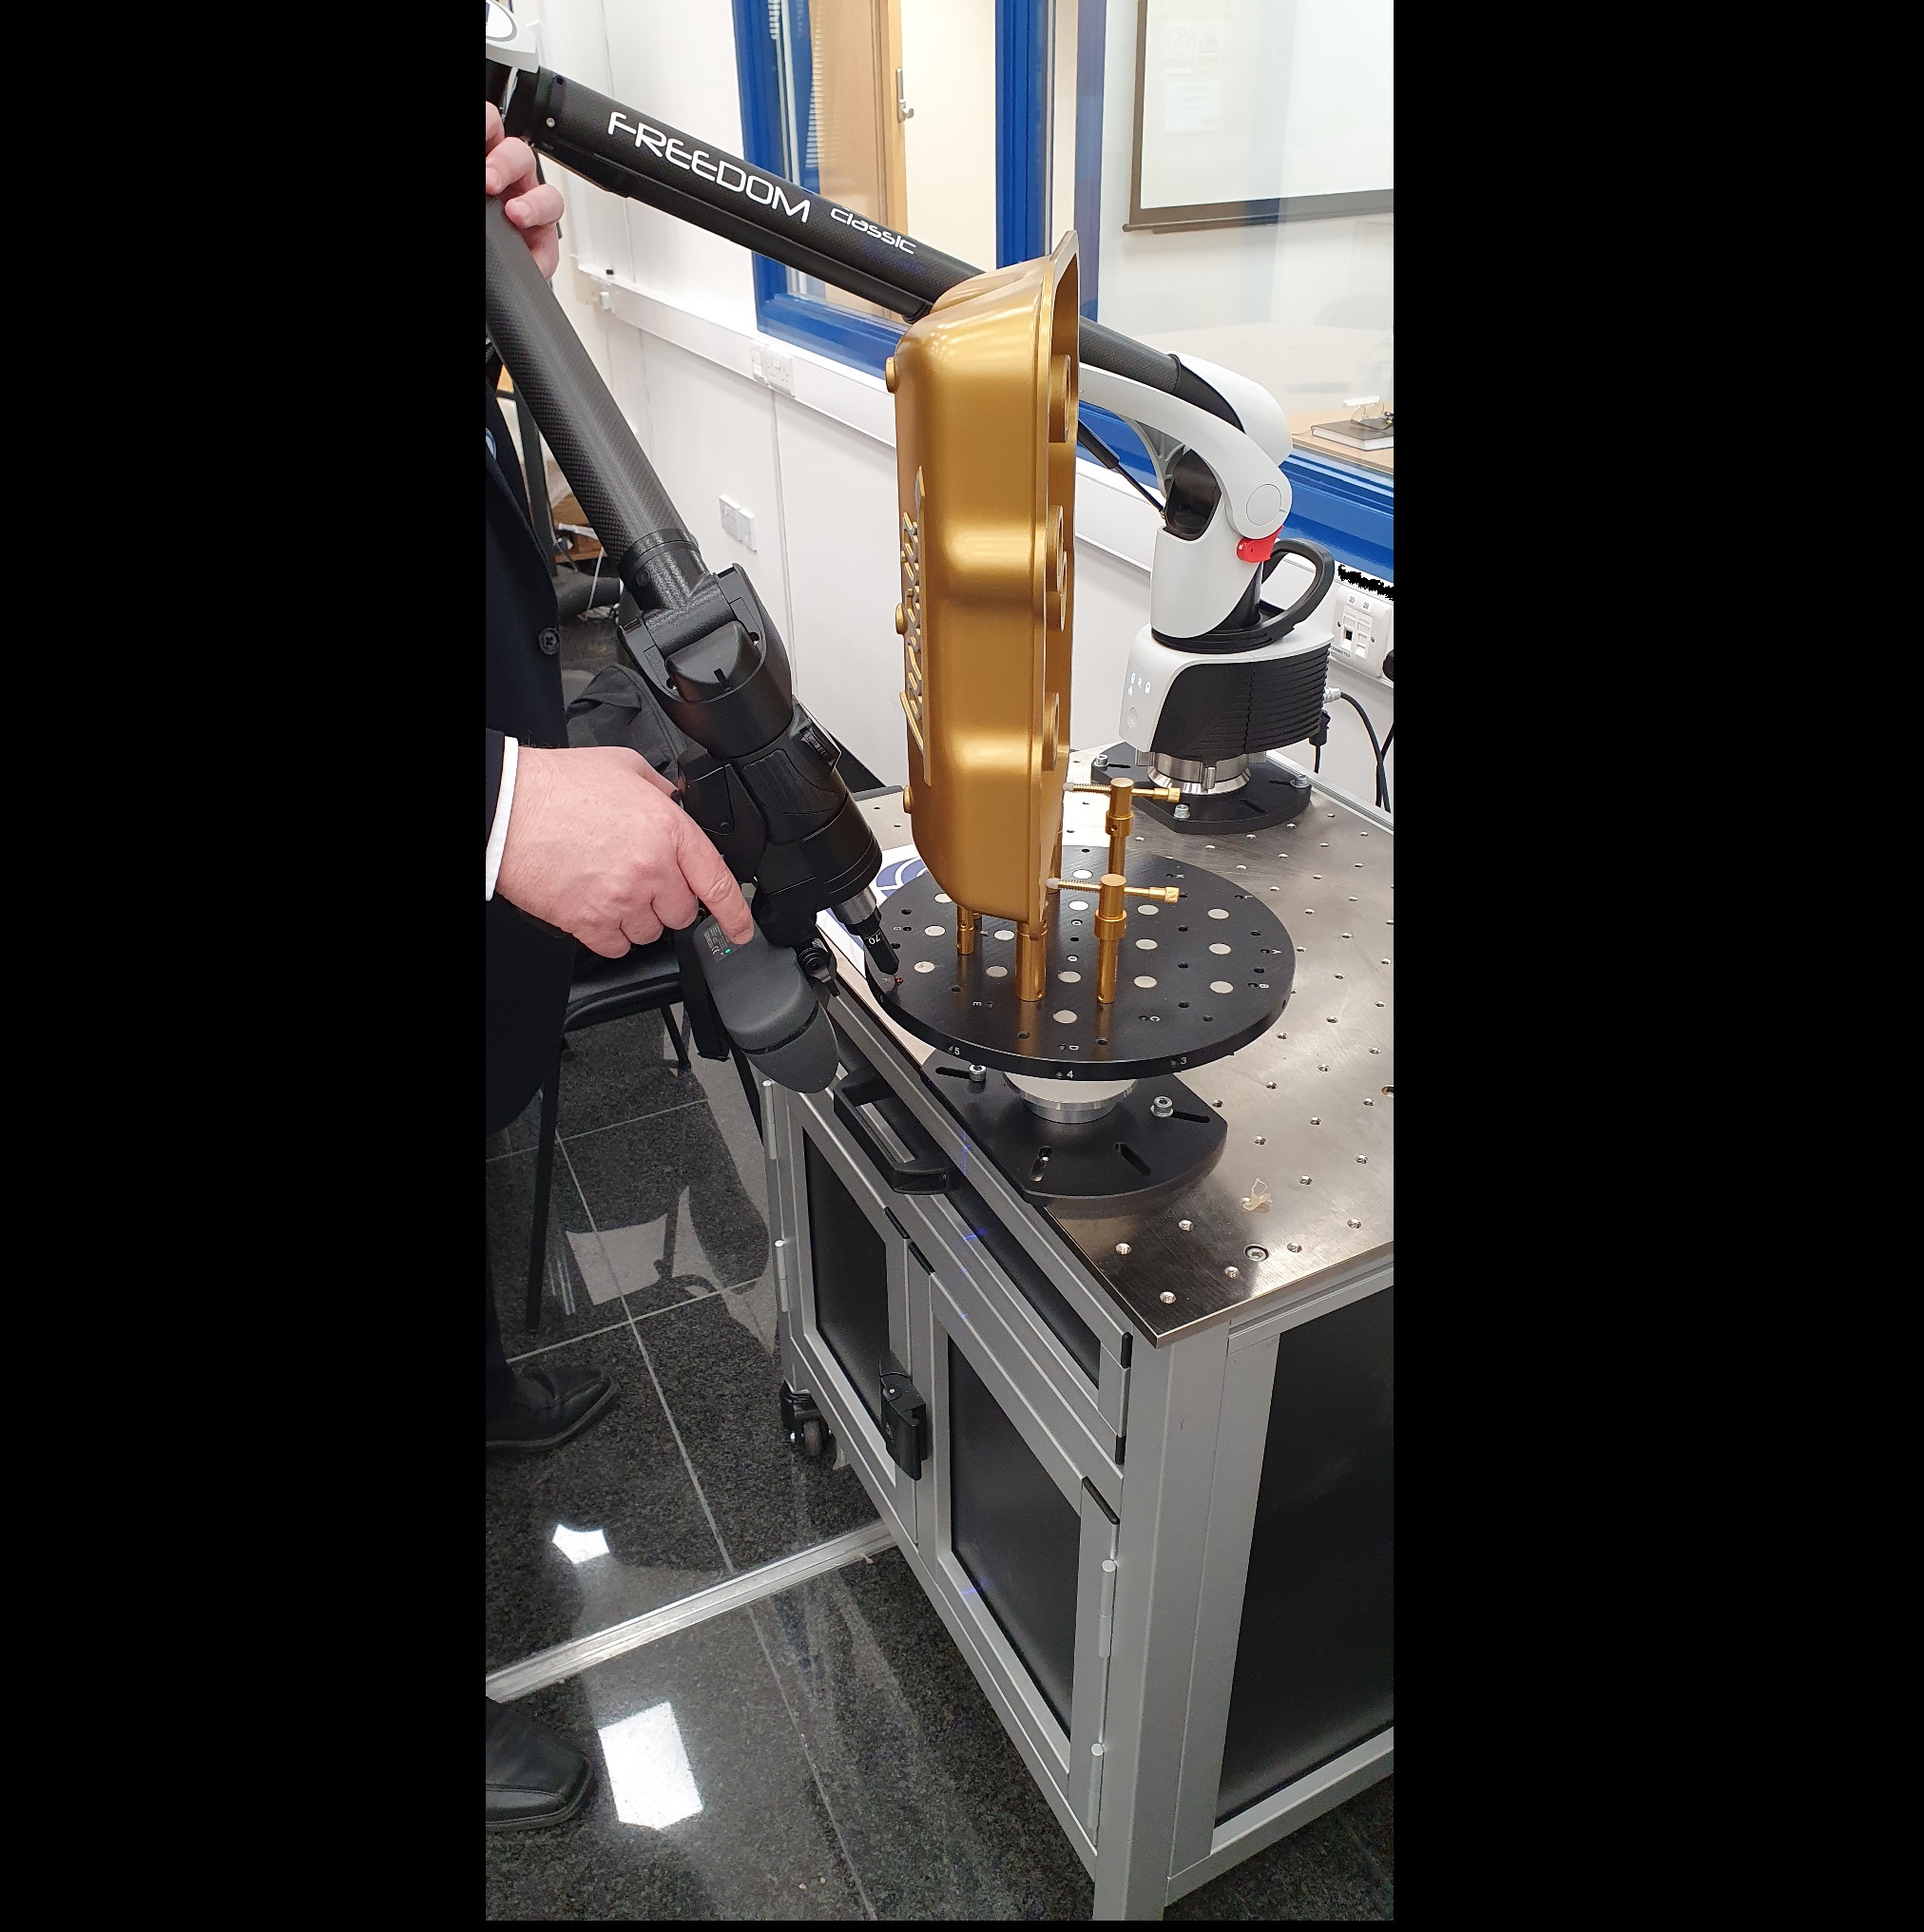
OctoScan is a highly accurate rotary axis enhancing the measurement capability of portable measurement arms. The device enables users to record objects that are larger than the standard reach of the portable arm easily and accurately.

This new rotary positioning system provides additional flexibility to the measurement process, minimising errors and increasing accuracy for otherwise difficult-to-reach areas with an overall increase in measurement volume.

OctoScan is also built with convenience in mind with wireless functionality and high portability around the production line. It can integrate with any measurement arm or portable CMM. For example, the LK Metrology Freedom Arm measuring system on display at the Control 2022 exhibition earlier this year had a fully integrated OctoScan via PolyWorks software.

The universally compatible design enables very easy set-up. Additionally, OctoScan’s design allows parts to fix into place in many different ways. Built-in magnets and multiple threaded fixing holes allow for an element of bespoke fixing.

Thanks to its full access to say, larger parts, and using only a single set up, OctoScan is able to increase overall workplace productivity by up to 40%, while also significantly minimising human error and fatigue. This is due to it eliminating the need for repeat measurements of certain parts that would typically stand outside the measurement range. Octoscan has a radial and axial runout of 1 µm and coning of axis ±0.5 arcs-seconds.
For further information www.rpiuk.com/products/octoscan

£40m green transport facility unveiled

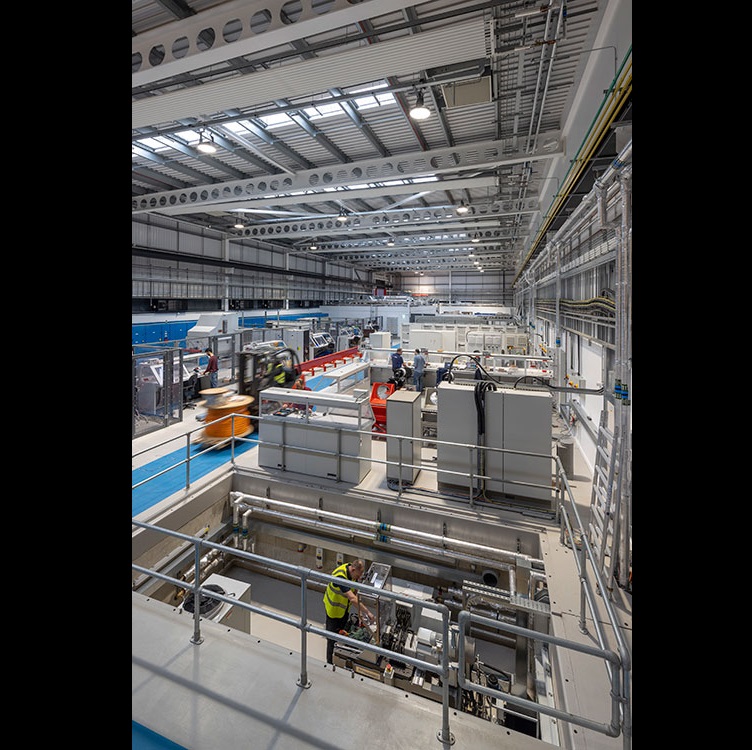
A new £40m research facility that will drive forward advances in powerful, clean electrification technology and pave the way towards a new generation of low-carbon, sustainable electric vehicles, power and propulsion has been unveiled by the University of Nottingham. The state-of-the-art Power Electronics and Machines Centre (PEMC) offers purpose-built laboratories for the Power Electronics, Machines and Control research group, the largest such group of researchers in the world. By March 2024, the PEMC estimates that £470m worth of industrial work will align with the facility.
For further information www.bit.ly/3PhVYAC

Quality comes to the surface with Accretech

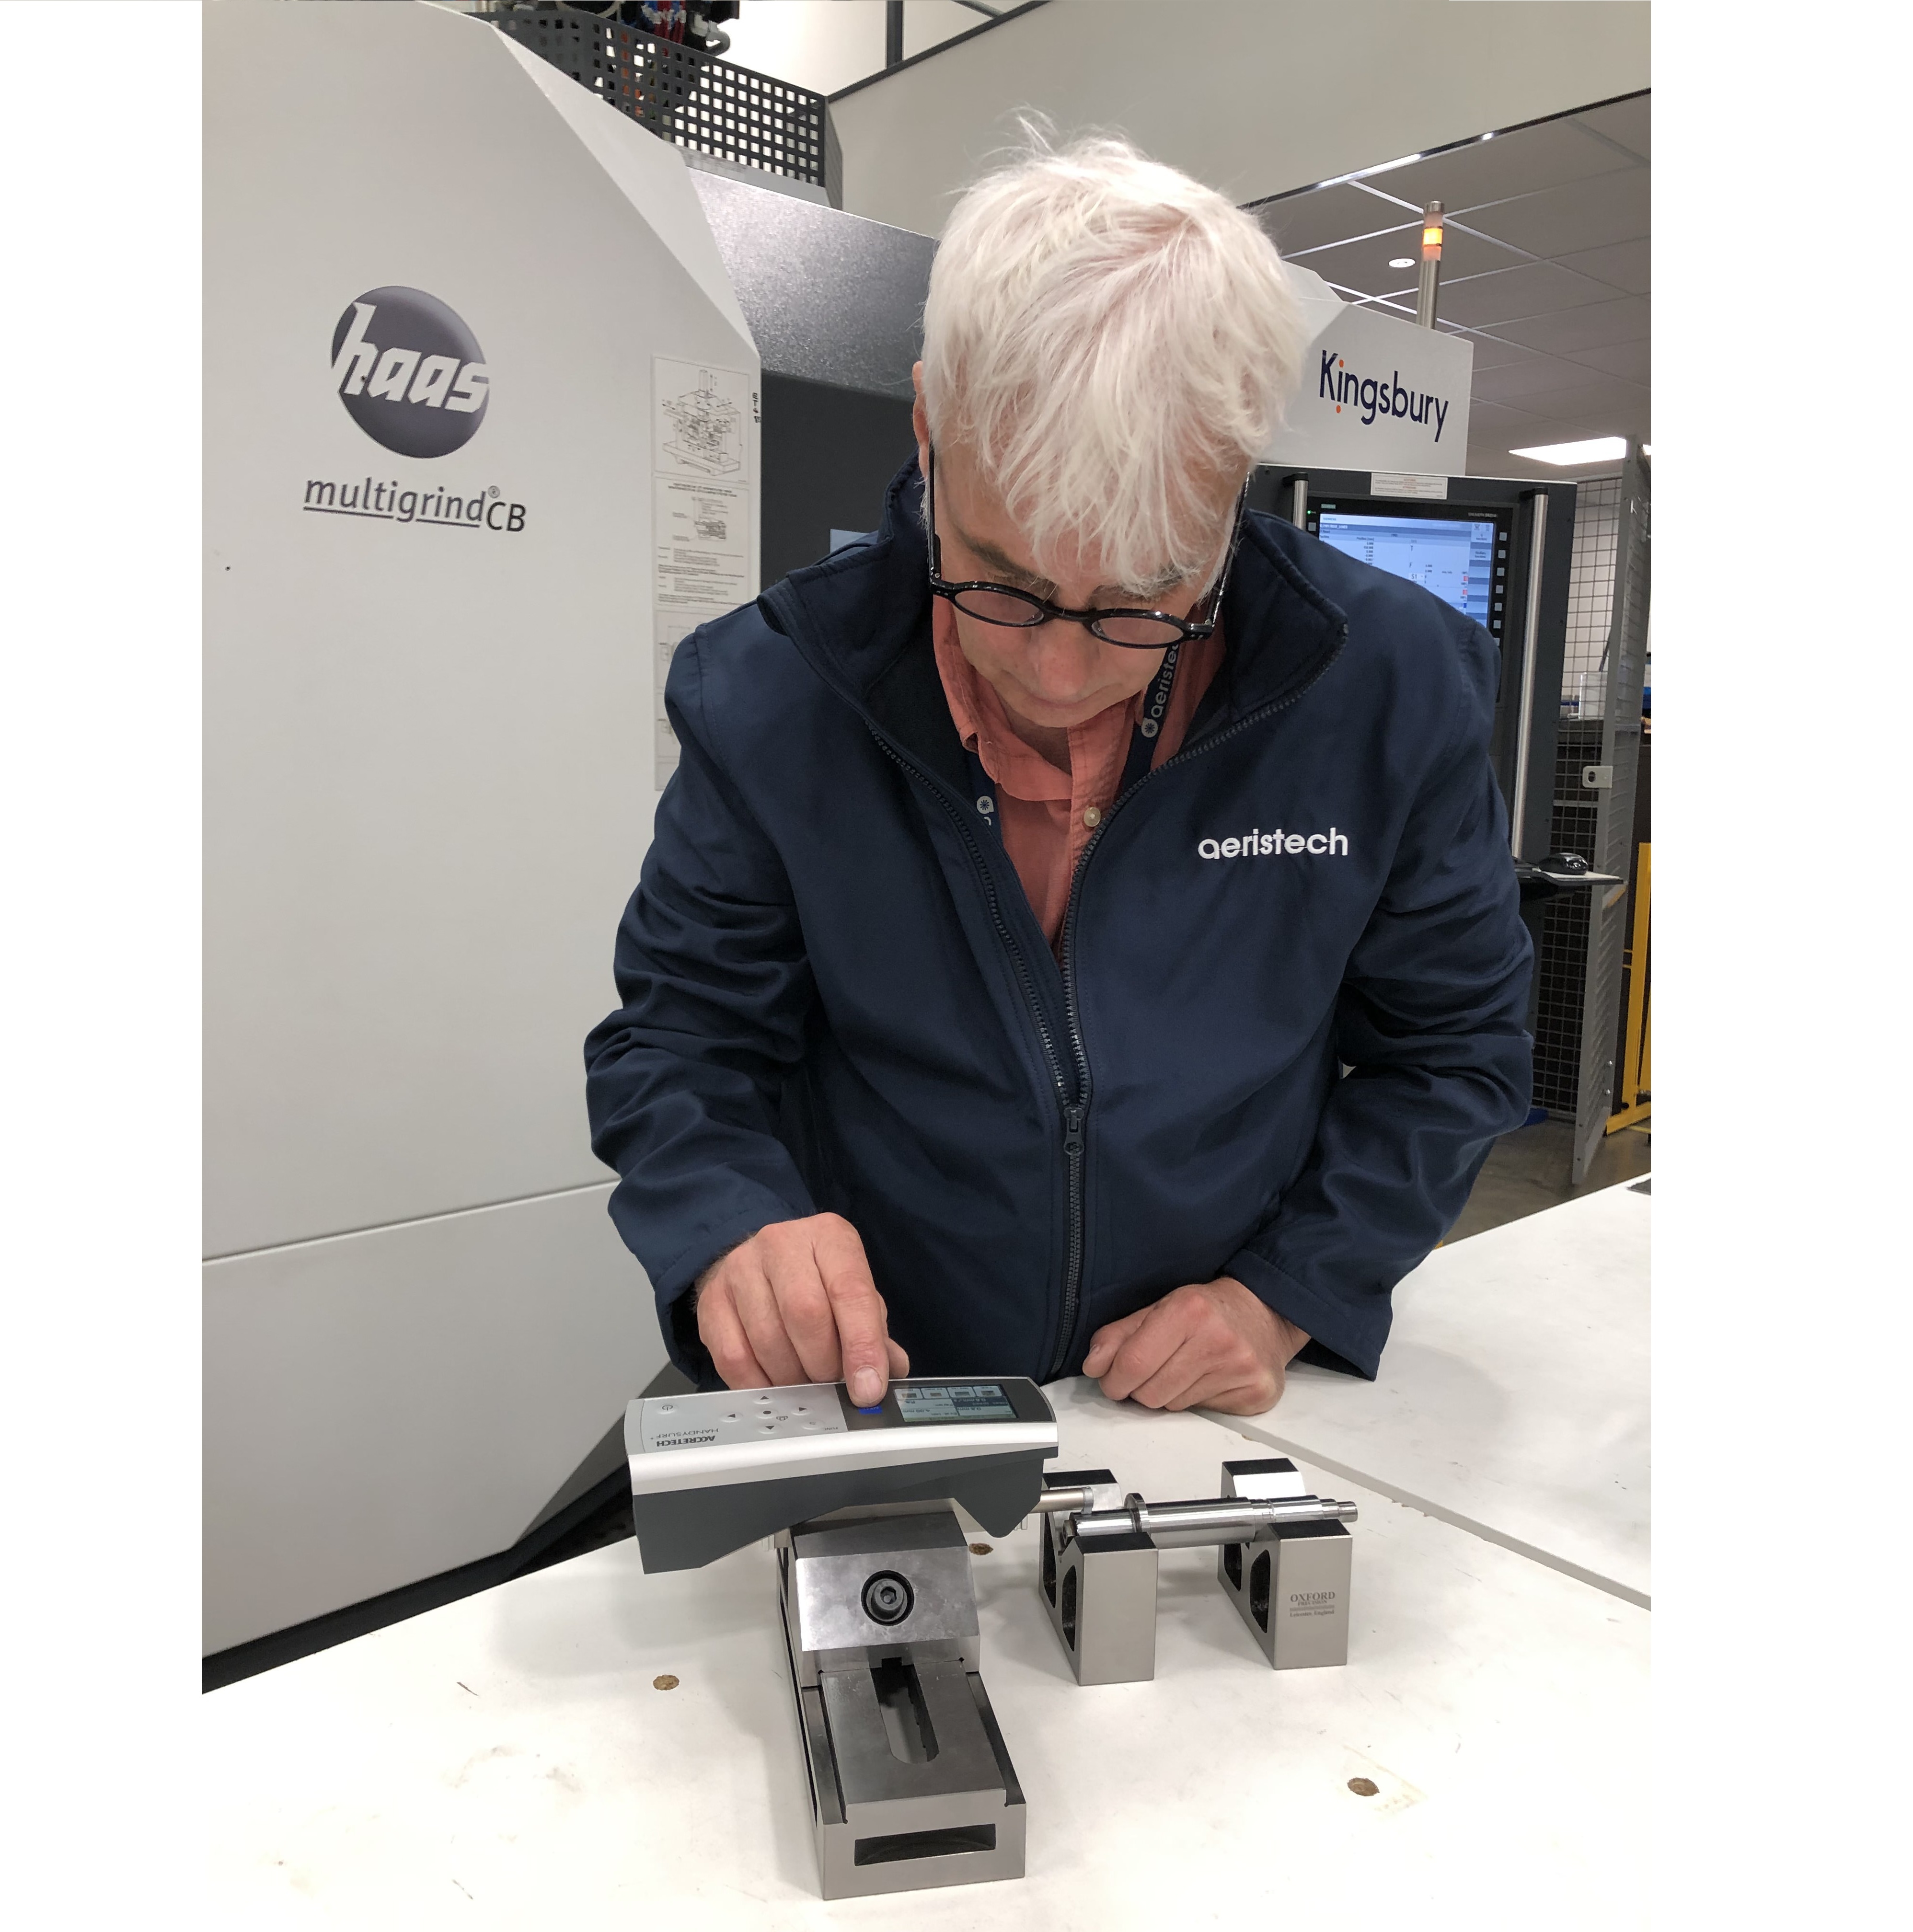
After searching for a suitably accurate and efficient portable means of inspecting the surface characteristics of ground components, the technical staff of Kingsbury’s Grinding Division discovered the Accretech HandySurf+ instrument. In addition to delivering the high-levels of precision required, the robust product facilitates easy transportation to customer premises and to the ability withstand shop-floor use.

Kingsbury launched the company’s Grinding Division in 2017 and now represents Haas Schleifmaschinen GmbH in the UK, Ireland and Gulf regions. Also, in late 2021, Kingsbury began representing Studer within the Gulf area.

The recently purchased Accretech HandySurf+ at Kingsbury is now gathering accurate surface roughness data in pre-qualification trials before the sale of grinding machines. Kingsbury also uses the instrument to aid the development of new processes.

Grinding Division application engineer Kevin Ling says: “When demonstrating the effectiveness of our machine tools and showing the complexity of the components we can develop, establishing the required surface finish standards is a priority. This is a necessity not only for customer compliance, but also for determining dressing parameters and the optimal grinding wheel specification.

“The purchase of our advanced Accretech instrument provides us with the ability to measure surface roughness quickly with excellent levels of precision,” he adds. “In addition to other uses, our HandySurf+ is employed to prove the exceptional standards of surface finish that our grinding machines are able to achieve and provide our customers with confidence. Also, our Accretech equipment guarantees that our machines continue to deliver expected financial returns to our customers as we assist in the development of new processes and product lines.”
For further information www.accretech.eu