Reducing rail-tip measurement time by 97.5%

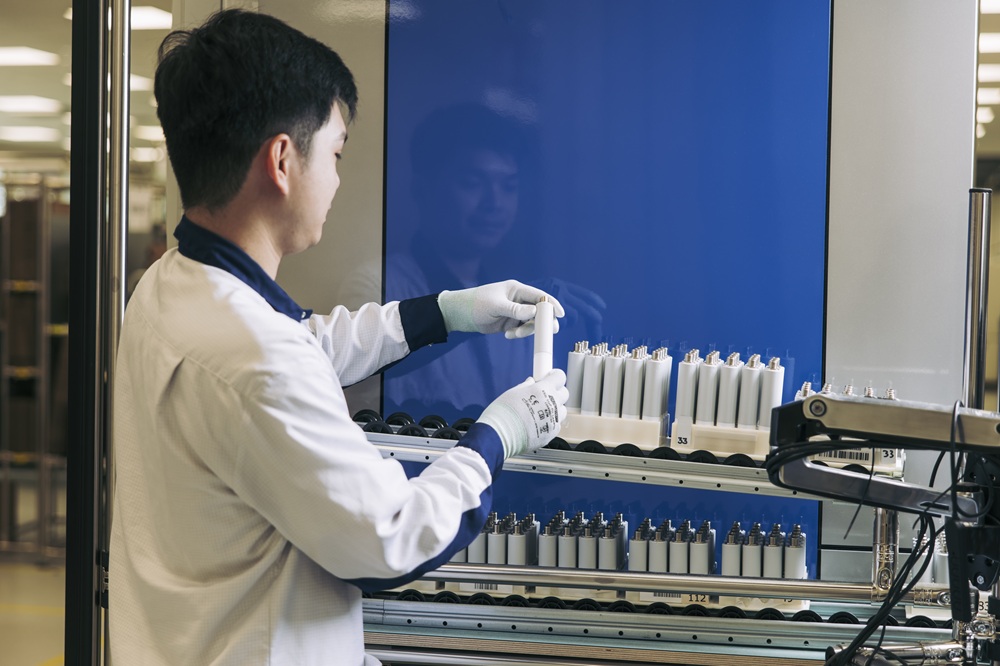
Bowers Group recently assisted DPMS in the development of an advanced rail-tip measurement solution that reduces the time needed to inspect milling wheels by 97.5%.Collaborating with its distributor H Roberts, Bowers Group worked to construct a tailored solution for the tip measurement station. 

Andrew Yarrow, mechanical engineer at DPMS, says: “We believe our rail-tip measurement system has the ability to transform rail maintenance globally. Collaborating with Bowers Group has been instrumental in achieving our goals of functionality and accuracy. Together, we navigated challenges to develop a system that prioritises accuracy, user efficiency and safety in a high-risk industry.”

Rail operators work tirelessly to maintain and upgrade track infrastructure and ensure smooth operation. A key aspect of this objective is the milling process, where train-mounted wheels with rotating carbide tips remove irregularities and defects from rail surfaces, enhancing train performance and safety.

Inaccurate measurement of milling wheel cutting heads can lead to uneven rail surfaces, affecting train stability and comfort, and causing excessive wear and tear on both the grinding wheel and the rail.DPMS developed a tip measurement station that allows for synchronised inspection of both the left and right milling wheels. Here, Sylvac P5i inductive probes from Bowers enable direct connection to a laptop. The Bowers Group team of experts developed a customised reporting program, using Sylcom, allowing for the export of data to Excel for report generation.

This new system enabled the mounting of all five readout heads in a stack, permitting immediate measurements and collecting data simultaneously. The result?A more accurateprocess that supportssimultaneous measurements. DPMS thus witnessed a reduction in measuring time for both milling wheels from over 1 hour to just 90 seconds.

More information www.bowersgroup.co.uk

Mitutoyo aids quality control at HB Bearings

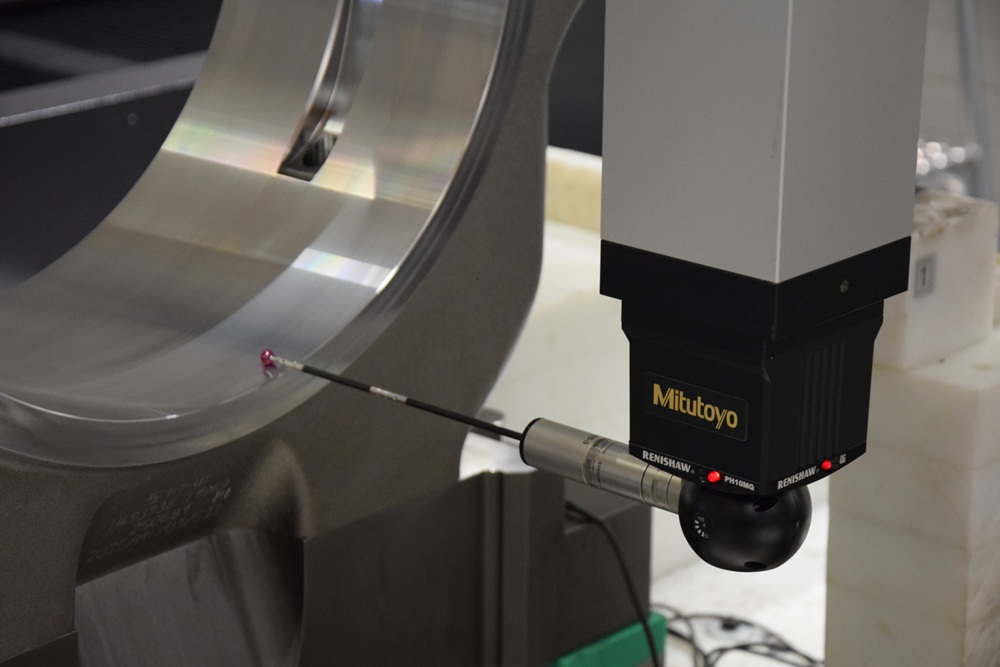
Based in Huddersfield, HB Bearings specialises in the manufacture of metric and imperial bearings that are difficult to source. Bearing types manufactured include radial, deep groove ball, cylindrical roller, angular contact, duplexand others.In accordance with the company’s policy of regularly updating its facilities, HB Bearings took the recent decision to replace its existing bearing run-out test rig.

Darren Mawhinney, technical director at HB Bearings, says: “Having previously established an excellent relationship with staff at close-by Mitutoyo in Elland, I contacted them with my ideas for our proposed new bearing run-out test rig. They quickly understood our requirements, then, through close liaison and co-operation, a design soon evolved into the required system.”

He continues: “Now up and running, we’re delighted with the system’s speed, ease of use and accuracy. Simplicity is critical in the test application and we can operate the new rig with just one click. Compared with our previous rig, a major improvement is the inclusion of a coarse scale, enabling the fast and easy alignment of components. In addition to inspecting our HB bearing range, the new system is able to perform accurate quality control checks on our Gamet Bearings brand, super-precision bearings with a radial runout specification of 0.5 µm.

“Even though our previous jig was fit for purpose, our new bespoke Mitutoyo system has further improved confidence in the premium quality of our bearings.”

Simon Elliot, general manager at Mitutoyo Gauging Technology, adds: “We were delighted to work closely with the staff of HB Bearings to enable the delivery of a system that exactly matched the company’s requirements, at a cost effective price.”

More information www.mitutoyo.co.uk

Fast inspection of large, close-tolerance parts

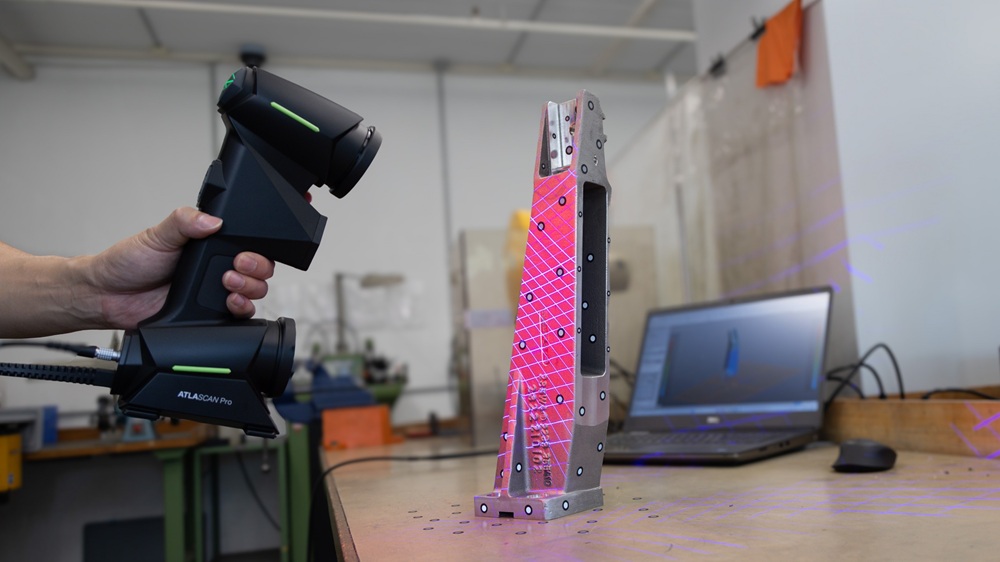
Founded in 1989 and headquartered in Coalville, Leicestershire, CMS Cepcor is a supplier of aftermarket crusher spares, manganese-steel wear liners and other equipment to the mining and aggregate production industries worldwide. In February this year, the company took delivery of its first CMM, enhancing the quality control of the products it manufactures or refurbishes to tight tolerances. Offering a nominal inspection volume of 3000 x 1500 x 1000 mm, the CMM is an Altera M built by UK firm LK Metrology.

Previously, CMS Cepcor had been using a pair of manually-operated, portable six-axis arms with 2.5 and 3m reach respectively to check components by touch-probing. This was a lengthy process and insufficiently precise to measure some parts without difficulty. For example, it was challenging to inspect bearing seats with tolerances down to 30 µm, shafts up to 500 mm in diameter which need accuracy within 20 µm, and various features on housings tied up to half that tolerance.

Consequently, there was a requirement to use micrometers and other traditional manual gauges to measure those dimensions, which was even more time-consuming and subject to operator-dependent inconsistencies. Additionally, some parts up to 400 mm in diameter by 700 mm long have eccentric tapers with tolerances down to as little as 15 arc-seconds, which were problematic to check manually.

Les Hickens, quality manager at CMS Cepcor, says: “The LK CMM has a maximum permissible first-term error of less than 2µm, so is able to measure even very large parts exactly and repeatably. It’s at least an order of magnitude more precise than a portable arm, giving us – and more importantly our customers – extra confidence in the results.”

More information www.lkmetrology.com

Precision machinist invests in Wenzel CMM

Subcontract machining specialist Barth Präzisionstechnik offers a broad component manufacturing capability range from 5 to 2500 mm, and from 5 g to over 2 tonnes. Serving customers in industries such as energy, construction and mechanical engineering, the company’s philosophy is based on maximum precision, a zero-defect mentality and absolute adherence to deadlines.

In keeping with this tradition of continuous quality optimisation, the Binzwang-based company opted for an LH 2015 CMM from Wenzel. The LH 2015 gantry measuring machine features WM Quartis software and the Revo five-axis multi-sensor probe system from Renishaw. The latter offers a combination of contact measurement and scanning, which enables fast and precise measurement of even complex components. Due to its high flexibility and accuracy, the combination of the Revo with the LH 2015 opens up considerable advantages and a wide range of possible applications.

WM Quartis software forms the heart of the measurement solution and enables the precise recording, analysis and visualisation of measurement data. Thanks to its intuitive user interface and versatile functions, Wenzel says the tried-and-tested measurement software is an indispensable tool for quality control.

The professional team at Wenzel supported Barth with the integration of the LH 2015, resulting in a smooth commissioning process. The machine enables the company to optimise its production processes and deliver first-class products to its customers.

The three generations of the Barth family currently actively involved in the business are unanimous: “Manufactured by a German family business for use at a German family business that handles high-precision measuring tasks, this measuring machine is not only sustainable for our company today, but also represents pioneering technology for future generations.”

More information www.wenzel-group.com

Better on-site calibration with new capabilities

Calibrationhouse, a provider of UKAS-accredited calibration services, is commencing a £500,000 investment in an extensive suite of new capabilities to streamline and enhance equipment calibration for the manufacturing industry. The new services are set to offer a one-stop shop for calibration needs as it is possible to perform the majority of them at customer premises.

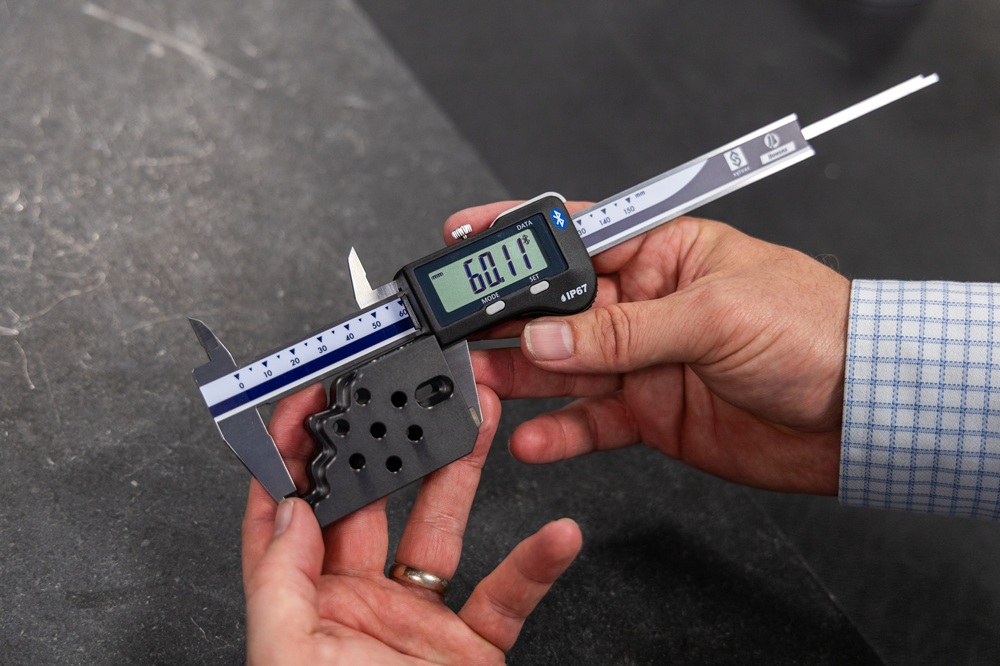
In 2023, Calibrationhouse rolled out new calibration capabilities including bore gauges, verniers, micrometers, height gauges, thermal imaging cameras and torque wrenches. The company also introduced inclinometer, protractor and expanded temperature calibration capabilities. This year, the company will offer calibration of force gauges, current transformers, high-pressure gauges, liquid flow, mass, gauge blocks and humidity devices.

A key advantage for manufacturers is the ability of Calibrationhouse to calibrate a wide range of equipment on-site, reducing lead times and equipment downtime.

Calibrationhouse’s engineers can deliver calibration services directly at customer premises, meaning crucial test equipment is unavailable for minutes rather than days. Alternatively, manufacturers can opt to send their equipment to Calibrationhouse’s base in Peterlee for back-to-base calibration completed within five working days from receipt.

Andrew Simpson, manager of Calibrationhouse, said: “We’re providing a comprehensive calibration solution of the highest quality that enables us to calibrate almost all of our customers test equipment, as recognised by our continuous accreditation as an approved vendor for the prestigious UK defence sector [JOSCAR]. Traditionally, manufacturers had to rely on multiple calibration companies who could each only handle a portion of their calibration needs. Our expanded capabilities mean manufacturers can now turn to Calibrationhouse as a one-stop shop.”

More information www.calibrationhouse.com