Magtec ‘co-ordinating’ quality with Mitutoyo

Founded in 1992, Rotherham-based Magtec is the UK’s largest supplier of electric drive systems and specialist hybrid solutions. The privately-owned firm’s technologies include motors, gearboxes, generators, power controllers, battery systems and condition monitoring systems for heavy goods vehicles, buses, multi-wheeled and tracked defence vehicles, and bespoke specialist vehicles.

To ensure the continuation of its premium quality standards, Magtec administers a rigorous, company-wide quality-control regime and makes use various advanced inspection aids. The latest addition to Magtec’s collection of high-technology measuring equipment is a Mitutoyo Crysta-Apex S CMM.

Explaining the purchase Magtec head of quality Tom Dalgliesh says: “When the need arose for a high-precision CNC CMM, in addition to considering the potential machine’s accuracy standards, mindful of our rapidly increasing production volumes, we also considered factors such as speed and ease of use. As it satisfied all of our accuracy and efficiency requirements, we chose a Mitutoyo Crysta-Apex S CMM with a measuring capacity of 900 x 1000 x 600 mm in the X, Y and Z axis respectively.

“Now installed in our temperature-controlled inspection department, the Crysta-Apex S is delivering the high levels of precision that we need,” continues Dalgliesh. “Also, because of its impressive speed of operation and fast acceleration, not only is our new Mitutoyo CMM able to keep pace with our current output levels, it will also be able to cope with the massive rises in production and the increased amount of inspection work that we anticipate.”

Having written a large number of part programs, Magtec is now able to load single large components or large batches of smaller parts on to the Mitutoyo CMM’s bed, recall the relevant programs and start rapid, automated CNC inspection routines.
For further information www.mitutoyo.co.uk

Walter releases Laser Contour Check

Laser Contour Check is the new non-contact cutting tool measurement innovation that ensures high precision and fast in-process measurement of tool parameters in Walter tool grinding and eroding machines. Walter Ewag UK reports that the new development utilises blue laser technology in conjunction with an intelligent measuring system to measure various features on cylindrical tools from 1 to 52 mm diameter accurately and efficiently. Direct compensation for deviations takes place during the machining process.

Laser Contour Check’s analogue laser beam measures a tool’s entire contour rather than measuring at specific points as with tactile or digital methods. Notably, laser technology also avoids possible damage to the tool’s cutting edges, as well as measuring errors that could occur due to probe tip wear during tactile measuring routines.

A short measuring time of just 16 seconds (including cleaning) for diameter measurement (depending on tool type) ensures high productivity, while the operator can easily and quickly generate optimised sequences for cleaning and compensation.

The measuring system, which will be available as an option for Walter’s extensive range of tool grinding and eroding machines, integrates directly into the machine’s working area and moves into position when required.

Walter Ewag UK says the blue laser beam used offers improved accuracy compared with a conventional red laser. Blue lasers have a shorter wavelength and so optimise the laser beam geometry and reduce the effects of diffraction.
For further information www.walter-machines.com

Desktop Metal extends SolidCAM partnership

Desktop Metal, a global specialist in additive manufacturing technologies for mass production, has expanded its relationship with CNC software innovator SolidCAM, creator of iMachining tool-path technology and a distributor of solutions to precision metal manufacturers worldwide. SolidCAM has offered Desktop Metal products in Germany since 2021. Now, the company will offer Desktop Metal solutions for direct printing of metal to customers in the US, where SolidCAM has technology centres at its headquarters in Newton, Pennsylvania, and Rancho Cucamonga, California, as well as the UK, Israel and India.
For further information www.desktopmetal.com

Revolution in vehicle quality control

Nikon Metrology has introduced its APDIS gap and flush system, a fully automated way to measure gap and flush on a moving production line for finished ‘vehicles on wheels’. Users can achieve the task without the need for robots and the complexity in programming and safety that they inherently require.

Developed in conjunction with VRSI, the system offers: the ability to track and measure at conveyor speeds up to 140 mm/s; a large internal measurement volume; and three laser radars for all-round coverage. The system can measure a wide range of vehicles from small hatchbacks to large SUVs and trucks, and everything in between.

Users track the vehicle directly using linear sensors, meaning no conveyor interface is required. Position is determined prior to the vehicle entering the system by a set of 3D sensors that automatically account for variations in position on the conveyor. Once the vehicle is inside the system, the three laser radars move synchronously along linear rails, with the long range allowing measurement of gaps and flushes at specific programmed locations. By continuously moving back and forth along the rails as the vehicle passes through, the system acquires data all along the vehicle with up to 170 measurement locations possible.

The large stand-off of the APDIS laser radar, greater than 0.5 m, inherently provides vehicle and operator safety, while the use of linear rails means the system never approaches the vehicle. Light curtains and floor scanners provide further operator protection. The results are no damage and zero line stoppages.

Depending on factory condition, dynamic repeatability of better than 0.15 mm on flush and 0.3 mm on gaps delivers reliable, precise measurements for the user.
For further information www.bit.ly/3Ofavvw

RE THOMPSON FULLY CHARGED WITH HYPERMILL

The pandemic has undoubtedly changed the way everyone works, but for Open Mind Technologies, undergoing an extensive online tendering and prove-out process against its competitors was an exciting new challenge. RE Thompson has ambitious plans for its manufacturing facility and implementing the correct CAM system was seen as a critical decision requiring due diligence for the subcontract manufacturer.

Founded in 1948, RE Thompson has manufactured aerospace components for more than 60 years, diversifying into the electronics, medical, hydrogen and electric vehicle (EV) sectors in its more recent history. To undertake this diversification, the company has invested over £7m in the past 10 years, an investment that includes: a second 20,000 sq ft manufacturing facility in 2015; fibre connectivity and decarbonising infrastructure; DMG Mori five-axis machining centres; and, most recently, an Okuma Multus from NCMT and a CMM from Hexagon.

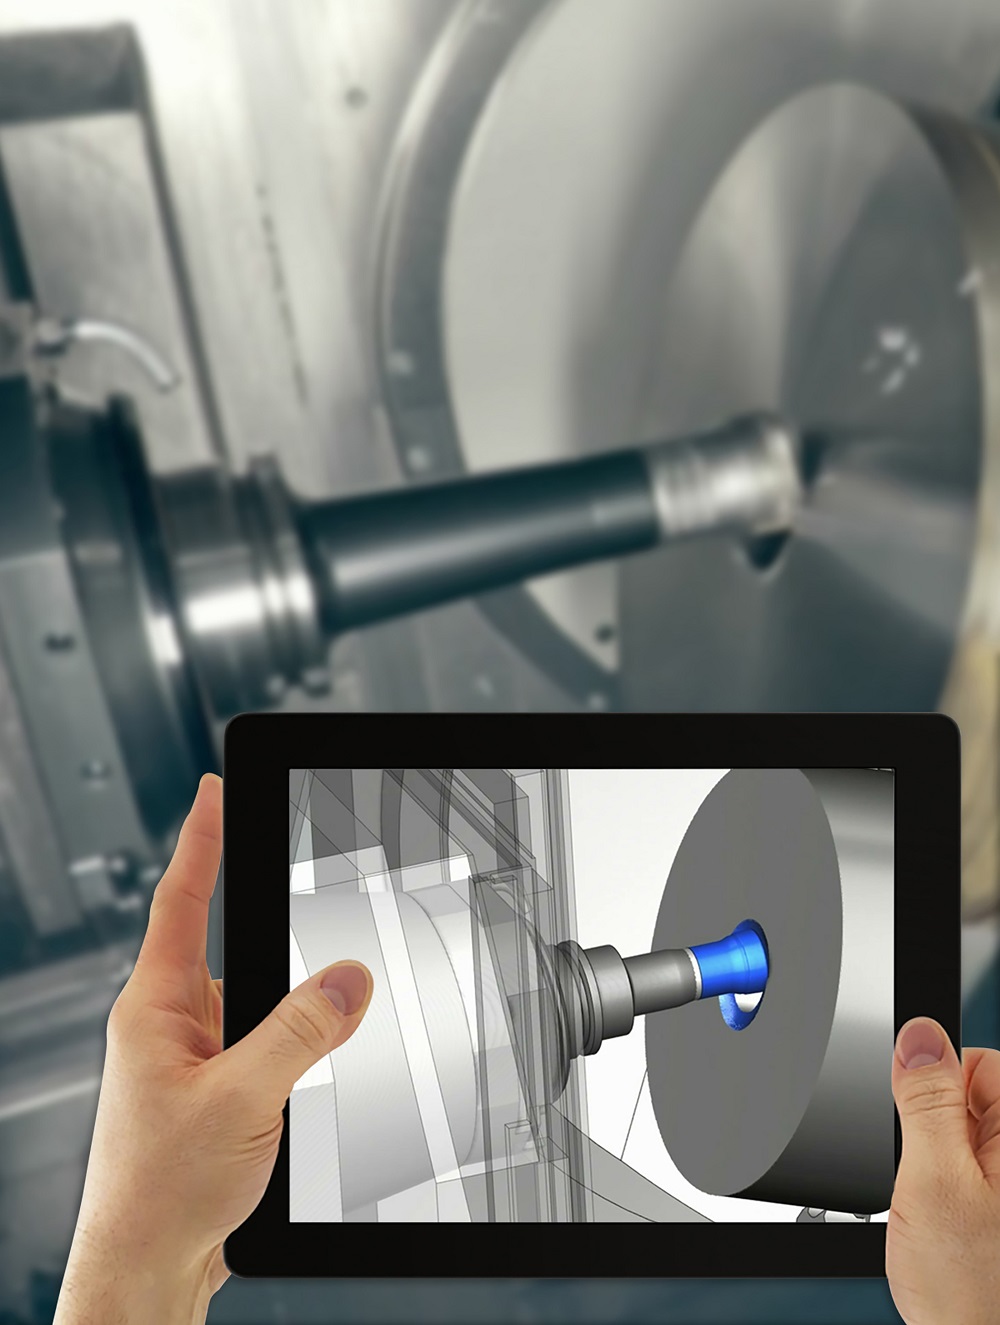
The next step for the Hampshire-based company is to increase its throughput and workflows through automation. Unlike most subcontract manufacturers, RE Thompson already has impressive factory floor automation with a remarkable 512 pallets on just nine machining centres. The bottleneck for RE Thompson has been the process flow away from the factory floor – primarily CAM programming. For RE Thompson, its existing CADCAM system was ‘old hat’, and the technology was not available for modern machining strategies such as the lens and barrel tools that it requires for machining blisks and impellers for the aerospace industry.

Commenting upon the existing system, company owner Michael Thompson says: “The system was falling down on meeting our requirements and some of its strategies are at least 10 years old, and every time a new version is launched, there’s nothing significantly new with it. We first put the old system in our factory around three decades ago and over the years it has failed to keep up with technology to the point that the developers don’t even create their post processors. If you had all day, I could provide a complete list of reasons why we needed to move away.

“The system put a lot of limitations on our business with regards to our MPI [Marginal Propensity to Invest],” continues Thompson. “From now to October, certain things will be transforming within our business, and this includes MPI, lead times and turnaround times. We have a lot of knowledge and skill in the company, but we had an old CADCAM system that has been holding us back. What we’re doing now is building a new system from the ground up, we have installed a new fibre network infrastructure and installed ultra-efficient air compressors with full redundancy. Allowing better use of what we have.”

With regard to selecting Open Mind, Thompson reveals: “We looked at five or six systems, but we wanted the flexibility to create really good tool paths. It was a very short review of these systems, as we quickly narrowed it down to two packages. HyperMILL has a very good reputation in the UK; lots of prestigious companies and subcontractors use it and there is local support. However, local support is now increasingly irrelevant, as the pandemic and our feasibility study through to adoption have shown. We’ve been implementing the system with Open Mind over Microsoft Teams and have yet to meet them in person. We sometimes have people in six or eight different locations working from home, so in being able to implement HyperMILL everyone involved has been fantastic.”

He adds: “When we narrowed our process down to two vendors, we found that HyperMILL had advanced tool path strategies and the overall support was outstanding. We spoke with Ken Baldwin and Jon Shortt in the UK but also with the Open Mind Team in Germany, who detailed innovations in the pipeline that would help us with our ambitious plans that we are working towards for October.”

Before alluding to the next tranche of features in the pipeline with HyperMILL Thompson emphasises the existing features that helped the company make its decision: “The flexibility of HyperMILL is second to none and they have really honed-in on three- and five-axis strategies, as well as turning. With its reputation in high-end five-axis machining, we were very surprised by how good the turning package is.”

Looking at particular components manufactured by RE Thompson, HyperMILL will help the company with very small parts when it wants to make multiples through to very large semi-conductor chambers. Indeed, there is one part in the MPI stage that will save RE Thompson a staggering four days by using HyperMILL. The company will achieve this saving through automating datum settings.

“When you have a lot of datums and ports on a job, we have to set those all individually and, on our previous system, you really had to markdown in detail what had been set up,” says Thompson. “With HyperMILL, it just does it for you. This saving is just in setting the jobs, it doesn’t even account for the possible savings in overall programming and the machining cycles. When it comes to machining cycles and retracts, HyperMILL will naturally follow the shortest tool path.”

On the factory floor, the company produces everything from 1-off and small batches to runs of hundreds of parts. Turning naturally has higher production volumes, but some milling jobs can be up to 500-off a year of very complex parts for some clients. The company processes parts with utmost efficiency due to the company’s investment in 512 pallets that are either integrated via machine tool suppliers like DMG Mori or through automation specialist Fastems. This strategy has enabled the business to run lights out 24/7 since 2008.

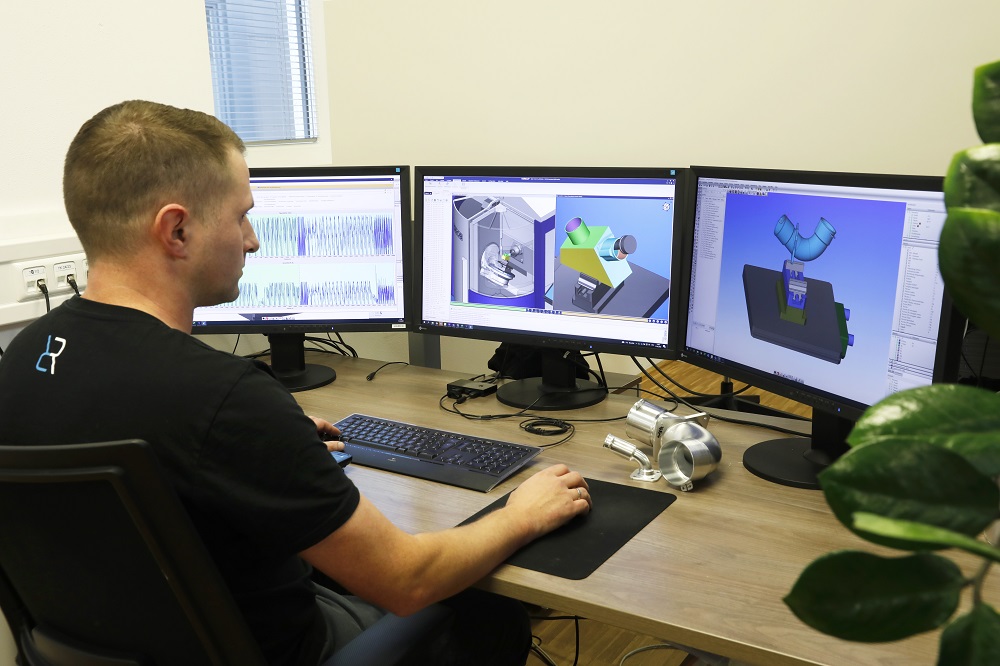
Looking at this evolving mix of work, Thompson says: “Other than retracts, our tool paths are pretty good, and we minimise air cutting and maximise machine utilisation where possible. Where HyperMILL will make a difference is during the time from order receipt to first-off production. We expect lead times to reduce hugely, which means our productivity will at least double. At present, we have four manufacturing engineers programming, but we have another three setters that will be trained to program, and we have another three positions advertised at the moment. To facilitate this, we’ll be investing in 10 seats of HyperMILL, but I expect this to double and eventually increase four-fold.”

Head of sales Matthew Shaw adds: “The addition of HyperMILL will be great for the sales team, as we’ll have more capacity to sell. We can also adopt a much better approach to the market. HyperMILL will give us greater speed to market, a faster-quoting process and, with improved throughput, our lead times will improve significantly. Furthermore, with improved processes and machining strategies available to us through HyperMILL, we can emphasise the value this brings to our business and most importantly, our customers.”

With regards to being more competitive with this diverse workload, Thompson says: “Sometimes we weren’t competitive when machining propeller blades or impellers as we couldn’t use barrel tools, so our sales team had trouble selling that facility. With HyperMILL we’ll be able to utilise all of those tools and strategies.

“The tool library is also very impressive,” he adds. “Having the facility to build a tool library with comprehensive data on speeds, feeds, materials, and machining parameters excites our team, and Open Mind has even more features in the pipeline.
For further information www.openmind-tech.com