Japanese tool-holder specialist Nikken relies on accurate measurements and comprehensive
cutting force data from a Kistler dynamometer to advance its solutions for demanding
machining applications, both in Japan and Europe. Among the company’s recent innovations
is a dynamic double-face contact tooling system that was honored with a JSPE Technology
Award in 2022.
Nikken Kosakusho Works manufactures tool holders, CNC rotary tables, reamers and a
range of other technological solutions for high-level machining applications in many diverse
industrial sectors. Ever since the company was founded in 1958, Nikken with its
headquarters in Osaka has evolved into a global network with over 750 employees in more
than 16 countries. Today, the company supplies customers in a number of industries such as
aerospace, healthcare, motorsport, power engineering, molding and die casting and the
energy sector.
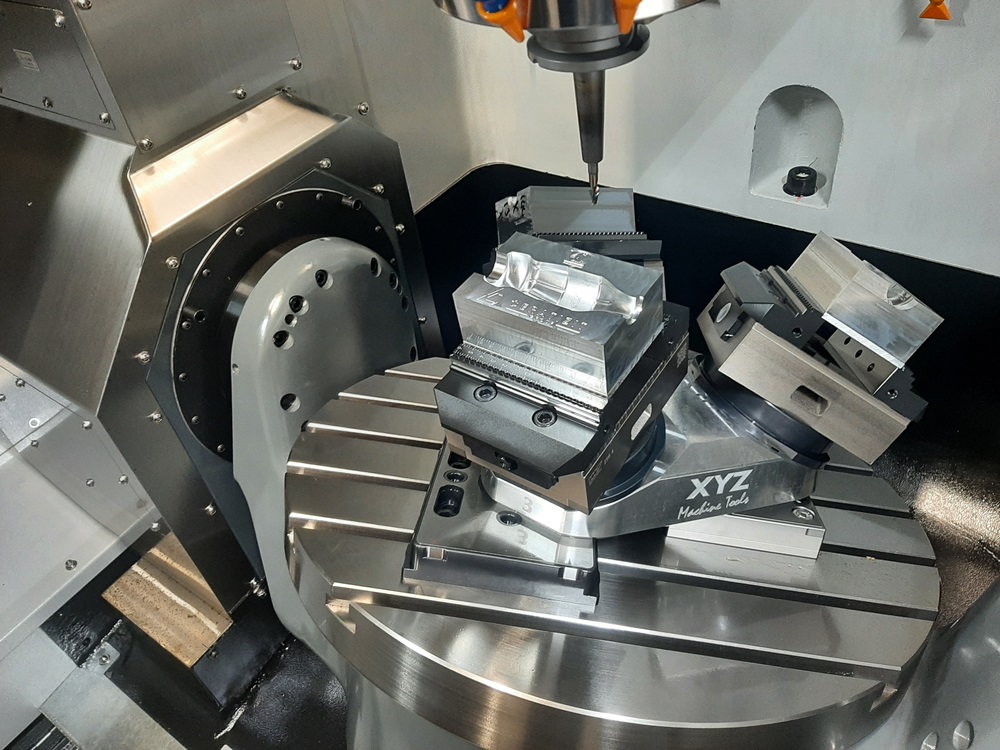
In 2014, the tool-holding specialist opened the Nikken Innovation Centre Europe (NICe) at
Rotherham in the UK. This flagship facility features eight state-of-the-art machining centers
for full-scale research and development work on machining applications.
“That was also when we started working with Kistler measurement technology, and we’ve
continued to do so successfully ever since then,” says Susumu Mikado, senior managing
director at Nikken.
“The objectives in R&D are to correlate all data on cutting forces in the X, Y, and Z axes with
parameters such as the velocity command and torque command of the three-axis servo
motor, the spindle torque, and the accuracy and stability of the cutting surface. We then
comprehensively evaluate this data. The Kistler system enabled us to measure all the cutting
forces needed for a new series of tool holders, and to compare the process performance for
each tool holder in the range.”
Nikken developed the products in its X-Treme chuck series specifically for demanding
aerospace and energy applications. According to the company, the chucks provide high
repeatable accuracy and excellent run-out characteristics, combined with complete
elimination and prevention of any movement or ‘pulling-out’ of the end mill.
Nikken relied on the 9255C dynamometer from Kistler. With its broad portfolio of
piezoelectric dynamometers, Kistler can provide solutions for applications such as milling,
drilling, turning, grinding and many more, all the way from micro-machining to heavy-duty
cutting. Dynamometers from Kistler find use in many R&D applications, and they also play a
key part in optimising production processes.
Thanks to its high rigidity and natural frequency, the piezoelectric sensor array (comprising
four three-axis force sensors) used by Nikken measures the cutting forces and moments in
the three orthogonal axes with high precision. Another benefit of the 9255C dynamometer
is its high resolution, so it can capture the smallest dynamic changes, even when large forces
are present. Features such as a wide measuring range (Fx, Fy: ±30 kN, Fz: -10 to 60 kN),
ground-isolation sensor integration, and protection class IP67 make the 9255C suitable for
heavy-duty applications in both R&D and production.
“Thanks to Kistler’s help, we were able to standardise our process and method for the
original workpiece, which measured 150 x 150 x 100 mm,” explains Mikado. “Our product
was originally developed to manufacture jet engine components made of a special titanium
alloy. The dynamometer’s performance, ease of use and data quality – backed up by
excellent service from Kistler – were major factors in the success of our project.”
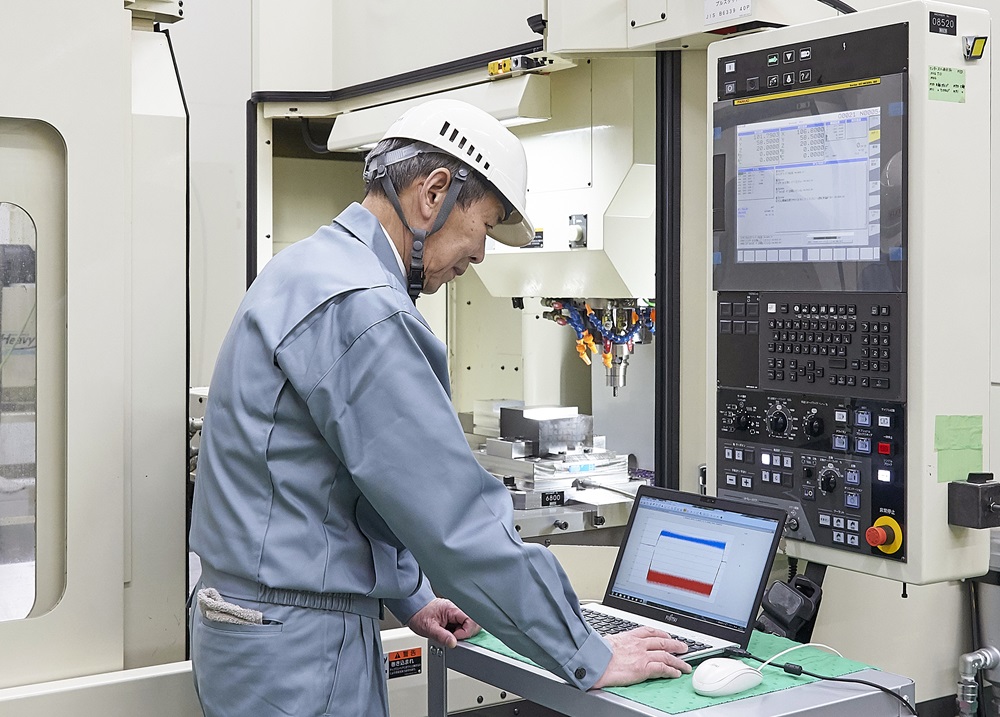
In 2020, Nikken opened a new technical centre at its headquarters in Japan, equipped with
the latest machining technologies to achieve the highest possible accuracy.
“In view of that, we moved the Kistler dynamometer to our new centre,” says Mikado.
“Since then, the 9255C has delivered an enormous volume of cutting data on different types
of shanks and chucks, not only for basic evaluation but also to support the specification of
material characteristics.”
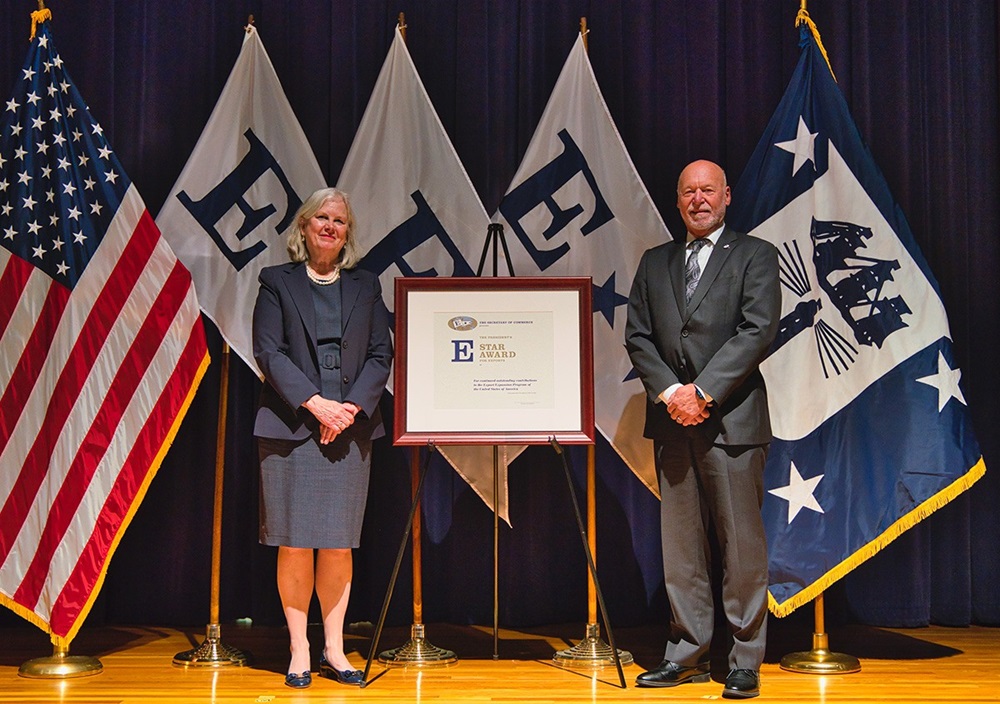
Among other new products, R&D efforts at the new technical centre in Osaka led to the
development of a dynamic double-face contact tooling system. This Nikken innovation is at
the core of a new tool-holder series with many different variants, including the 2LOCK
tooling system (BT double-face contact), which won the 42nd Technical Award of the JSPE
(Japan Society for Precision Engineering) in 2022. The new system offers minimal vibration,
enhanced smoothness, high accuracy and prolonged tool life. The improvements arrive
regardless of material type (aluminium, steel or alloys).
“The Kistler dynamometer helps us to continue developing our solutions and has even
paved the way for some real innovations,” concludes Mikado. “The technical support we
receive from Kistler Japan is also very good, not only for commissioning and basic
knowledge exchange, but also when it comes to optimising the measuring chain and the
entire R&D system – including aspects such as interfaces and data processing.”
More information www.kistler.com


