Rigibore says that an engine manufacturer has gained total control over its boring processes thanks to the introduction of the company’s automated boring tool compensation system, Zenith.

The system was selected for its ability to make compensations automatically from measurement data to an accuracy of 1 µm on diameter. Maintaining much closer machining tolerances on crankshaft bearing journals not only enhances the quality of the finished component, but has a direct impact on engine efficiency and emissions.
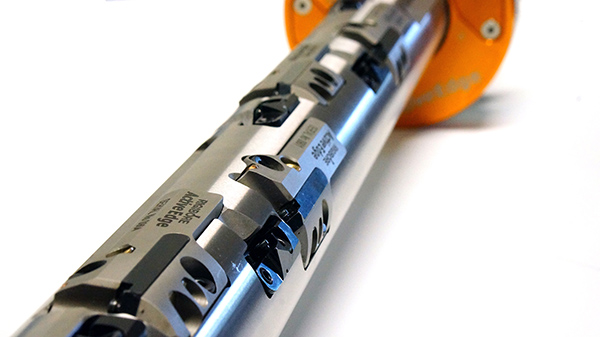
The concept was to produce line boring bars with five semi-finish cartridges set 0.1 mm below nominal, thus allowing five ActiveEdge finish cartridges to machine all journals in a single pass. ActiveEdge line bars were automatically compensated to nominal from data provided by offline gauging that was transferred to the machine control as part of the Zenith closed-loop system.
Before installing ActiveEdge tools, the customer carried out verification checks to confirm that each cartridge could be adjusted independently in increments of 0.001 mm on diameter. With this ability confirmed, an extended live cutting trial was instigated. The trial took place on a twin-spindle machining centre, with each spindle machining 946 crankshaft bores over a 24-hour period, so 1892 in total. In this time, not a single bore was out of tolerance thanks to ActiveEdge’s intervention. The finished bores had a mean diameter of 52.965 mm with a tolerance of ±0.015 mm. During the test period, bore sizes were maintained within a variance of just 2 µm.
Prior to installing the tooling, the process of ensuring nominal size before the production run took 45 minutes on average. In contrast, Zenith allows automatic, individual cutting edge compensations to be made with the tool located anywhere in the machine, completing the setting process after an insert change within a matter of minutes.
For further information www.rigibore.com


