CMMs PROVIDE FLEXIBLE APPROACH TO MORE PRODUCTIVE QUALITY CONTROL

Two CMMs manufactured by LK Metrology have largely superseded the use of a pair of smaller capacity, 15-year-old machines in the inspection room at contract machining specialist WLR Precision Engineering of Wilford, Nottinghamshire. To enable production operators, as well as quality inspectors, to operate the new CMMs and access the measurement reports easily, the machines feature LK Launchpad, an icon-driven, touchscreen operator menu, and a network of viewing screens and tablets. The simplified operator menu lists all the available inspection programs and the exact component placement position on the machine table for inspection, giving operators the confidence to perform measurement tasks in just a few clicks. It is possible to share measured results and automatically generated reports between screens, tablets and other networked devices for easy access and viewing from any location.

WLR is widely regarded by its customers as an all-encompassing service provider, as in fulfilling virtually every contract it manages the entire production process. A proportion of the value of each part is rigorous metrology, often involving 100% inspection. Contracts come mainly from the oil and gas, pharmaceutical, medical, laboratory and scientific instrumentation industries, which place great reliance on the accuracy and consistency of parts delivered.

Sales manager Tom Parr says: “The increasing confidence that customers have in the accuracy and consistency of components they receive has resulted in us winning considerably more business in virtually every sector that we serve.”

What has helped above all in raising that level of confidence was the purchase in 2015 of the first LK CMM, an AlteraS 15.10.8 with a measuring volume of 1524 x 1016 x 813 mm. The machine quickly transformed quality control activities at the Wilford factory, making it faster, much more efficient and less labour-intensive in respect of both measuring parts and preparing inspection reports.

A major benefit of the CMM is its large table area, approximately 1.0 x 1.5 m, which is able to accept up to 12 identical components at a time for batch inspection, instead of just one as on either of the older CMMs. It is unusual within the manufacturing industry to see a measuring machine nested with multiple components in this way, but the subcontractor attests that it is a perfectly feasible way of operation. Typically, it is possible to inspect five batches during a day shift with a load time of about five minutes between each.

Once components are in place, an inspector presses a button to commence the measurement of every part in a single, automatic cycle, the longest of which is two hours. The operator is thus free to work elsewhere on other metrology equipment for a majority of the day. Efficiency is much increased compared with the former method, whereby an inspector was committed to sitting by a CMM all day loading each part individually prior to every automatic measurement cycle, all of which took an indeterminate amount of time that was longer than the equivalent automatic batch cycle.

With the previous metrology route, subsequently preparing reports by hand on 12 inspected parts would typically take three hours, which was not just time consuming, but tedious. Now, big savings are again evident due to the ability of CAMIO (CMM multi-sensor metrology software) to perform the task fully automatically. A comprehensive, graphically supported inspection report is available for an entire batch in a matter of minutes, covering perhaps 30 or 40 critical dimensions on each part, complete with colour-coded content in the event of any non-conformance. The software exports the data, via a CSV-type file especially formatted by WLR, directly into an Excel spreadsheet.

All these advantages have led to a considerable enhancement in inspection and reporting efficiency, allowing the subcontractor to accommodate a surge in orders.

By May 2021, the company required a further increase in batch measuring capacity. This time, WLR purchased a smaller LK AlteraS 10.10.8 with a working volume of 1016 x 1016 x 813 mm, together with the latest CAMIO 2021 and additional LK Launchpad software. The easy-to-use, graphical interface enables not only the two WLR quality inspectors and quality manager Tony Blood to load parts singly or in batches of up to six at a time, but also the 10 dayshift and five nightshift machine operators.

Launchpad makes it simple to load the correct program for inspecting a component, with details called up via simple graphical menus and icons on a screen positioned by the machine. The operator can locate the component by selecting the customer by name, or via the part category, or by directly calling up the part itself complete with details of the machining process. Set-up on the CMM is straightforward, assisted by 12 mm thick aluminium fixture plates pre-drilled with a grid of holes at a 50 mm pitch fitted across the granite table of the machine. The operator simply places the component in a numbered location on one of the fixture plates, as indicated by the Launchpad graphic, and instigates the measuring program by pressing a button on the touchscreen. Despite being a powerful process, WLR confirms that the software is remarkably flexible and easy to use.

For convenience, the same inspection results that appear on the screen adjacent to the machine are also available on networked tablets used by machinists on the shop floor.

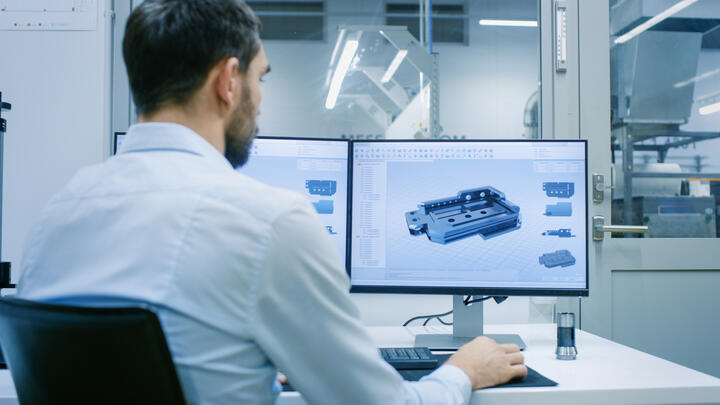
Another plus point, introduced at the time the first LK CMM arrived, is the ability to program the machines directly from CAD. Before the new LK CMMs arrived, it was sometimes necessary to produce a first-off component for a customer in up to six operations on a succession of machine tools, then take the part repeatedly to the inspection department for measurement and subsequent correction if necessary. After it had been finished-machined, the component provided the basis for teaching a measuring program into one of the older CMMs. Now, in the same way that a CADCAM system derives a metal-cutting program directly from an electronic model of a customer’s component, the DMIS inspection cycle for the LK CMM can be created from the same CAD model using LK CAMIO software in advance of first part production.

All inspection routines for both LK CMMs are now prepared this way in CAMIO, which performs not just programming but analysis of the captured data and automatic reporting of the results. The measurement program enables the first-off part to be checked immediately on its first visit to the AlteraS 15.10.8. Programming time is quicker than before, but the biggest plus point is that it is completed offline, so the CMM is unoccupied, allowing inspection of components to continue uninterrupted. Together with the benefit of multi-sensor capability, permitting the use of a Renishaw SP25 scanning probe or a Nikon LC15Dx laser scanning head instead of a touch-trigger probe, measuring throughput has increased.

On the implementation of the successful metrology upgrade at WLR, Blood says: “Our new measuring processes can be used by personnel with a wide range of experience levels. The high degree of automation plus the ability to increase speed by scanning as well as touch-probing have helped us save time and remove inspection bottlenecks. Automation and deskilling of operations have also allowed us to enhance inspection efficiency without adding to our headcount. Added to this, every day there is a further economic advantage through the ability to run the CMMs unattended for up to two hours at the end of each day shift due to our strategy of batch loading.”

Parr adds: “The parts we produce typically range in size from about 5 mm square up to 115 mm in diameter by 250 mm long. At one end of the scale they are milled, turned, ground, spark-eroded and diamond-lapped from free cutting brass, aluminium and stainless steel, but very often they are machined from the toughest of alloys, including Inconel 718, Invar or Hastelloy.

“Consistently high precision is the watchword here, with machined tolerances normally of the order of ±25 µm, but exceptionally down to ±3 µm, if necessary,” he continues. “Nearly all components are inspected on our LK CMMs. There is enough spare capacity now to provide our customers with additional services if required.”

For further information
www.lkmetrology.com

Bandsaw or circular saw?

For many years the only successful way of cutting materials accurately was by circular saw. However, as bandsaw machines developed over the past 40 years, the demand for circular saws has reduced. And yet those seeking a clean, square and fast cut on small-to-medium size sections could well benefit from a circular saw, as might any shops exclusively cutting aluminium or plastics. In contrast, those looking at cutting larger sections and solids may likely find a bandsaw is the more favourable option. With these thoughts in mind, Prosaw has published a new beginner’s guide to sawing.

Take mitring, for example: is it necessary? Well, for steel fabricators, some work will involve cutting angles on sections to enable the manufacture of frames or complex shapes. Swing-frame sawing machines offer quick set mitring and even the most basic of saws will often offer a mitre facility, albeit not as quick as a swing-frame model. Even some automatic bandsaws can mitre in-cycle, producing complete components for fabricating.

A common question is whether each material requires a different blade? Not necessarily. For most sections and even solids, one blade will cover a wide range of material shapes and sizes. Of course, for those cutting from a very small section or solid through to the machine’s maximum capacity, then the best choice would be a different blade to cut both extremes. The same applies to the speed of the blade. Prosaw provides a cutting chart with all of its machines to select the most suitable blade speed and cutting rate.

Cutting fluid is another common area of confusion. Many companies can increase their blade life and reduce consumables cost by just taking a close look at their cutting fluid mixture. Unlike machine tools, which generally use carbide inserts, saw blades create a lot of heat at the cutting point, which means that with a low-level mix of fluid the tool will eventually fatigue and break. Prosaw recommends a mixture level of between 8-12%, depending on workpiece material.

For further information
www.prosaw.co.uk

Fife Fabrications set to celebrate 50 years

UK precision sheet metalwork manufacturer, Fife Fabrications (Fifab), has reason to celebrate as it achieves 50 years in business in 2022. For half a century Fifab has manufactured precision sheet metalwork, electromechanical assemblies and precision machined components, offering a complete service from design for manufacture, to production and full customer delivery. In 2022, the business will celebrate its 50th anniversary at the Southern Manufacturing & Electronics exhibition in Farnborough. Based in Glenrothes, Fifab continually invests in lean manufacturing, people and processes.

For further information www.fifab.com

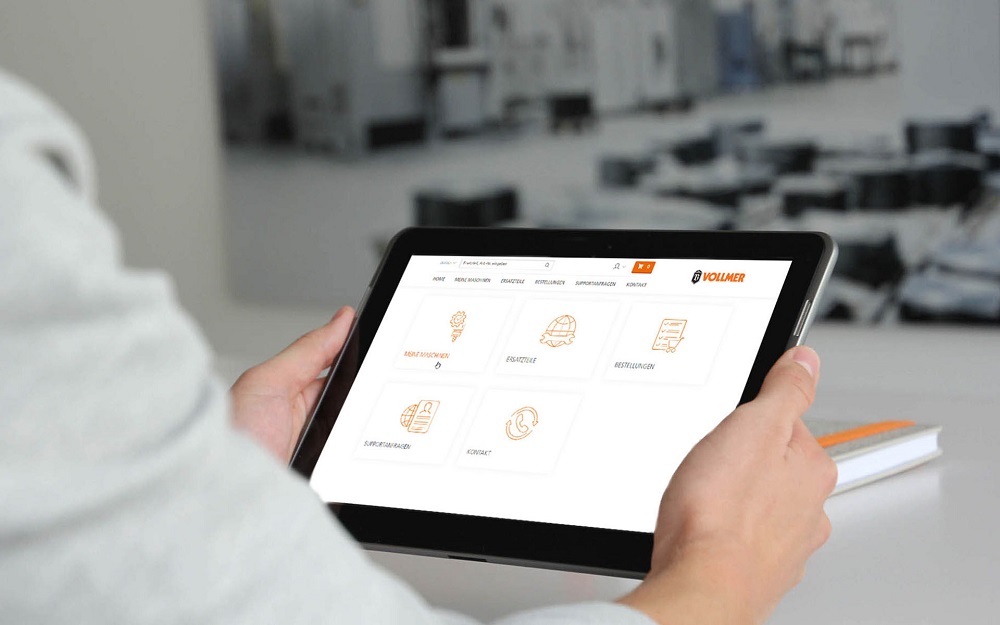
Sawmill opts for Vollmer machine

The Holzwerk Baur sawmill, based in Wain, Upper Swabia, processes around 180,000 solid cubic metres of wood each year and exports its products across the world. Sustainability is a key priority for the sawmill, which sources its material from the local region and puts every last shaving to use.

To ensure efficient wood cutting, Holzwerk Baur runs around 250 saws every day, kept sharp using machines supplied by Vollmer. Among many machines in the grinding shop is a Vollmer CHD 270 grinding machine for carbide-tipped circular saw blades, set up with an automated system to run around the clock.

The Vollmer CHD 270 offers eight CNC-controlled axes and measuring equipment able to machine carbide-tipped circular saw blades in a single set-up. It can sharpen even complex tooth geometries, including chip-breaker grooves, chamfers on the pre-cutting and finishing teeth, and Braunschweig tooth or chip-guide notches. Every circular saw blade is loaded into its precise grinding position automatically, regardless of diameter. A measuring sensor then determines the tooth geometry, in other words, the hook angle, radial and tangential clearance angles, cutting width, blade thickness, and side projection. The automated Vollmer ND 320 handling system uses two loading carriages, each of which can be loaded with up to 50 circular saw blades.

For Holzwerk Baur, the Vollmer sharpening machines are the key to sustainable wood processing. Able to process 80 metres of material per minute, the profiling line cuts the logs into clean squares, which are then processed by up to 10 saw blades into boards, frames and floorboards. Every last scrap of wood is used, with wood chips going to the paper mill, sawdust to chipboard manufacturers, wood shavings to the filler industry, and bark to gardening and landscaping firms (or the company’s own heating system).

For further information
www.vollmer-group.com

Nuclear AMRC to support SMRs

The Nuclear AMRC will work with Rolls-Royce on the next phase of its small modular reactor (SMR) development programme, and help prepare critical components for commercial production in the UK. In unison, the pair will develop the manufacturing capability for a variety of advanced processes, using the state-of-the-art machining, joining and testing facilities of the Nuclear AMRC’s research factory in Rotherham. The centre will also support the design of a new UK factory for large SMR components.

Following this development, the Nuclear AMRC will continue working with Rolls-Royce to create a fully integrated pre-production proving facility for SMR manufacturing. The proving facility will produce large-scale prototypes of the reactor pressure vessel and its closure head.

For further information www.namrc.co.uk