Inspection service prioritises medical parts

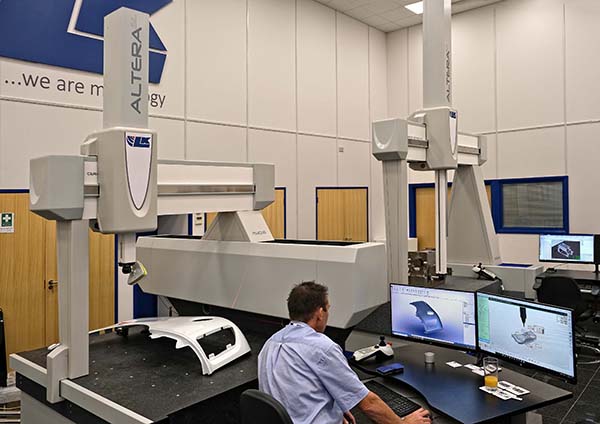
CMM manufacturer LK Metrology has introduced a subcontract inspection service in support of UK and Irish ventilator – and other medical component and equipment manufacturers – which may not have sufficient quality control resources in-house.

When the government launched its Ventilator Challenge UK, the consortium behind it asked multinational firms such as Rolls-Royce, BAe and GKN to identify and involve OEMs and subcontract machinists in the aerospace, automotive and other industries that could help boost the production of medical parts. Designed to meet the target of 30,000 extra ventilators needed by the NHS to cope with the surge in COVID-19 patients, the consortium sought manufacturers with spare machining capacity, as well as ISO accreditation and expertise in metrology, to ensure the high level of quality required when making parts for medical equipment.
Some firms lacked the metrology element of the requirement. This factor prompted LK Metrology to expand the existing contract inspection service run from its headquarters in Castle Donington and make it available exclusively for those registered to supply ventilator and other medical parts.
Dave Robinson, marketing manager at LK Metrology, says: “We understand that manufacturers in the medical sector are needed to help provide valuable components, products and systems to combat the pandemic. The majority typically require the use of CMMs to measure, reverse engineer and assure the quality of many complex and precision parts, including prismatic, rotational and freeform types. For that reason, we are offering them a series of metrology services that we believe can be of assistance during these anxious times.”
For further information www.lkmetrology.com

Pailton invests in VMC

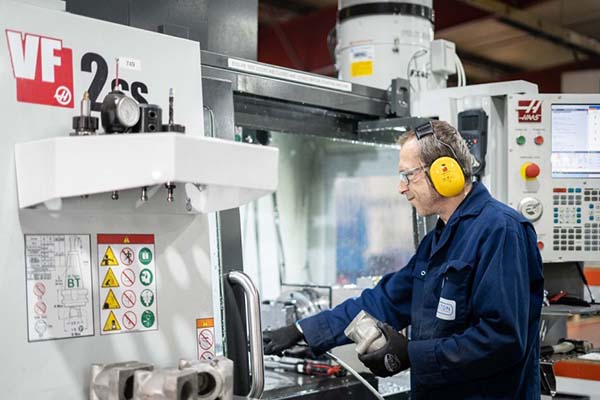
Coventry-based steering systems specialist Pailton Engineering has invested in a Haas VF-2SS machining centre to boost its production and design capabilities.

The latest purchase is part of the business’s long-term modernisation strategy, to improve manufacturing flexibility for its made-to-order steering parts. Chosen specifically for its wide range of tooling and automation capabilities, the machine combines multiple processes into one unit.
For further information www.pailton.com

Digital metrology hub introduced

In response to the current COVID-19 situation, Zeiss has created a new one-stop digital hub, so that customers can find everything they need from the company, from home.

The ‘Metrology Digital Hub’ houses useful information that includes: the Zeiss range of free and paid software options; e-Learning and webinars where customers can improve their skills on tool corrections, process optimisation and other topics; and helpful contact information.
Customers can also access the Zeiss Metrology Portal for any of their service, support and training needs. In addition, there is access to a digital magazine where a collated range of articles covering different industries and applications can be found.
Zeiss will soon releasing more information on upcoming e-Learning opportunities, as well as news on its latest product innovations, including invitations to digital events and new virtual means to learn about what Zeiss solutions can offer.
The world has never needed digital platforms so much to help connect people during this unprecedented time. The Zeiss metrology community is connecting people across the globe with social media using #measuringhero on LinkedIn, Instagram, Facebook and YouTube.
CEO Dr Jochen Peter says: “The safety of our employees, customers and business partners is a very important priority for us, so we have adapted our operations and are mostly working from home offices at the moment. Nevertheless, we are confident that we will get through these challenging times, and we want to let our customers know that we continue to offer them our support.”
For further information www.zeiss.ly/digital-hub

Calibration laboratory attains ISO17025

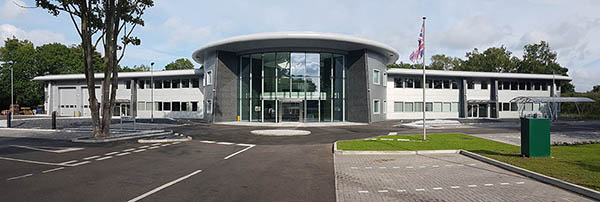
Vision Engineering, a 61-year-old British designer and manufacturer of visual measurement and inspection technologies, has attained ISO 17025:2017 from UKAS and is now a UKAS-accredited calibration laboratory (No. 7706).

The award of ISO 17025:2017 by UKAS is the only mechanism that determines the technical competence and integrity of organisations offering testing and calibration services. ISO 17025:2017 not only contains requirements for the quality management system of the organisation, but includes detailed and specific technical criteria for the operation of the service, including ensuring the competence of company personnel.
Vision Engineering’s temperature-controlled calibration laboratory is now ISO17025:2017 certified for the calibration of measurement stages, instrumentation and artefacts performed at its production complex in Surrey. The full-service manufacturing facility includes a design office, machine shops, paint shop, cleanroom and assembly area. It is replicated in the US, with a wholly-owned, full-service manufacturing facility in Connecticut.
Measurement calibration and technical support is provided through a network of Vision Engineering subsidiaries in Germany, France, Italy, Japan, China, India and Malaysia.
The company supplies its non-contact and contact optical and digital measuring systems to a range of global manufacturers, including those in the medical device, aerospace, automotive and defence sectors, and their multi-tier supply chains.
Mark Curtis, managing director, says: “This is an independent and globally recognised confirmation by UKAS of the consistently high standard of our testing capability and calibration laboratory.
ISO standards confirmation is a key statement of our ability to address the requirements of our manufacturing and analytical customers across the world, and provide certainty of the quality of both our calibrations and calibrated metrology systems.”
For further information www.visioneng.com

Wenzel partners with Metrologic Group

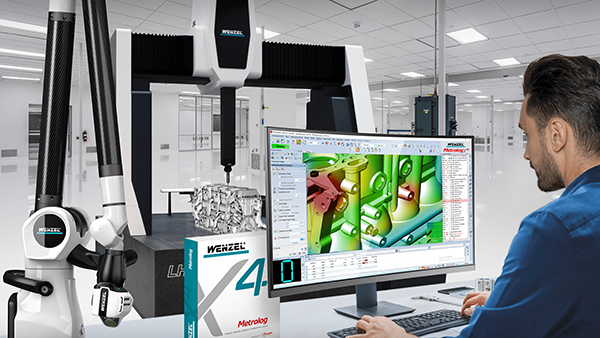
Wenzel Group has entered into a close technological and commercial partnership with Metrologic Group. Metrologic Group software solutions are available in a version adapted to Wenzel CMM and portable measuring arms, with a focus on universality, performance and point cloud inspection.

The goal of the partnership is to provide Wenzel customers with software solutions suited to its measuring equipment, based on joint technical expertise with Metrologic Group. Wenzel CMMs and portable measuring arms can now take full advantage of Metrolog X4 and Silma X4, as well as the dedicated portable arm solution, Metrolog Evo.
According to Wenzel, the move means that its customers can enjoy advanced 3D measurement capabilities, a best-in-class point cloud module, robust offline programming and simulation tools, and faster measuring cycles to make the most of their Wenzel measuring system and streamline their 3D inspection process.
Wenzel customers willing to upgrade their software to Metrolog X4, Silma X4 or Metrolog Evo, will be able to do so directly using a Wenzel controller, WPC or with the Metrologic Group controller, ME5011. Be it on Wenzel CMMs or measuring arms, both conventional tactile probes and optical laser line sensors are already supported in the X4 software platform.
The complete solution featuring Wenzel hardware and Metrologic Group software is available directly together with the measuring equipment from Wenzel and its network.
Says Dr Heike Wenzel, CEO: “Together with our high-quality machines, customers will gain significant benefits when using the entire solution in the measurement room and/or the production environment.”
For further information www.wenzel-group.com