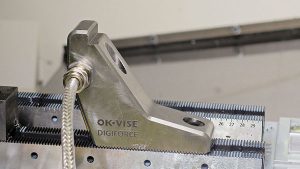
Workholding equipment manufacturer OK-Vise has announced two new systems for checking how tightly a component has been clamped, mindful that during automated machining in particular, the verification of holding force has always been a challenge. The products are available in the UK through 1st MTA.

The accuracy of workpieces, especially those that are delicate or of thin-wall construction, can be adversely affected if the clamping pressure is too high. Conversely, if the grip is too weak, there is a possibility of the part becoming dislodged during machining, risking operator injury, machine damage, tool breakage and scrap.
During automated hydraulic clamping, oil pressure is easy to measure, but other variables can also influence clamping force. In manual clamping systems, straightforward torque measurement is often used, although the relationship between torque and actual clamping force can be inaccurate. As a result, the approach that OK-Vise has taken is to integrate clamping force measurements directly into the company’s modular Multi-Rail RM fixturing system.
An on-screen digital readout of clamping pressure enables the operator to verify that a hydraulically secured component is held correctly. If required, an optional SCADA system can collect information from several displays over a standard Modbus connection so that historical data can be viewed and adjustments made as necessary.
The system also allows the holding force of manually secured workpieces to be checked. Here, a visual red dot in a clamp module gradually fades to grey as a spanner is turned, showing when the holding force is correct. Various modules are available for different clamping pressures.
For further information www.1mta.com


