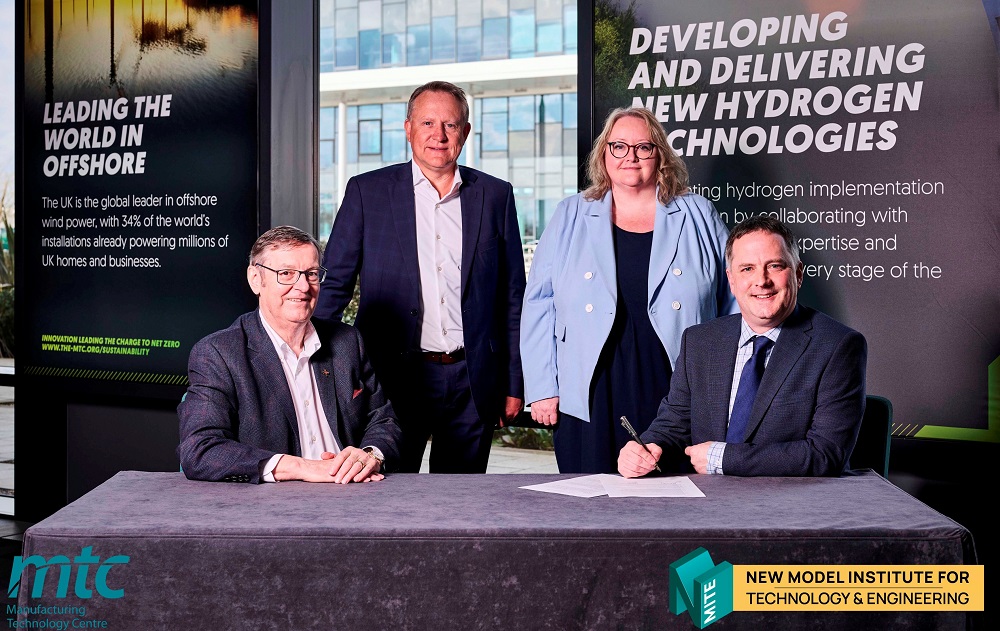
Museum exhibit features MTC apprentices

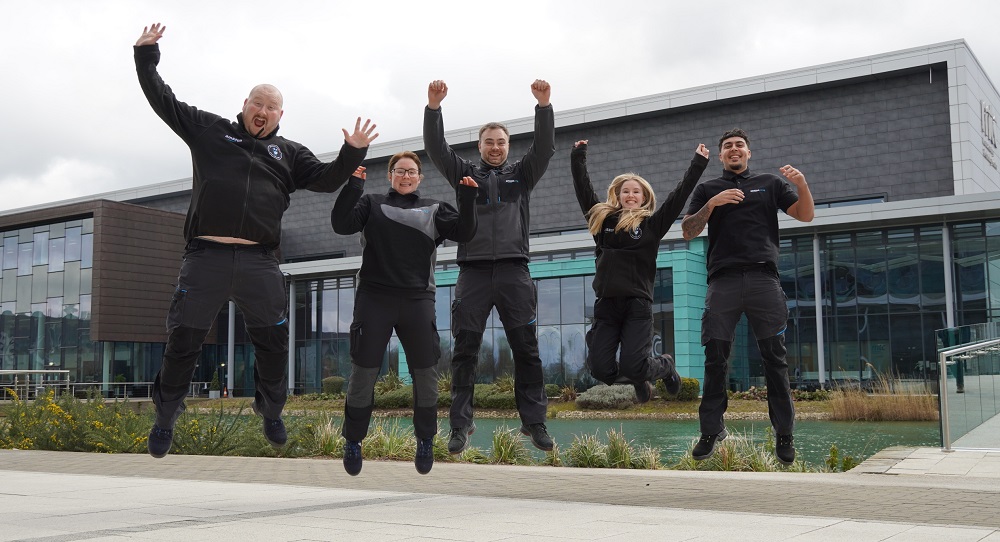
Two MTC Training apprentices feature in a permanent exhibit at London’s Science Museum that aims to promote STEM (science, technology and mathematics) subjects to youngsters. ‘Technology Makes it Happen’, features a video of MTC Training apprentices Kieran Bullivant and Evadney Enock, who have recently completed their advanced manufacturing apprenticeships. In the video, the pair talk about their training and the opportunities that have opened up to them as a result. The exhibition is scheduled to remain in place at the Science Museum for at least 10 years.
For further information www.the-mtc.org

NCMT sponsors university racing team

University of Wolverhampton Racing (UWR) has gained a new official sponsor – machine tool supplier NCMT, best known in the UK and Ireland as the sole agent for selling the Japanese Okuma and Makino brands. The agreement was struck in mid-February 2023, in time for the first race of the Britcar Prototype Cup.UWR is the only student-run team that competes in the Prototype Cup using a Praga R1, a Czech-manufactured racing car eligible for the competition.

Jonathan Smart, managing director of NCMT, says: “We are delighted to start sponsoring UWR, which unlike all other student teams in the UK competes against professional racing teams. It gives their graduates the edge when trying to enter professional motorsport or other employment.Moreover, the Department of Engineering is especially committed to extending opportunities and promoting diversity in engineering and motorsport.”
For further information www.ncmt.co.uk

Gauge confirms accuracy of measuring machines

CMM manufacturer LK Metrology is introducing a range of UKAS-certified length and form artefacts complete with holding fixture, allowing users to verify the inspection accuracy of any 3D measuring platform. Customers can therefore have greater confidence in the results of an inspection, whether for metrology or reverse engineering, long after the annual calibration of the measuring machine.

Each CMM Checking Gauge (CCG) enables independent monitoring and verification of accuracy through regular intermediate checks on a CMM or portable measuring arm. An OEM can be certain that prototypes and production parts are within tolerance, while subcontractors are able to assure their customers that any machining and inspection carried out on their behalf is accurate. CCG demonstrates a commitment to a consistently high standard of dimensional quality control. Artefact measurement uncertainty is down to ±0.01 μm.

The gauge provides an efficient go/no-go check with measurement results for ongoing CMM monitoring. Three combinations of length bars, ring gauge, test sphere and fixture of different sizes are available to suit various measuring machine models. Regular use provides an early warning of changes in the inspection system and an opportunity to take pre-emptive action. Once identified, it is possible to address accuracy issues due perhaps to environmental changes or an unnoticed probe crash by scheduling an interim machine service or calibration, before downstream manufacturing processes are impacted.

CCGcomes in a carrying case with a program on a USB drive that runs in LK’s CAMIO measuring and reporting software. The program comprises DMIS measurement and alignment routines for bridge and horizontal arm CMMs, allowing the CCG cycle to run seamlessly on LK machines.
For further information www.lkmetrology.com

USA flag [head] Accurate and easy way to perform Brinell tests

AMETEK Newage Testing Instruments, an established manufacturer and worldwide supplier of hardness testers and accessories, is launching its improved Brinell Optical Scanning System (BOSS).

Brinell testing is a widely used method for measuring the hardness of metals. There are several reasons why this method is so popular, including its suitability for all metal types and that it offers a very accurate and simple testing method.Manual reading is quite easy and straightforward, but here operatives come across the one disadvantage of the Brinell method: manual reading via microscope has a high risk of human error and requires training and concentration to achieve accurate results.

Since the formula for the Brinell Hardness Number (BHN) calculation depends on the indent impression reading, these readings require high accuracy. That is why AMETEK Newage developed BOSS, which virtually eliminates operator influence on the test results.

BOSS uses a compact scanning head attached to a computer using the BOSS software to measure impression diameters in seconds and yield a measurement resolution of 0.01mm. BOSS software is used to set up the criteria for the reading, and perform the necessary BHN calculations to ASTM standards. The system even takes into account such anomalies as impression roundness and the surface finish of samples.

In this latest launch, the BOSS software now features an even better user interface that is intuitive in a familiar window-based environment and with faster and easier installation. The new configurable display shows the 10 most recent readings and features customisable measurement screens that users can configure to tailor the software to their specific application. An updated demonstration mode allows for multiple impressions, creating an improved sales and training experience.
For further information www.hardnesstesters.com

Training centre alumni making a difference

Two University of Sheffield AMRC Training Centre alumni feature in a new book that will soon be in the hands of every secondary school in the UK, where it aims to inspire and excite young people about careers in engineering.Beth Cousins, now a project engineer at the University of Sheffield AMRC, and Kate Todd-Davis, who works as a manufacturing engineer for Rolls-Royce, were hand-picked to appear in the book ‘Engineers Making a Difference’, alongside 44 other superhero engineers from sectors including construction, energy, transport, robotics and artificial intelligence, and more.
For further information www.bit.ly/3mFWmiQ

PORTABLE CMM ARM WITH 2 M REACH HALVES INSPECTION TIME FOR LARGE COMPONENTS

Founded in 2011, toolmaking and subcontract machining company GT Tooling spent one year using conventional manual metrology equipment to measure the components it was milling and turning before investing in a 3D articulating arm, a six-axis model with a reach of 1.2 m. Three years later when the company moved from Petersfield to a bigger factory unit in Fareham, the company invested in a machining centre with 1651 x 762 x 762 mm travels, which meant that larger prismatic parts required inspection in two operations.

Although satisfactory, the procedure was time-consuming and risked the introduction of errors due to the necessity for arm relocation. So in May 2022, a Freedom Classis Scan portable arm with a reach of 2 marrived from LK Metrology. GT Tooling gained its introduction to this UK CMM from nearby Mech Metrology & Power Tools, which calibrates the toolmaker’s inspection equipment and supplies it with conventional metrology tools such as verniers and micrometers.

Greg Simmonds, joint owner and director of GT Tooling, says: “We considered manuallyoperated and CNC CMMs. However, the repeatability of measurement on the former was not good enough while the latter did not offer sufficient flexibility of use. Neither had the reporting capability that was up to our standards or those of our customers. We also felt that programmable CMMs were better suited to series production, whereas we machine mainly one-offs and small batches.”

He continues: “We therefore decided to stay with portable arm technology, but instead of returning to the incumbent supplier we chose LK. We were keen to take advantage of their renowned aftersales service and we also like the PolyWorks Inspector reporting software supplied as standard with LK Freedom arms, which is particularly easy to use. Simply by pulling out the required dimensions and pressing a button, it is possible to manipulate reports freely into different, easily-digestible formats to suit each customer’s preference.”

The precision engineering firm has held ISO9001 quality management certification since the beginning and takes inspection and measurement very seriously, not least because it is heavily involved in supplying Formula One teams during the off-season. During that period, motorsport accounts for a large proportion of factory throughput, mainly the manufacture of patterns, jigs, fixtures and aluminium soft tools for producing composite race car parts. Other industries served include aerospace, automotive, food and beverage, while the company produces rubber and injection moulds from tool steel for a multitude of sectors. Further materials processed at GT Tooling include stainless steel, exotic alloys, copper and its alloys, carbon fibre, and engineering plastics.

Ryan Leaves, who doubles as a sales engineer and an inspector at GT Tooling, says: “Greg and I witnessed a one-hour presentation on the Freedom arm by LK engineers in Castle Donington. It took place online during the pandemic. The demonstration, which included use of the PolyWorks software, took place inspecting one of our parts. It showed how easy the equipment is to use and left me feeling relaxed that, even though I don’t have a formal metrology background, I’d be able to implement the new inspection system quickly.”

A CMM is inherently able to measure tolerances about 10 times smaller than an articulated arm, as positional feedback is from linear scales rather than absolute angle encoders within rotary joints. Nevertheless, the Freedom arm provides accurate results when GT Tooling is measuring dimensions to general drawing tolerances of ±0.1 mm. If there is a need to check tighter features, Leaves uses conventional metrology involving bore and pin gauges, for example.

He confirms that the entire quality control process using the arm, comprising alignment, inspection and reporting, is now faster and more flexible than previously due to the enhanced usability of the LK equipment. Speed is important, as some urgent jobs for Formula One require a 24-hour turnaround. An internal report takes typically 15 to 20 minutes to prepare, while about one hour is required for a full FAIR (first article inspection report). The reason these previously took longer was that the reporting element of the process to GT Tooling’s specification was more time-consuming. Where really significant savings accrue is when inspecting large parts that previously required two arm set-ups. In these cases inspection time is halved, as Leaves was essentially doing the job twice.

The main benefit of the new quality control procedure is that the resulting documentation is now exactly what the customer wants to see, without the inclusion of unnecessary content and consequent need for interpretation. GD&T reporting in particular, previously a laborious exercise, is notably more user-friendly with PolyWorks. GT Tooling uses the arm almost exclusively on a dedicated inspection table for checking components, but occasionally it is mounted on a machining centre table to verify the accuracy of a part before it is taken out of its fixture or prior to further metalcutting.

During pre-purchase discussions, it became clear that laser scanning as an adjunct to touch-probing of discrete points would be of considerable benefit to GT Tooling. It would allow the collection of much more comprehensive data on freeform surfaces in a fraction of the time and hence provide more comprehensive reporting and avoid any risk of missing machining errors. It was for this reason that LK supplied a seven-axis Freedom arm rather than a six-axis model, together with suitably configured software, as the extra degree of freedom is necessary to enable laser scanning when the additional investment can be justified.

A further benefit of laser scanning will be inspection of delicate and deformable components, including rubber parts such as car door seals, without fear of damaging or deforming them in the process. Yet another advantage will be the ability to reverse engineer legacy components, such as for vintage cars, for which no data or drawings exist. It will be possible not only to use this capability on parts machined in-house, with the opportunity to win new customers as a result, but also to sell an inspection service to other manufacturers on a subcontract basis if there is spare capacity.

Simmonds concludes: “Until now, we’ve produced inspection reports on about 40% of our machined components, as not every end user requires one. Now that the process is so much quicker and easier with the LK arm, we’re looking to more than double the number, as it reflects well on the service we provide, gives customers confidence and may result in extra business.

“I’d like to place on record that the PolyWorks software has proven to be even better than we were expecting and the company’s telephone advice is excellent, as is LK’s. This is key for us, as we often have to provide a quick service, especially to Formula One, and we cannot afford to have our inspection function down for long should we have a problem.”
For further information www.millscnc.co.uk