System integrators serve as a valuable link between robot suppliers and automation endusers. Usually specialising in one particular sector, system integrators provide industry-specific automation advice to help companies improve their efficiency, as well as building standard or bespoke automation systems that allow manufacturers to benefit from the latest robotic technology. They also offer a direct route-to-market for robot suppliers who may otherwise struggle to penetrate particular niche sectors.
Robot manufacturer FANUC works with system integrators across sectors as diverse as food and beverage, aerospace, medical, welding, plastics, and high-value manufacturing. Some of these partnerships are more than a decade old, a time period that has seen the skills required to be a successful integrator evolve.
Since the introduction of the IIoT (industrial internet of things), many of today’s factories are smart and connected, 24/7. Integrating a robot into an existing line therefore requires more than mechanical capabilities; today’s system integrators must also possess a high level of programming and other software skills to ensure that factory managers are able to receive a constant flow of data. Data not only enhances manufacturing operations, it provides transparency and supports reporting activities.
Dan Fisher is the partner sales manager for FANUC UK and reports seeingevolution accelerate over the past few years: “Factory managers now expect instant information on a product’s position in the manufacturing lifecycle, particularly if they are dealing with perishable goods. FANUC’s robots are known for being simple to install, easy to program and user-friendly. However, integrating a robot into what is in effect a mini warehouse management system is nevertheless a crucial skill for a system integrator. This task includes being proficient across multiple programming languages. While lots of engineers are software savvy, some lack traditional mechanical skills that are still essential to a successful automation installation, such as welding, guarding and fabricating. For this reason, we ensure that any FANUC system integrator not only demonstrates strong programming abilities but has support from a network of mechanical engineers.”
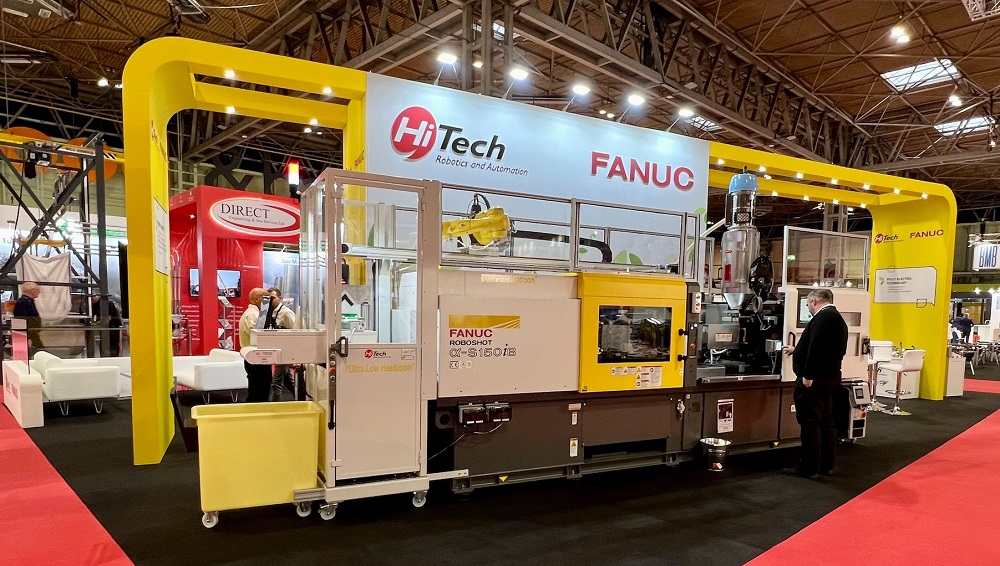
The majority of automation system integrators are independent service providers, meaning they can specify robots from a variety of manufacturers. Deciding upon an automation partner is an important choice that can make or break a project, as Gary Probert, director of Hi Tech Automation, explains: “We deliver standard and bespoke automated injection moulding systems for the plastics sector and have been a FANUC system integrator partner for over 15 years, most commonly specifying their ROBOSHOT all-electric injection moulding machine.”
He adds: “Reliability is key.When dealing with a new customer, it’s important that the first installation goes well as that sets the tone for the rest of the relationship. Using FANUC products means we can be sure the project will be right first time. Their equipment is built to last, with an eight-year mean time between failures. They’re also one of the only robot companies that manufactures every componentthemselves: motors, drives, everything. It reflects badly on us if a system breaks down so knowing the base robot is rock solid is a real advantage. In addition, as 90% of the systems we sell feature something extra, such as integrated vision or auxiliary axes, it helps that we’re able to get it all from FANUC. There’s no need to approach another supplier, which keeps things simple and reduces risk for the client.”
As Probert mentions, for the customer, working with a system integrator is a sure-fire way to de-risk an automation installation project. Responsibility lies with one system integrator, rather a number of external suppliers. Moreover, system integrators bring with them sector-specific knowledge and expertise that individual robot suppliers may not possess.
This view is echoed by Fisher, who states: “For the customer, working with a system integrator that only operates within their chosen sector is a real bonus. They will understand the challenges you’re looking to overcome, the pitfalls you want to avoid, and the advantages you expect to make from your automation installation. From FANUC’s perspective, while we’re the expert in our own range of products, we may not know everything about each sector in which our robots are employed. To ensure the customer gets the right solution, at the right price, and that it works as intended for their particular application, dealing with a system integrator with specialist sector knowledge is a fast-track to success.”
This premise works both ways, however. To ensure the customer gets the very best from their automation solution, it is imperative that the system integrator understands the full capabilities of any robot, machine or ancillary equipment they specify. FANUC treats its system integrator partners as extensions of its in-house sales teams and provides training for up to 30 employees throughout the year. As well as ensuring they receive comprehensive training on FANUC’s entire product portfolio, specialist courses in evolving areas such as vision, safety and simulation are also available.
This kind of support is invaluable to system integrators if they are to keep offering a quality service to their customers. Darryl Keel is the technical sales engineer (EU and Americas) for Alphr Technology, a supplier of high-end automation solutions to customers in the electronics, automotive, medical, defence, HVAC and aerospace industries.
Keel explains the importance of FANUC’s support to the automation systems Alphr delivers to clients:“We’ve been a FANUC system integrator for one year, purchasing 30 robots from them in that time. Their product range is excellent, but the quality of their training and support was what really sealed the deal. We’ve sent our staff on a number of FANUC courses, including ROBOGUIDE simulation training for designers, which was first class. We also appreciate their global support network. As our customers are based all over the world, we need a robot manufacturer that can supply and support us globally.”
FANUC’s support extends beyond training to offer a complete wrap-around service.
“We have dedicated engineering support and software support teams, and a specialist integrator hotline which puts our system integrators through to FANUC technical experts within seconds,” says Fisher. “While the reliability of our products is obviously important, the real difference to a system integrator is knowing that technical knowledge and support is availablewhenever and wherever needed. In fact, we’ve won multiple system integrator accounts due to the quality of our support. When we work with a system integrator, we’re building a long-term relationship.”
Alongside first-class training, global support, product reliability and ease of use, there is another factor that system integrators look for in a robot partner. For Loop Technology, which delivers automation systems for aerospace, automotive and defence manufacturers, the differentiating factor is robot accuracy.
“In terms of performance, FANUC offers more than most robot suppliers,” says Adam White, Loop’s technical sales engineer. “Our RoboMACH HA system uses FANUC’s M-800 robot, which offers outstanding path accuracy, even for high speeds and tight curves. Our customers use it for trimming composites in automotive and aerospace applications, where standard robots are simply not accurate enough. Our work is innovative and we pride ourselves on pushing boundaries. Whether we’re creating a standard or a bespoke solution, our robot partner is a crucial part of the chain.”
For further information www.fanuc.eu


