In a highly litigated and tightly regulated industry like medical device manufacturing, where
processes demand strict validation, is full integration of machine learning (ML) into
production truly feasible?
Generative artificial intelligence(AI), and by extension ML, offers manufacturers the promise
to predict and react autonomously to a wide range of production situations. But if an
automatic adaption involves algorithmic changes to a validated process, does it risk
undermining or even invalidating the fully tested and authorised production process?
Despite numerous advances in AI and ML, valid concerns relating to safety, transparency,
explainability, trust, security, data privacy, interoperability, ethical biases and accountability
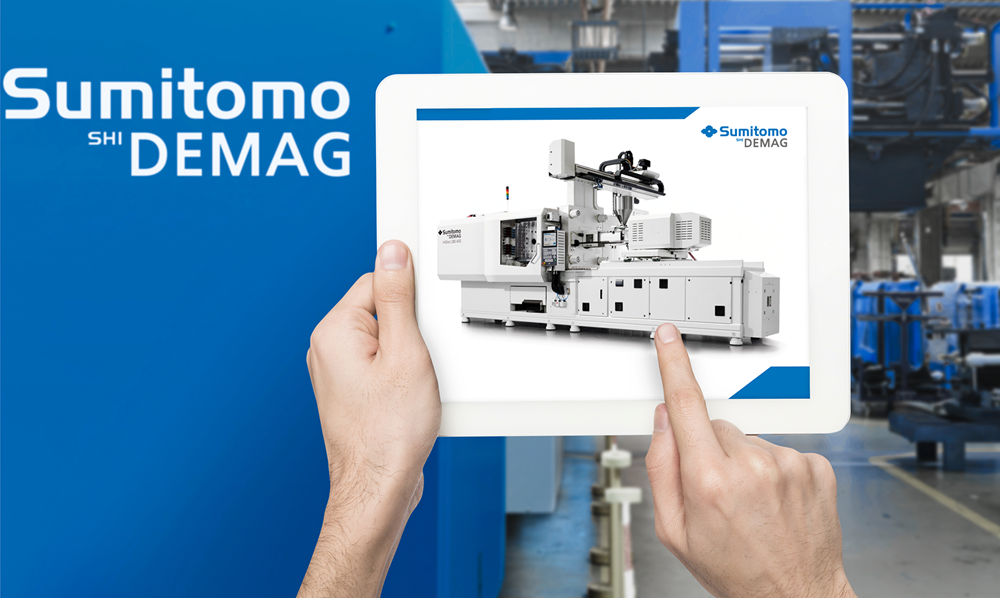
persist. In this article, specialists from Sumitomo (SHI) Demag expand on where AI and ML
can be usefully applied and why, for process validations in particular, there is still much
deep learning to be done.
In medical manufacturing especially, robust validation protocols are critical throughout the
product lifecycle, including any changes that could impact a product’s quality. There is no
wiggle room – zero defects is always the target. Processors cannot simply shift the
parameters to suit. When manufacturing a medical device or a sterile implant, nothing less
than 100% quality is acceptable.
In accordance with ISO 13485 standards, ongoing documentation of the validated injection
moulding process needs to be maintained. It is a continuous and scientific process. When
machine settings are adjusted to compensate for changes in the environment or to address
moulding issues – such as pulling, distortion or aesthetic defects – it will trigger a re-
validation exercise. So too would major repairs, changes or improvements to the mould tool
and machine. The cost and time implications each time a moulder repeats this validation
process can be extensive.
Sumitomo (SHI) Demag’s medical business development director Andreas Montag expands:
“One of the biggest obstacles to ML in medical manufacturing remains the altering of
processing parameters. This is currently referred to as ‘black box ML’. If the processing
algorithm is changed autonomously and it isn’t clear how a machine arrived at this decision,
who is held accountable? Although the risk might be minimal, failure to detect any
processing errors may cause harm to end users, resulting in a legal investigation.”
Altering a validated process using ML is still a long way off suggests the company’s UK &
Ireland managing director Dave Raine: “Clear and practical regulations for this type of
automated validation, while ensuring medical processes and products continue to meet
regulatory and quality standards, do not yet exist. The EU and the FDA is continuing to work
on classifications. This could take several years or more to materialise. For medical
especially, with its entrenchment in risk mitigation, there’s likely to be continued resistance
to the adoption of ML automatically adjusting processing parameters.”
That said, for many manufacturing markets, including consumer or packaging, where the
focus is on high volume inputs and outputs, the opportunities for reactive autonomous ML
are much more extensive. Here, projects have already been undertaken by Sumitomo (SHI)
Demag in collaboration with industry partners and academics to calculate the optimal
process settings on an Sumitomo (SHI) Demag IntElect manufacturing cell.
One pre-study project proved that the use of automated processing parameters on a non-
medical application resulted in 4.5 times faster machine set-up times and generated 78%
less start-up waste.
The development of the company’s activeMeltControl (aMC) is another example of how
adaptive technology is being applied. Integrated into the machine control system, aMC
works by continuously monitoring for variations in holding pressure and changeover
position. Once a parameter is detected as drifting towards the tolerance limits set by the
user, aMC automatically adjusts the set parameters to compensate for the variation.
“This is a superb example of how AI can solve a particular processing challenge,” notes
Raine.
However, even here some human intervention is required as the adjustment bandwidth still
needs to be defined by the processor.
Montag also states that AI has accelerated the development of customised medical
production cells through more accurate simulations and generative design. AI models and
digital twins can help medical processors test concepts before machine builds and
installations.
“There will always be nuances in every line and every customer production environment,”
he says. “Rather than starting from scratch with each moulding cell, we draw on our
industry expertise and leverage AI to simulate and predict machine interactions more
accurately. This approach ultimately supports design optimisation; accelerates
development, factory testing and installation; helps minimise risk; and reduces bespoke
R&D costs. For time-critical projects, this insight and added context can be invaluable for
customers.”
AI can also assist with ensuring any URS (user requirements specification) design requests
are both feasible and warranted. This can include adapting tried and tested documentation
blueprints to assist customers with scoping out their URS, artwork design, software and
functional specifications, ensuring costs and budgets are carefully controlled. Although the
sharing of these processes can assist the wider medical community, no secure intel or
intellectual property is ever transferred between clients.
The initial URS phase is critical, as medical customers rely on it to validate that the injection
moulding machine is equipped as specified in the preliminary stage and performs as
expected.
“There’s been much progress in this area too,” reports Kris Thacker, the company’s medical
technical specialist in Ireland. “Machine qualification files, which were once heavy paper
documents, are being transferred to digital. Many of these have transportable sections,
which can be tailored to each medical application a machine is being commissioned for,
without compromising sensitive information.”
Additionally, for AI to imitate human behaviour, deducing why and how much its changes
impact process stability, it needs complete connectivity between all machinery assets. This
requires a single data source. Here, interoperability and connectivity between different
technologies is a critical stepping stone that enables complex interactions between part
quality and machine process parameters, as well as other fluctuating and influential factors,
such as cooling, temperature and de-moulding.
Rather than focusing on the current limitations of machine learning, the Sumitomo (SHI)
Demag team prefers to utilise its more creative and enabling qualities.
Montag concludes: “For medical moulders, AI and ML extend way beyond automating
changes to prescribed processing parameters. There are many excellent examples of how it
drives product development, accelerates decision making, supports scalability and is a
catalyst for further process improvements. The disruptions to traditional models, including
validated processes, will come. We shouldn’t view this as an existential threat, but an
opportunity that assists processors in all sectors with continuous improvement.”
More information www.sumitomo-shi-demag.eu


