Kasto to showcase compact bandsaw

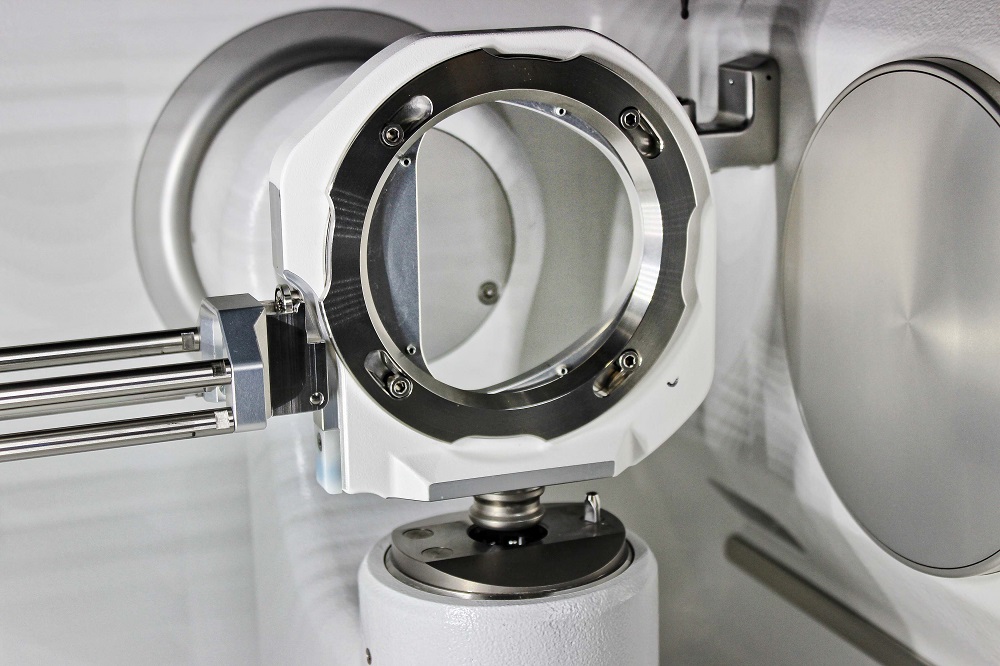
On stand J275, Kasto will exhibit the smallest model in its range of eight KASTOwin automatic bandsaws.

The KASTOwin 3.3 has a maximum cutting capacity of 330 mm, which rises to over 1 m for the largest model. KASTOwin bandsaws feature a frequency-controlled drive that enables cutting speeds of 12 to 150 m/min. The saw band is hydraulically tightened and looped around hydraulic band guides that have interchangeable carbide inserts, saving the cost of replacing an entire carbide guide. Kasto’s touch-screen SmartControl monitors and controls all relevant order requirements and sawing parameters.
For further information www.kasto.com

Mazak spotlights five-axis machining

Yamazaki Mazak (stand J220) will be exhibiting its Integrex i-400S multi-tasking machining centre, which features a newly designed 1500 mm machining bed, offering higher performance machining and greater workpiece capacity than any other multi-tasking machines in its size range, says the company.

At the heart of the machine is a 30 kW, 3300 rpm main spindle, supported by a 26 kW 4000 rpm second spindle, which combine to machine workpieces up to 658 mm in diameter and 1519 mm in length.
The Integrex i-400S is equipped with the company’s SmoothX CNC, which not only contributes to improved cycle times, but can reduce programming and set-up times, it is claimed. Alan Mucklow, managing director UK and Ireland sales division at Yamazaki Mazak, says: “Our Integrex i-400S combines the capabilities of a high-powered turning centre and full-function machining centre to produce a range of complex parts, from fully prismatic to round or highly contoured components, in a single set-up. The i-400S can be used across small batch prototype work, in addition to volume production.”
For further information www.mazakeu.co.uk

Adaptive manufacturing with metrology feedback

To perform the complex mathematical calculations required for metrology-based, real-time adaptive control of CNC machining processes, powerful CMM software needs to be directly integrated within the manufacturing system.

CappsNC, from Applied Automation Software, an adaptation of CappsDMIS CMM software, has been developed to program any machining centre so that it can perform advanced measurement, metrology and GD&T calculations using the standard DMIS language. Offline programming, with automatic collision avoidance and five-axis toolpath generation, allows the programming of all machine configurations, including multi-axis mill-turn machines.
A CAM style programming environment with realistic machine tool virtual model, simulation capabilities, automatic path generation with collision avoidance, and complete geometrical fitting and tolerancing functionality, are embedded within the CappsNC programming environment. Multi-view graphics with an intuitive UI programming environment make it simple to create measuring programs for any machine tool configurations.
CappsNC also connects with a comprehensive library of machine tool controllers, providing a real-time direct interface: a G-code program is generated from the DMIS measuring program. CappsNC graphics displays live 3D simulation of the measurement process with calculations performed as soon as measured data is collected. The calculated metrology characteristics, such as best-fitting the data set to a CAD model, are integral to ‘on-the-fly’ decision making. These are written back to the machine tool CNC as a part of the adaptive control cycle.
AAS says that CappsNC is an independent measuring probe brand that uses its own generated macros and can work with existing installed machine tool probes.
For further information www.aat3d.com

PC-DMIS 2018 R2 available from Hexagon

Hexagon’s Manufacturing Intelligence division recently launched PC-DMIS 2018 R2, the latest edition of its measurement software.

PC-DMIS 2018 R2 introduces a new reporting workflow, making it easier than ever to create customised reports with simple drag and drop functionality and an intuitive slideshow-style interface. A new QuickPath tool expands on existing QuickFeature functionality to simplify feature creation with a safe path. PC-DMIS 2018 R2 also introduces the ability to add run charts from qs-STAT into the PC-DMIS report.
Improved probe utility allows users to mark favourite tip configurations, create required tip angles by simply clicking on CAD, and buy replacements with shopping cart tools; a new e-Store is coming soon to hexagonmi.com. Improvements in the use of lasers, specifically for path creation and offline programming, also feature in the latest release.
“PC-DMIS 2018 R2 continues the recent trend towards maximising productivity in the three major metrology tasks: creation, execution and collaboration,” states Ken Woodbine, product line manager for Metrology Software at Hexagon Manufacturing Intelligence. “Creating measurement routines is even simpler and more intuitive with the addition of both QuickPath for adding motion in ‘walk up and measure’ applications, and the offline path visualisation and simulation for laser probes. Execution is also streamlined with improvements to our ‘Inspect’ module, making it easier to control access to routines, and for operators to search and find routines and reports.
“Collaboration is the ‘why’ of metrology, and PC-DMIS continues to work seamlessly with even more measurement devices and sensors,” he continues. “In addition, the introduction of Q-DAS run chart integration and ‘Shopshot’ offers a fuller picture of production processes.”
For further information www.hexagonmi.com

Optical µCMM takes centre stage

Alicona’s recently introduced Optical µCMM was displayed at the recent Advanced Engineering exhibition in Birmingham, UK.

The µCMM is said to be the only purely optical micro-coordinate 3D measuring system available, providing high levels of accuracy not available on multi-sensor machines. Users benefit from all the advantages of tactile co-ordinate measuring technology, but with optical surface measurement to measure dimensions, position, shape and surface finish of components using just one optical sensor.
When supplied with GD&T software, µCMM offers the high geometric measurement of a number of 3D features in relation to each other, which provides the ability to measure small surface features with sub-micron accuracy in a short time. In addition to geometric position, users are able to measure surface finish in the same cycle, thus providing improved productivity.
The range of measurable surfaces includes all common industrial materials and composites, such as plastic, PCD, CFRP, ceramics, chrome, silicon and so on, including matt and polished components. Simple automated operation is implemented by single-button solutions built into a specially designed handheld remote controller. Air-bearing axles with linear drives enable wear-free use and high-precision, rapid measurement, says Alicona.
Options include the motorised Real3D Rotation Unit, which turns the three-axis system into a five-axis system and enables users to measure components from several directions, including round parts.
The automation of measurement operations is facilitated by the Automation Manager interface. Thus, µCMM offers the fully automatic measurement and evaluation of surface roughness parameters and GD&T features. The measurement result is therefore completely operator-independent.
For further information www.alicona.com