PSL Datatrack releases contract review module

PSL Datatrack has unveiled the new Contract Review module for its production control system, which is specifically for subcontract precision engineering businesses. The purpose of this new development is to ensure that all required contract review elements, in line with the user’s quality manual, have been checked and approved for a specific job or project.
Whether a subcontract company is AS9100-accredited or granted Fit for Nuclear (F4N) and requires a more formal contract review, or accredited to ISO 9001 or other standards and requires a less strict contract review, the review is nevertheless a key aspect of its operation.

The Contract Review module ensures that only authorised users perform relevant steps at quotation and/or works order stage, ultimately adhering to formal customer agreements and schedules. Integrating these procedures within PSL Datatrack clearly shows what actions are outstanding for each relevant quote or works order and who needs to perform the activity in question.

In line with PSL Datatrack’s overall approach to supplying production control software to subcontractors, this is not a ‘one size fits all’ solution and benefits from the input of established system users.The new module caters for variable checks depending on the customer and component in question, and there is security built in to ensure that only authorised users can sign off specific elements of a contract review.

Each user has a risk level, which specifies the highest risk level of review items that user is authorised to approve within Works Orders. Comments can be left against all items with details of who approved them and when. Furthermore, management can revoke items if dissatisfied or approval was made in error.
For further information www.psldatatrack.com

All-in-one: Mitutoyo’s Roundtracer Extreme

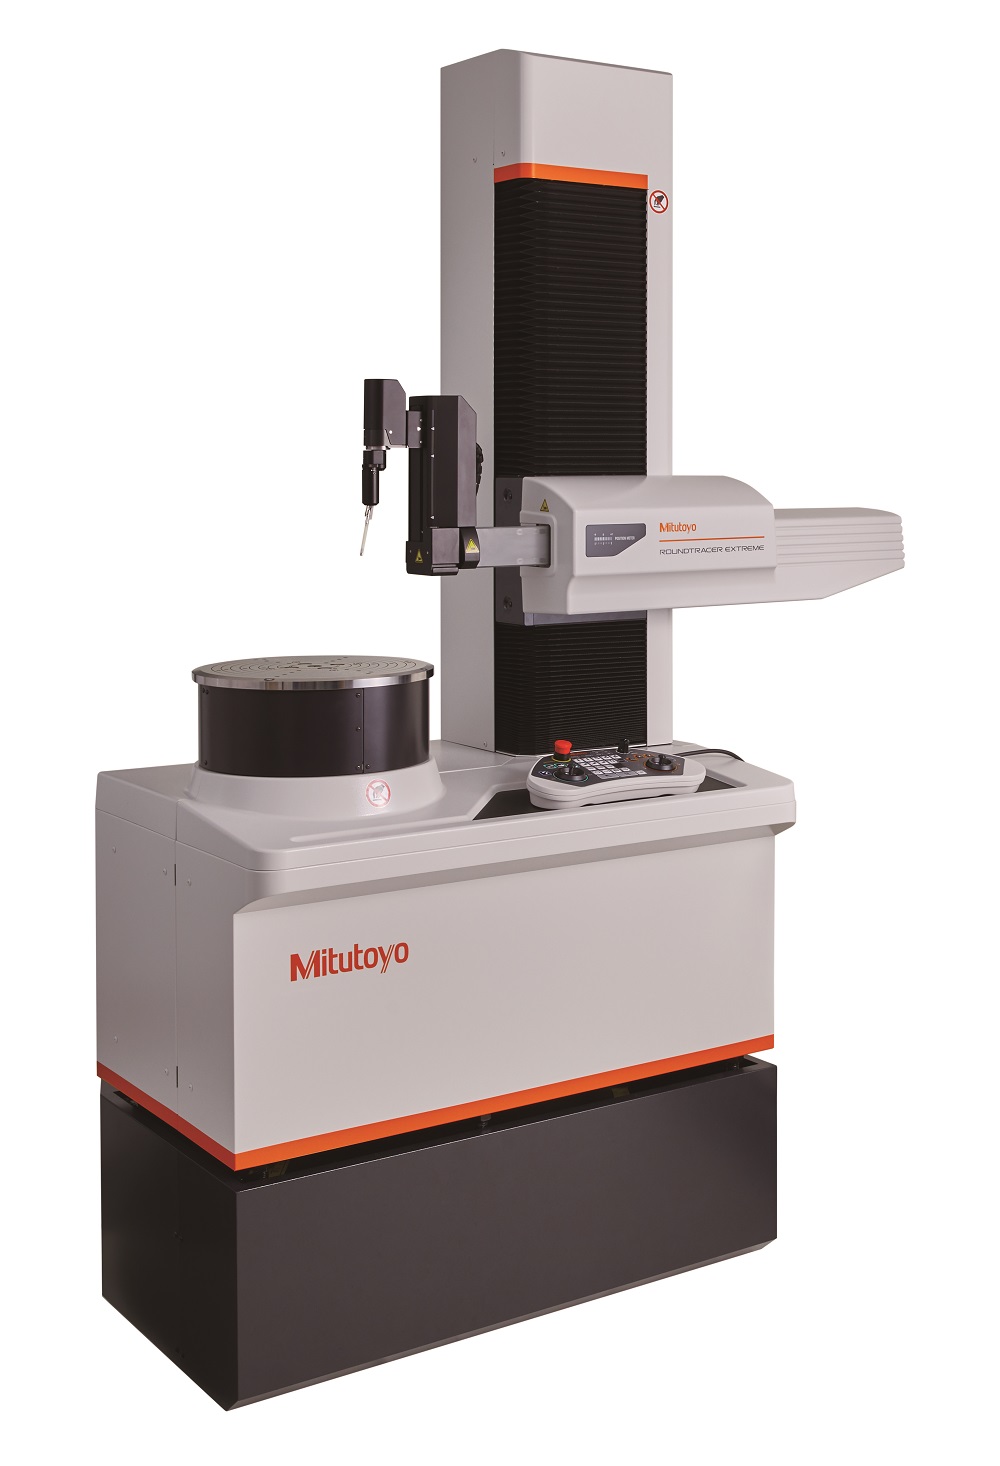
Covering every base in the area of roundness testing, the all-new Roundtracer Extreme is a CNC roundness/cylindricity measuring system that the company says is ready for anything. This novel quality-assurance machine integrates roundness, contour and surface roughness functions in oneefficient device.

Mitutoyo’s Roundtracer Extreme consolidates processes and improves productivity through the combination of multiple measuring methods. Notably, the machine is able to perform a variety of quality assurance and precision measuring tasks with the aid of Mitutoyo’s powerful yet easy-to-use software.

The multi-functional system is equipped with cutting-edge technology to improve the efficiency of measuring tasks. To this end, Mitutoyo has enabled continuous automatic measurement through the application of a three-step motorised sliding axis and a detector and holder, capable of changing the stylus angle. This feature makes it easy for users to measure objects of any shape or size, while avoiding interference from the workpiece.

To improve repeatability and reproducibility, Mitutoyo took great strides in advancing the architecture of the system’s centring table to reduce any positional changes of the workpiece during the measurement process.

Conceived as a premium Mitutoyo product, the Roundtracer Extreme intends to be the upcoming standard for multiple measurements in quality assurance departments around the globe. Ready for applications across a wide variety of workpieces, it will deliver efficient, high-precision measurements and analysis, reports the company.
For further information www.mitutoyo.co.uk

Benefits of interferometry during optical profiling

Surface characteristics can determine a range of scenarios. For instance, the finish on the body of a Formula One car can influence the racer’s finish time, and an engineered part’s surface will help influence its performance. Here The Sempre Group and one of its principals, Sensofar, set out how manufacturers can benefit from optical profiling in R&D applications.

To ensure parts meet their intended purpose, manufacturers will often measure surface finish during development, allowing them to adapt manufacturing techniques accordingly before mass production. As probes that touch the object could compromise the surface,optical profiling is the most common choice.

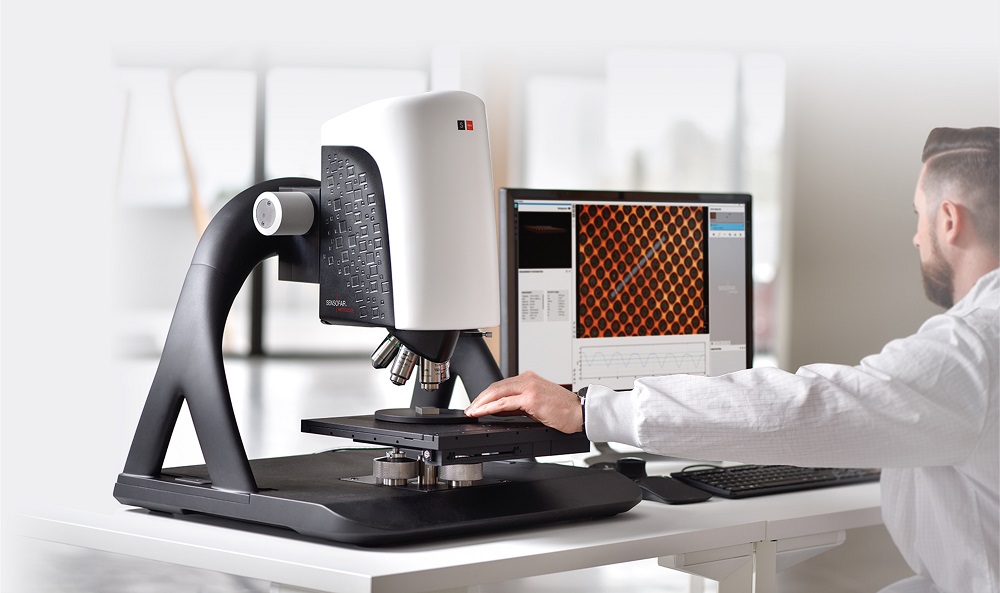
The Sensofar 3D optical surface profiler uses interferometry techniques for areal surface characterisation, as well as an optical design that makes it possible to double the field of view without compromising the resolution. By using a combination of phase-shifting interferometry (PSI), extended phase-shifting interferometry (ePSI) and coherence scanning interferometry (CSI) techniques, manufacturers can use the profiler to measure a range of surface characteristics.

PSI is best for ultra-smooth and very flat continuous surfaces, such as those on optical components. CSI is the most versatile mode, measuring smooth and rough surfaces with 1 nm resolution, and can also measure transparent layers with thicknesses from 1.5 to 100 µm. Meanwhile, ePSI, a kind of combination of PSI and CSI, is for measuring smooth surfaces with structures, making it suitable for measuring features on semiconductor wafers.

Interferometry has a high level of repeatability and accuracy and is faster than some confocal technologies, like laser confocals. By using this technique, engineers can produce topographies with a high number of measured data points, clearly showing the surface of intricate components.
For further information www.thesempregroup.com

Verisurf features engine builder metrology solution

Verisurf Softwarefeatured a turnkey metrology solution designed for performance engine builders at the PRI (Performance Racing Industry) show in Indianapolis last month. The solution includes 3D measurement software, hardware, training and support, for reverse engineering, designing, building, tuning and verifying high-performance engines and components. Engine builders can use the solution to replicate and check engine heads, blocks, pistons, crankshafts, intake and exhaust ports, camshafts, conrods, rocker stands and more.

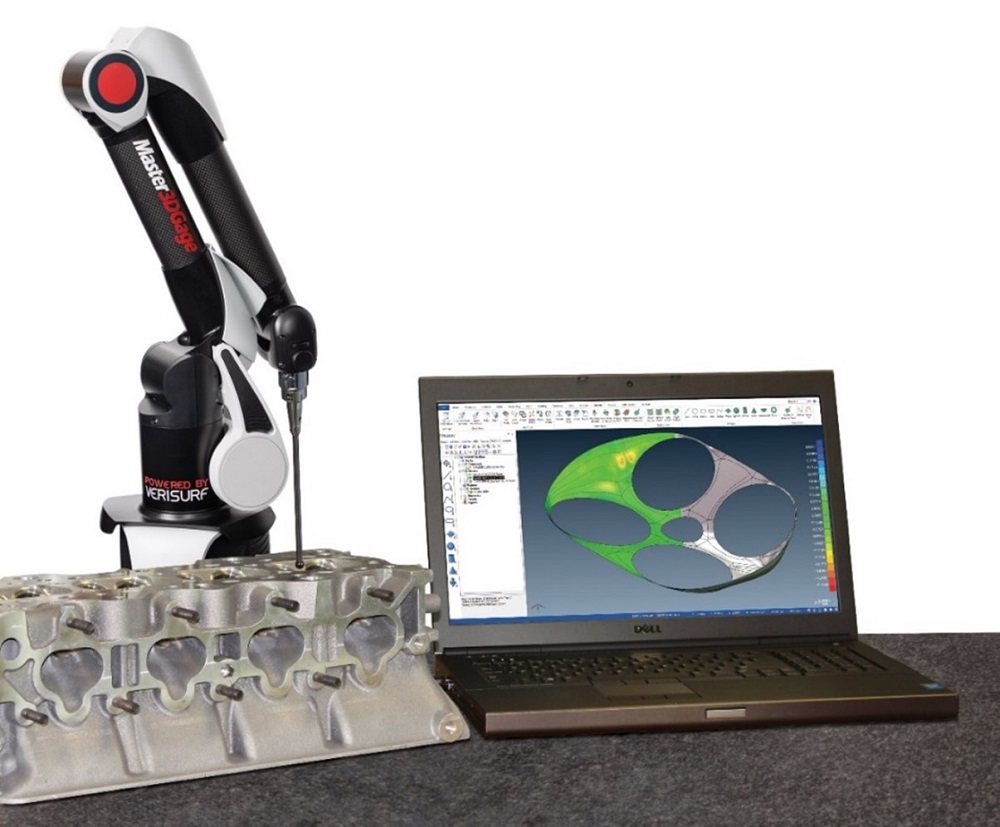
A major components of the metrology solution is Master3DGage, a portable CMM arm powered by Verisurf software. The Master3DGage is a high precision, six-axis, 1.2m portable CMM arm that is compact and shop-floor ready. AC or battery-powered, the Master3DGage can be used on the bench, in the shop or even right under the hood, if necessary, to check for best fit or confirm clearances before components are produced or installed.

The solution,powered by Verisurf software, was developed based on features modules. For maximum user flexibility and efficiency, users can combine certain modules to create application suites. The engine builder solution includes:Verisurf CAD, Measure and Reverse modules; software updates and technical support; a Master3DGage portable CMM; a 9.5 mm silicon nitride extended-port probe; a Master3DGage and Verisurf installation and set-up video; and unlimited online training.

Verisurf is built on the Mastercam platform and can import, modify and export any CAD file format. The unified user experience is able to 3D-scan and reverse-engineer features, surfaces, parts and assemblies; generate CNC programs; back-plot and verify tool paths; push files for CNC machining; verify finished part quality against the intelligent 3D CAD model; and output quality reports.
For further information www.verisurf.com

Reverse engineering of motorcycle parts made easy

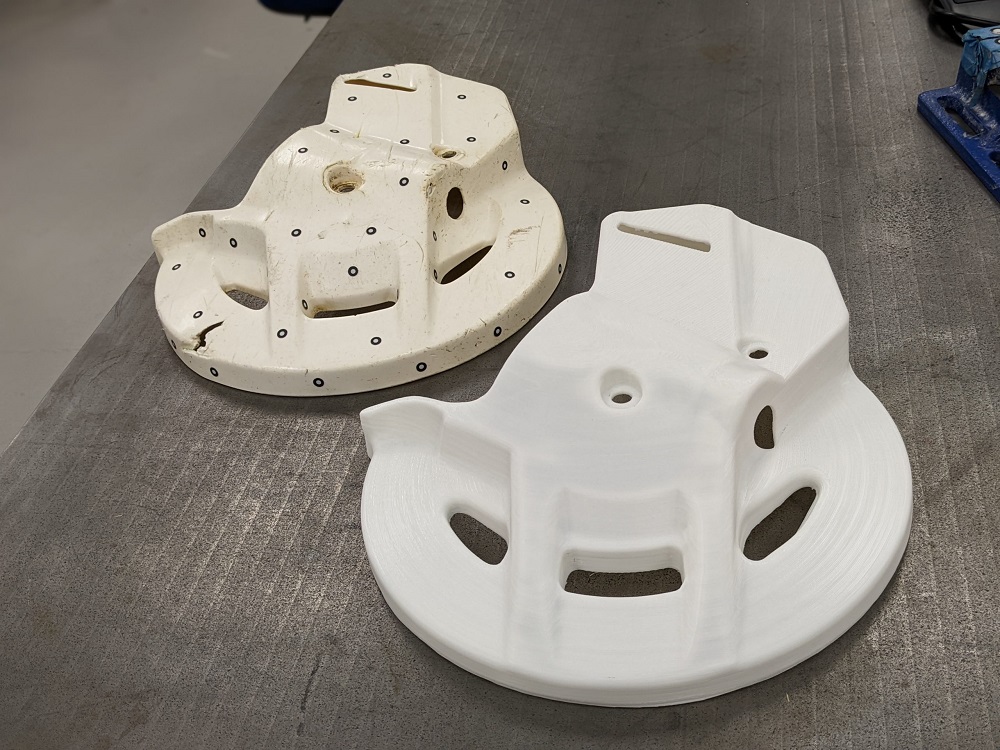
Manchester Metrology was recently in contact with someone who is in the process of restoring an old Kawasaki HX 125 to mint condition. This is a rare motorcycle to find in good condition, and some parts are no longer available, including the front brake disc/caliper cover. There was damage to the existing brake cover, which required full reverse engineering to make pristine again.

Due to the damage, it was not possible to scan the part and directly clean up the mesh for reproduction. As a result, the componentrequired recreating using parametric CAD. The team at Manchester Metrology deployed surfacing techniques to create each surface and blend them into the next.

Scanning of the part took place using a Creaform Handyscan Black Elite. This scanner has an accuracy of 0.025mm for small components, which is important for ensuring a good fit to the mounting points. The use of Geomagic DesignX for surface modelling allowed for a combination of more typical surface techniques along with mesh fitted surfaces where required. Once the surface was created, a thickness was added to make the part solid.
The component was then converted to an STL polygonal model and printed using a Snapmaker A350 with white PLA.

With the bike primarily for show, brake temperatures did not require consideration when selecting material. If temperature was a concern, carbon composite materials with HSHT fibre-glass reinforcement may be more suitable. A brim was used to aid build-plate adhesion, with the print taking over 80 hours to complete.

The print fitted well to the bike first time and did not require any tweaks or adjustments. Subsequently, the client was very happy with the outcome and recommended Manchester Metrology to fellow enthusiasts interested in their own copies.
For further information www.manchester-metrology.co.uk