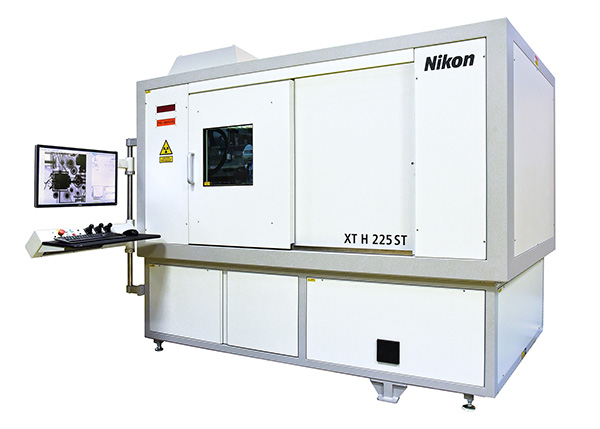
Nikon Metrology’s industrial microfocus X-ray CT inspection solutions are now enhanced with a new offset CT reconstruction algorithm to deliver high scan speed and image resolution.
When using X-ray CT (computed tomography) for the non-destructive quality control of larger components like aluminium castings or battery modules for electrical vehicles, the challenge is to shorten inspection cycle times without compromising resolution. One prerequisite for meeting this goal is high X-ray intensity, or flux.
In Nikon Metrology’s range of X-ray CT systems, a rotating target can already triple the flux for a given focal spot size and the flux can be further increased by motorised FID (focal spot to imager distance), which brings the detector closer to the source at the push of a button.
With the release of a new offset CT reconstruction algorithm in the latest version of the manufacturer’s Inspect-X software, not only is it possible to scan larger components, but it can also be performed at higher geometric magnification. The Offset.CT module is available on all Nikon Metrology X-ray CT systems from 180 through to 450 kV.
With this combination of the latest Rotating.Target 2.0, adjustable FID and Offset.CT, which Nikon says cannot be found in any competitive industrial CT system, cycle times are reduced and better resolution is achieved, even when processing large and complex components.
Bigger parts with complex geometry, such as castings and additively manufactured components, benefit in particular from industrial X-ray CT solutions from Nikon Metrology. The inspection of battery modules for electric vehicles, in which individual battery cells requiring high-resolution imaging are encapsulated in a larger protective unit, is a an especially good fit for this inspection technique.
For further information
www.nikonmetrology.com


