Latest Vantage laser tracker 6DoF probe

Faro Technologies is releasing its next-generation Vantage laser tracker six degrees of freedom (6DoF) probe. The new 6Probe offers portability and is compatible with Faro Vantage S6 and E6 laser trackers, enabling users to build, inspect and measure products faster and with greater accuracy. In fact, Faro reports that typical users of the new 6Probe can now save at least 30 minutes of time on any given workday.

With kinematic self-identifying styli, users can now change probing tips quickly and measure without any recalibration, while also measuring hidden areas outside of the tracker’s line of sight with wider acceptance angles.

“The next-generation Vantage laser tracker 6DoF probe extends maximum measurement consistency and reliability in a variety of working environments, delivering best-in-class performance through faster and easier probing than previous models,” says Leo Martinez, Faro’s product marketing manager. “With Super 6DoF and conventional 6DoF probing, Faro offers the industry’s most comprehensive 6DoF solutions available.”

Faro ActiveSeek, a feature to automatically locate and follow the active target, enhances 6DoF and standard probing. Trackers from Faro support the patented Super 6DoF TrackArm solution, which allows the Vantage and one or more Faro ScanArms to work together, thus creating an integrated contact and non-contact 3D measurement system for large-volume measurement. With a range of up to 60 m (with a 4 m reach), Super 6DoF eliminates line-of-sight challenges and expands measurement range while maintaining accuracy, says the company.

The Vantage platforms offer large-volume 3D measurement up to 80 m, streamlining processes and reducing inspection cycle times.

For further information
www.faro.com

Complete control of measurement

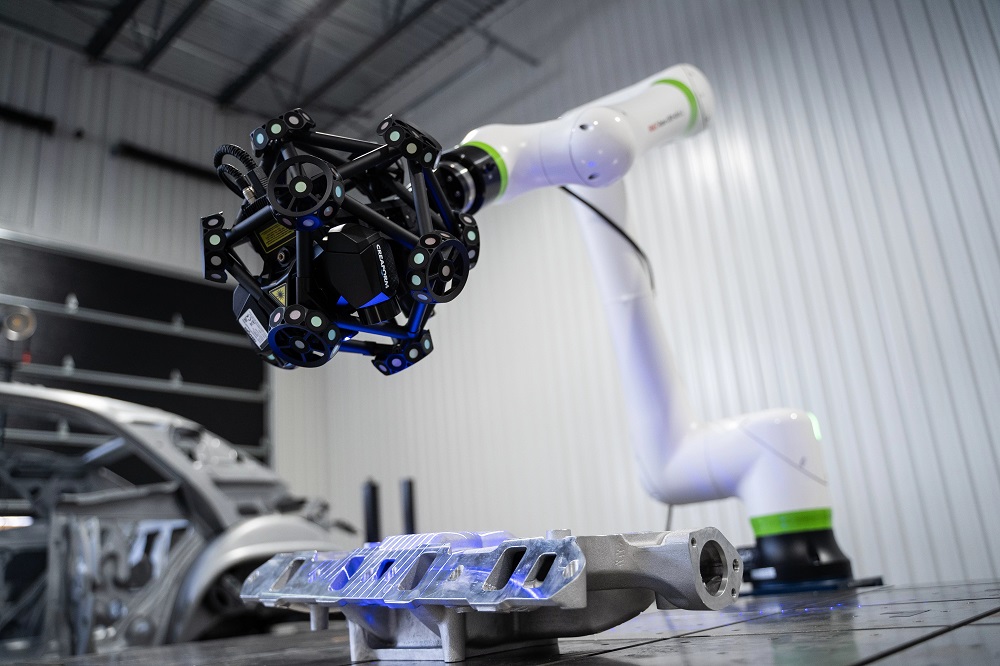
Hexagon’s Manufacturing Intelligence division is launching a new software plug-in that will allow full operation of Hexagon structured light scanning systems from within the third-party inspection software platform PolyWorks, developed by InnovMetric Software. This move represents the first implementation of a new SDK released by Hexagon that allows a third-party software environment to take full hardware control of any of the company’s structured light scanners.

The SLS-PW plug-in, and any subsequently developed plug-ins, will let users streamline their scanning and inspection workflow into a single software environment, with clear productivity benefits. Notably, the increased efficiency of a single platform workflow will reduce inspection times by eliminating the need to export and import measurement data between separate programs, as well as by minimising training needs.

Dirk Rieke-Zapp, commercial product manager – structured light scanners, says: “The need to use proprietary stand-alone software solutions to operate structured light scanning systems is an issue faced by users across the industry, whether they are using scanners from Hexagon or other manufacturers. With the development of this new SDK for our range of structured light scanners, we’re making it possible for users to deeply integrate this type of high-detail scanning within their existing metrology workflows by completely removing the need to insert proprietary software at the measurement step of the inspection process.”

When added to the existing versatility of the PolyWorks platform, the SLS-PW plug-in delivers a flexible solution for companies that run a range of metrology hardware and wish to simplify their workflows.

For further information
www.hexagonmi.com

Improving the quality of weld testing

Looking to keep its service in-line with customer requirements, Solus Testing has introduced an Innovatest Falcon 507 micro/macro Vickers hardness tester from Bowers Group to its Worksop facility. Solus Testing is a mechanical and NDT laboratory that carries out weld procedure qualification records and welder qualification to ASME IX and BS EN standards.

For Solus, quality and accuracy are the most important aspect of its service. In this particular instance, the Falcon 507 performs weld testing, allowing confirmation of any property changes that may have occurred during the welding process. The testing of a weld’s heat-affected zones must be particularly precise, usually on a microscopic scale, to ensure absolute safety of the finished product.

The Falcon 500 series provides users with micro-Vickers, Vickers and micro-Brinell hardness testing functions, improving conventional methods by focusing on eliminating user influence on the test results. A proprietary force actuator system utilises an electronically controlled closed-loop system and force sensor technology to achieve its high accuracy.

With its automatic indent measurement, two indenter positions, four objective positions, 5 mP HD camera and anti-collision system, Solus operates the Falcon in a laboratory setting that allows the hardness testing process to be carried out in a space where external factors cannot affect the results. The machine is in constant use and, with its high workload, it is important that the testing instruments can cope with demand.

Rob Tinsley of Solus Testing says: “The quality of the results that the Falcon 507 achieves is paramount. We must always reassure our customers that if production welding is carried out the same way as the welding test, the product will meet all standards required.”

For further information
www.bowersgroup.co.uk

Pyrometer for aluminium forging

Ametek Land, a manufacturer of monitors and analysers for industrial infrared non-contact temperature measurement, has continued innovating its popular Spot AL EQS aluminium applications pyrometer by introducing two new modes for forging and forming applications.

The new F and F Mg (magnesium) algorithms extend Ametek Land’s capabilities to provide accurate, repeatable temperature measurements to additional aluminium production and processing industries. These new algorithms are suitable for reheating and secondary processing applications with thicker alloy-dependent oxide layers.

Ametek Land says that the F and F Mg modes of Spot AL EQS are suited to billet temperature measurements at entry to the extrusion press or during other aluminium pre-heating processes. The modes provide accurate digital temperature readings of low and variable emissivity aluminium to ensure optimised process speed and efficiency, and help deliver high-quality products with minimal scrap.

Spot AL EQS pyrometers now offer five measurement modes, with dedicated pre-set algorithms that provide the accurate digital temperature readings of low and variable emissivity aluminium. Potential F and F Mg applications include: billet profile; ingot/sales (re)heat furnace; pre-heating and forging; induction heating/heat treatment; mounting/shrinking; and preheating for coating/bending.

The Spot AL EQS non-contact infrared pyrometer provides a single sensor solution for aluminium extrusion, strip mill, forming/forging and further processing. It uses Ametek Land’s Spot technology and proprietary data-processing algorithms to measure aluminium temperature at the exit of an extruder press; quench and billets; strip mill; forging/forming applications; and forging/forming applications with high-magnesium content alloys.
Offering measurements ranging from 200 to 700°C, the pyrometer integrates with control systems to optimise throughput at the press or mill.

For further information
www.ametek-land.com

High-speed video measuring

To measure components reliably and efficiently, whether in an inspection room or on the shop floor, Nikon has developed a new CNC video measuring system. Also known as an optical CMM, the Nexiv VMZ-S3020 is suitable for automated quality-control applications in a production line, as its high speed allows real-time feedback of measured results to optimise a manufacturing process.

Applications include inspecting a variety of mechanical, moulded, cast and pressed components that fall within its 300 x 200 x 200 mm working volume. Nikon’s proprietary optical measuring, image processing and analysis technologies are employed to detect feature edges at high speed, capturing accurately and automatically the shape and dimensions of even the most complex components.

There are numerous enhancements to the robustness of the unit and its functionality over the instrument that it replaces, the VMZ-R3020. Additionally, the Nexiv VMZ-S series can achieve even faster movements and image capture steps via the dedicated CMOS camera than its predecessor. In-house-developed, high-resolution linear encoders feed the position of the stage axes back to the control, maintaining measurement precision and consistency. Image transfer and subsequent data processing are also quicker, making it possible to reduce measurement cycle times without compromising accuracy or reproducibility.

Fast laser scanning at 1000 points/sec can rapidly acquire the cross-sectional shape of a surface and evaluate the relative heights, meeting measurement needs across a wide variety of samples.

A fully featured measurement software environment, Nexiv AutoMeasure, enables high precision, high speed and easy measurement cycles using tools that are close to hand in a user-friendly GUI.

For further information
www.nikonmetrology.com