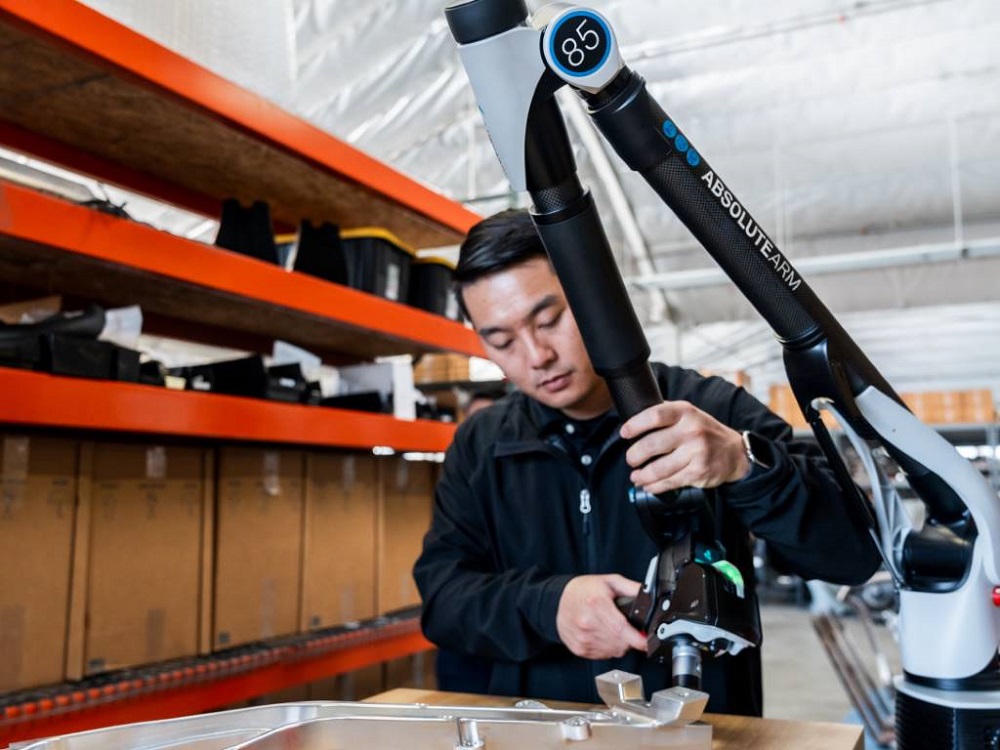
Gauge confirms accuracy of measuring machines

CMM manufacturer LK Metrology is introducing a range of UKAS-certified length and form artefacts complete with holding fixture, allowing users to verify the inspection accuracy of any 3D measuring platform. Customers can therefore have greater confidence in the results of an inspection, whether for metrology or reverse engineering, long after the annual calibration of the measuring machine.

Each CMM Checking Gauge (CCG) enables independent monitoring and verification of accuracy through regular intermediate checks on a CMM or portable measuring arm. An OEM can be certain that prototypes and production parts are within tolerance, while subcontractors are able to assure their customers that any machining and inspection carried out on their behalf is accurate. CCG demonstrates a commitment to a consistently high standard of dimensional quality control. Artefact measurement uncertainty is down to ±0.01 μm.

The gauge provides an efficient go/no-go check with measurement results for ongoing CMM monitoring. Three combinations of length bars, ring gauge, test sphere and fixture of different sizes are available to suit various measuring machine models. Regular use provides an early warning of changes in the inspection system and an opportunity to take pre-emptive action. Once identified, it is possible to address accuracy issues due perhaps to environmental changes or an unnoticed probe crash by scheduling an interim machine service or calibration, before downstream manufacturing processes are impacted.

CCGcomes in a carrying case with a program on a USB drive that runs in LK’s CAMIO measuring and reporting software. The program comprises DMIS measurement and alignment routines for bridge and horizontal arm CMMs, allowing the CCG cycle to run seamlessly on LK machines.
For further information www.lkmetrology.com

USA flag [head] Accurate and easy way to perform Brinell tests

AMETEK Newage Testing Instruments, an established manufacturer and worldwide supplier of hardness testers and accessories, is launching its improved Brinell Optical Scanning System (BOSS).

Brinell testing is a widely used method for measuring the hardness of metals. There are several reasons why this method is so popular, including its suitability for all metal types and that it offers a very accurate and simple testing method.Manual reading is quite easy and straightforward, but here operatives come across the one disadvantage of the Brinell method: manual reading via microscope has a high risk of human error and requires training and concentration to achieve accurate results.

Since the formula for the Brinell Hardness Number (BHN) calculation depends on the indent impression reading, these readings require high accuracy. That is why AMETEK Newage developed BOSS, which virtually eliminates operator influence on the test results.

BOSS uses a compact scanning head attached to a computer using the BOSS software to measure impression diameters in seconds and yield a measurement resolution of 0.01mm. BOSS software is used to set up the criteria for the reading, and perform the necessary BHN calculations to ASTM standards. The system even takes into account such anomalies as impression roundness and the surface finish of samples.

In this latest launch, the BOSS software now features an even better user interface that is intuitive in a familiar window-based environment and with faster and easier installation. The new configurable display shows the 10 most recent readings and features customisable measurement screens that users can configure to tailor the software to their specific application. An updated demonstration mode allows for multiple impressions, creating an improved sales and training experience.
For further information www.hardnesstesters.com

First automated measuring machine for micro-tools

Walter says that its new Helicheck Nano is the world’s first automated measuring machine for micro and nano tools as small as 0.1 mm diameter.Available from Walter Ewag UK, the Helicheck Nano measures the small diameter tooling increasingly required to meet miniaturisation trends in electronics, micromechanics and medical technology. According to the company, the comprehensive measurement of tools with diameters of less than 1 mm is usually fraught with challenges, where even the use of microscopy sees human operation posing the greatest risk of error.

Walter’s Helicheck Nano takes a different approach, offering non-destructive and operator-independent tool measurement using transmitted and reflectedlight. The process is possible thanks to the use of new variable optics having up to 800x magnification, the origins of which lie in microscopic incident light measuring technology.In combination with high-resolution cameras, these microscopic optics are the basis for measurements in the nanoscale.The variable magnification also allows measurements on standard tools of up to 16 mm diameter.

Complementing Walter’s other fully-automatic tool measuring machines Helicheck Pro and Helicheck Plus, the new Helicheck Nano has a solid granite base for high-standard, certified measuring accuracy and reliable results, while its permanent cameras are protected from dust and extraneous light by an encased measuring chamber.

Importantly, the new machine offers the possibility of automation with a pallet system enabling the automatic measurement of up to 7500 tools without operator intervention.
Walter adds that it will expand the Helicheck Nano’s capabilities in the future to include functions such as cutting edge rounding, 3D digitisation and surface finish measurement.
For further information www.walter-machines.com

Transforming five-axis machine tool calibration

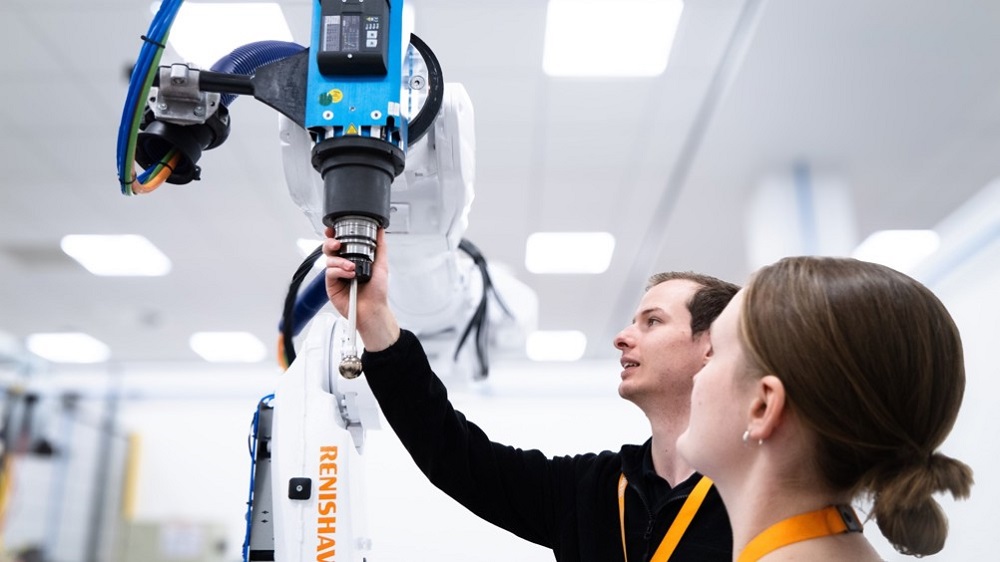
Renishaw has incorporated its new off-axis rotary measurement mode into the CARTO software suite, providing a single source for testing off-axis measurement using the XR20 rotary axis calibrator and XL-80 laser system. The latest release of CARTO, version 4.7, streamlines the measurement of rotary positioning accuracy for five-axis machine tools, where the XR20 rotary axis calibrator cannot always mount on the centre of rotation.

CARTO is a single software solution for Renishaw’s range of calibration products. Data collection takes place using the CARTO Capture application, while the CARTO Explore application is for data analysis. The new off-axis rotary measurement mode in CARTO Capture is a licensed option and allows the XR20 rotary axis calibrator, combined with the XL-80 laser system, to capture off-axis measurements in one session.

Dan Throup, product owner – calibration software, says: “A single test record is created in the CARTO database, significantly reducing the number of steps in the measurement process. This improved method gives greater data integrity and traceability from the Explore application to analyse the results. In addition, the Capture application now uses a new automatic sign detection move when capturing the angular errors associated with an off-axis test. This simplifies the process and reduces the chance of user error.”

First launched in 2012, the Renishaw XR20 rotary axis calibrator aids the direct measurement of rotary errors for stages, jigs and machine tools. The off-axis rotary measurement mode in the CARTO software suite provides a simple, accurate check for the alignment and positioning performance of rotary axes of any configuration.
For further information www.renishaw.com/carto-add-ons

Boosting 3D metrology and inspection expertise in Poland

Zeiss plans to expand its market presence in Poland for its industrial quality andresearch segment by acquiring Lenso. The company will become part of Zeiss Industrial Quality Solutions. Headquartered in Poznan, Lenso is the leading partner in Poland for 3D optical systems. With this acquisition, customers will benefit from a seamlessly integrated experience to get the best measuring solutions for their specific applications. Clients will also benefit from quality measurement solutions and expanded expertise from a single provider.

“We are happy to join forces and expertise in the important polish market,” states Dr Marc Wawerla, head of Zeiss Industrial Quality Solutions.

Michael Hubensack, CEO of SSC Carl Zeiss Poland, adds:“Our goal is to be the number one for metrology and quality control in Poland and shape the market.”

Marek Radke, CEO of Lenso, says:”We’re looking forward to being a part of Zeiss to combine our efforts in providing best solutions for our customers. Being a member of the Zeiss family will open up new opportunities for our teams and customers.”

Once the transaction is complete, Lenso will join the Zeiss Sales and Service Company in Poland as part of Zeiss Industrial Quality Solutions. In addition, Zeiss and Lenso will each continue to be responsible for the services they offer to their customers. Both sides have agreed not to disclose the financial details of this transaction.
For further information www.zeiss.com/metrology

PSL Datatrack releases contract review module

PSL Datatrack has unveiled the new Contract Review module for its production control system, which is specifically for subcontract precision engineering businesses. The purpose of this new development is to ensure that all required contract review elements, in line with the user’s quality manual, have been checked and approved for a specific job or project.
Whether a subcontract company is AS9100-accredited or granted Fit for Nuclear (F4N) and requires a more formal contract review, or accredited to ISO 9001 or other standards and requires a less strict contract review, the review is nevertheless a key aspect of its operation.

The Contract Review module ensures that only authorised users perform relevant steps at quotation and/or works order stage, ultimately adhering to formal customer agreements and schedules. Integrating these procedures within PSL Datatrack clearly shows what actions are outstanding for each relevant quote or works order and who needs to perform the activity in question.

In line with PSL Datatrack’s overall approach to supplying production control software to subcontractors, this is not a ‘one size fits all’ solution and benefits from the input of established system users.The new module caters for variable checks depending on the customer and component in question, and there is security built in to ensure that only authorised users can sign off specific elements of a contract review.

Each user has a risk level, which specifies the highest risk level of review items that user is authorised to approve within Works Orders. Comments can be left against all items with details of who approved them and when. Furthermore, management can revoke items if dissatisfied or approval was made in error.
For further information www.psldatatrack.com