Nigel Atherton, the Managing Director of XYZ Machine Tools, recently took time to reflect on 40 years of trading since he founded the business in 1984. His thoughts touch on what has changed, how the company has grown and what the future holds for the UK’s largest supplier of CNC machine tools.
Nigel Atherton was just 22 when he launched XYZ. Like many things in life, it was little more than circumstance that prompted the ambitious young engineer to embark on a career of entrepreneurship.
“I served an apprenticeship building machine tools, the latter years of which focused on demonstrating CNC systems,” he explains. “Remarkably, the company I worked for in Yorkshire was unconvinced about the future of CNC. Unhappy with this stance I left to work for a company in Nottingham. However, it was tough times economically and unfortunately the business closed. Then a friend offered me a job in Devon so, at a loose end, I headed southwest keen on the idea of living in Torquay as a 22-year-old.”
The move proved a useful stop-gap while Nigel considered his options, a thought process that led him to start his own business, initially focusing on the rebuild and refurbishment of Bridgeport turret mills. Originally called XYZ Systems and Service, the company started out in a 500 sq ft unit in Newton Abbot. The venture proved fruitful, with XYZ soon diversifying into importing new machines. XYZ’s first two King Rich machines arrived from Taiwan in 1986.
“I couldn’t afford the flight to Taiwan, so I bought two machines blind,” he says. “But there was no need to worry as I discovered the machines were absolutely fantastic upon their arrival in the UK. Today we take approximately 70% of King Rich’s build.”
A major step-change in the growth trajectory of XYZ arrived in the early 1990s when Nigel became interested in the ProtoTRAK® control. He invited a representative over from Southwestern Industries, the US-based manufacturer of ProtoTRAK®, who duly provided a demonstration. Within 10 minutes, the potential of this innovative system was plain to see, particularly regarding the simplicity of programming. Nigel ordered 12 ProtoTRAK® controls on the spot.
ProtoTRAK® offered the potential to make a monumental change in the machining of small batches and 1-off components. XYZ paired the control with a machine and, once word got out, the company sold 406 ProtoTRAK®-controlled machines in just 18 months. Indeed, as a result of ProtoTRAK®, XYZ’s sales would grow from £3m to £15m over the next five years.
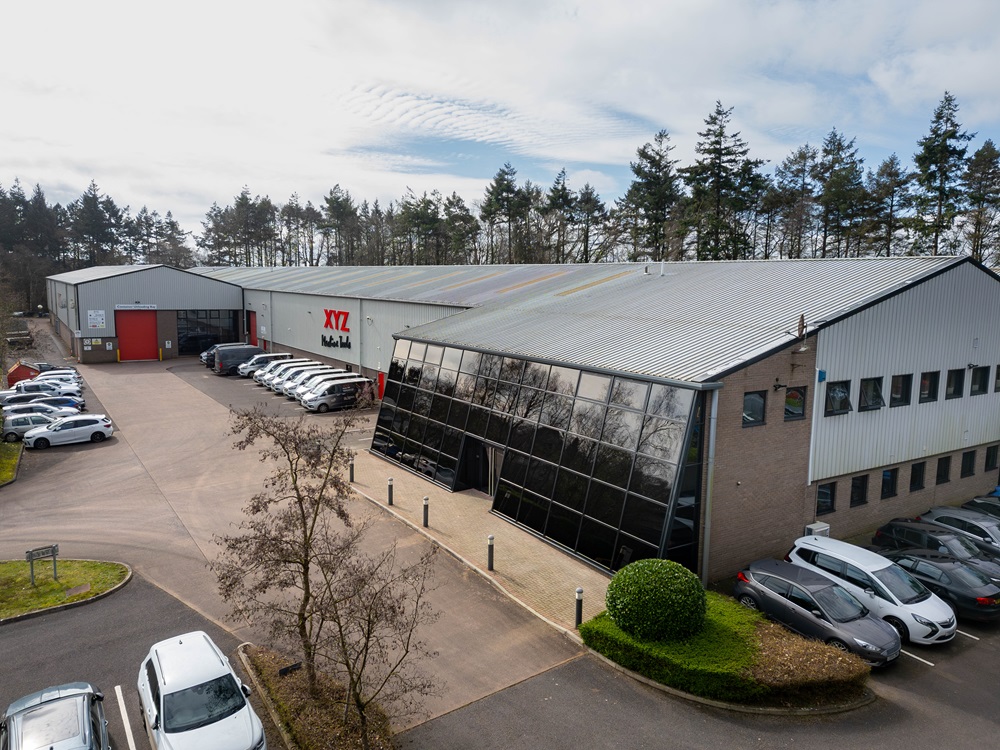
The time to expand the company’s machine portfolio arrived in 1996. Until then, XYZ had only offered ProtoTRAK®-controlled CNC machines but, with a £30,000 vertical machining centre (VMC) from a rival supplier appearing on the market, Nigel headed to Taiwan to source a machining centre of his own. This allowed the company to provide the right machining solution to users, be it bed mill or VMC and, as a result, the business continued to soar. This growth meant that just two years later the company moved to its current location in Burlescombe near Tiverton.
“Since then, our range has continued to expand based on what customers tell us they need, whether it’s larger machines, five-axis VMCs, twin-spindle lathes or whatever,” says Nigel. “Customer feedback drives our ongoing evolution.”
Such is XYZ’s success that the company now supports its Devon headquarters and production facility with a number of satellite showrooms around the UK. The first was Nuneaton in the Midlands, with Livingston, Huddersfield, London (Slough) and Sheffield (in partnership with cutting tool manufacturer Ceratizit) subsequently coming on board. The company also has distributors in over 20 European countries, as well as the Middle East and South Africa.
After 40 years of such a rollercoaster adventure, which included selling and buying back the business from Southwestern Industries, XYZ is today unrecognisable from the company Nigel started with just £3000 of capital back in 1984.
“Our success is as much a surprise to me as anyone else,” he states. “Back then, I could never imagine in 40 years’ time that I would be sat at the helm of the UK’s largest CNC machine tool supplier with 90 employees and a 100,000 sq ft manufacturing facility.”
The underlying reasons for XYZ’s leading market position are numerous, but Nigel has his own thoughts on the matter: “Always treat people – customers, suppliers, employees – the way you would like to be treated. With that policy you won’t go far wrong.”
Despite recent challenges such as Brexit, soaring energy prices, global supply chain fragility and labour shortages, Nigel always manages to take hold of the situation and move forward in a positive way. This is unlikely to change in the years ahead.
“The future for XYZ Machine Tools is more evolution, without doubt,” he concludes. “As for me, at 62 years of age, I’ve no intention of retiring. You can expect to find me here for a number of years yet.”
For further information www.xyzmachinetools.com


