Assisting in quest for highest quality

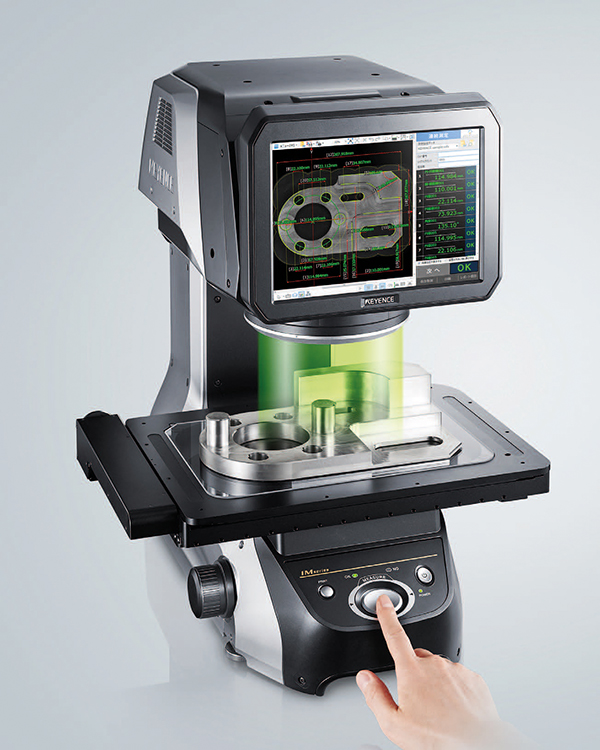
NEMA Ltd, a manufacturer of motors, actuators and electromechanical assemblies, has invested in the latest Keyence IM series measurement system.
Andy Wilding, managing director at NEMA Ltd, says: “Aiming for, and indeed maintaining, the highest possible standards is an absolute necessity for us. We were committed to investing heavily in our inspection facilities, and had already identified areas where we felt improvements could be made.”

Companies involved in the aerospace industry face very stringent inspection requirements. These needs can be time consuming, putting a bottleneck on production, reducing productivity and, ultimately, costing money. In some cases, they may even provide a barrier to dealing with some of the larger tier-one companies.
With the IM series, more accurate measurements can be made and, in a short space of time, bottlenecks can be eliminated and costs reduced, says the company.
“With new equipment and a controlled environment, we felt the IM series was a key device for us to acquire,” continues Wilding. “In a nutshell: it matched our needs perfectly.”
The IM series image dimension measurement system was selected because of its range of specialist measurement tools, its built-in dimensional reporting feature and its speed of operation, among other criteria. These features all play a role in NEMA’s design, development and repair of electric motors and electro-mechanical assemblies. In addition, the image-measurement system allows NEMA personnel to measure more accurately than before.
“This Keyence device has proved essential to satisfy the needs of our varied customer base, which includes a number of tier-one aerospace companies,” concludes Wilding.
For further information www.keyence.co.uk

Creaform releases HandyScan AeroPack

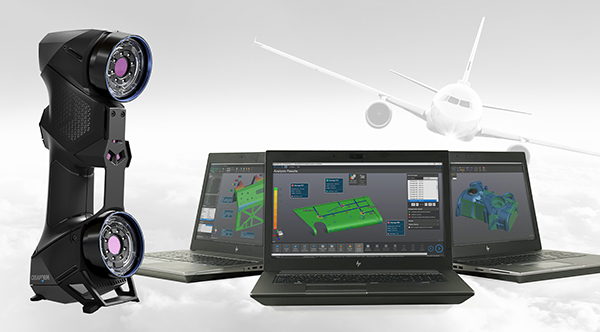
The Creaform HandyScan AeroPack is a new 3D scanning solution suite that addresses the specific challenges of aircraft quality control, such as assessing damage from hailstorms or aircraft incidents, as well as flap and spoiler inspection. HandyScan AeroPack can also be used for reverse engineering, maintenance and repair operations, and designing hard-to-acquire spare parts. The suite is available in the UK from Measurement Solutions.

Creaform’s HandyScan AeroPack includes HandyScan 3D, a metrology-grade, portable 3D scanner designed to acquire accurate, repeatable and reliable measurements – even in difficult environments, such as aircraft hangers or shop floors, and with both complex surfaces and parts of all sizes. Also featured is SmartDent 3D, an aircraft surface inspection software for assessing aircraft flaps, spoilers and fuselage panels. VXinspect, a dimensional inspection software module for quality control workflows and inspection reports, and VXmodel, a post-treatment software module to finalise and further process 3D scan data in any CAD solution, complete the offer.
Simple and intuitive to use by operators of any skill level, HandyScan AeroPack makes quality control and reverse engineering processes efficient by reducing user impact on measurement results and accelerating the generation time for final reports or CAD designs.
HandyScan 3D is listed in the Airbus Technical Equipment Manual, and is part of Boeing’s Service Letter, meaning it can be used for recording the physical attributes of dents on all Boeing commercial aircraft.
“Aerospace is facing increasing challenges due to manufacturers’ accelerated innovation, stricter regulatory standards, heightened concerns for passenger safety, mounting costs of grounded aircraft and profitability targets,” explains Jérôme-Alexandre Lavoie, product manager at Creaform. “As the HandyScan AeroPack was developed with these challenges in mind, aircraft and MRO companies can now tackle them head on.”
For further information www.creaform3d.com

Disrupting the metal AM market

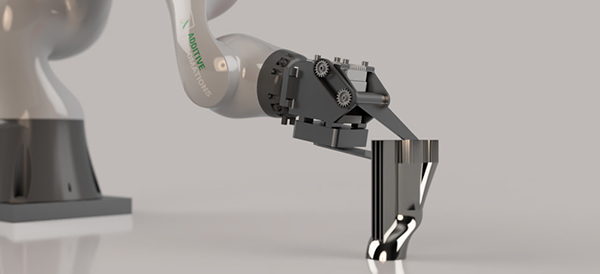
The AMRC has joined forces with a UK technology start-up and a global engineering giant in a transatlantic bid to disrupt the $3bn metal additive manufacture (AM) market by using AI and robotics to carry out the otherwise labour-intensive removal of support structures.

Project SALSA (Separation of Additive-Layer Supports by Automation) will see the development of a tool that will use robotics and machine vision to detect and remove supports from metal-additive parts. Led by Bristol-based Additive Automations, SALSA also involves Renishaw Canada, the National Research Council Canada (NRCC) and the AMRC.
For further information www.amrc.co.uk

RPI unveils TruMotion

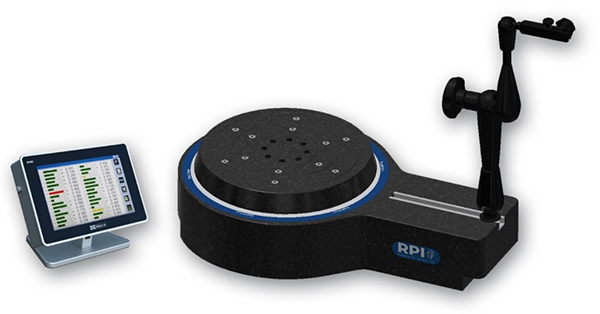
RPI UK, a specialist in positioning devices for high-accuracy rotary and angular inspection systems, launched its TruMotion system at the recent Quality Show 2019 in Rosemont, USA.

Jim Palmer, RPI’s sales manager, says: “TruMotion is our latest innovation in the measurement of circular geometry (TIR) for internal and external diameters, and faces of small and medium-sized round parts in machining and grinding applications such as gears, gauges, bearings and aircraft engine components.”
The TruMotion range of precision, manual spin, mechanical bearing rotary tables is designed to inspect circular components in a shop-floor environment. Available in two sizes (200 and 400 mm), the systems offer a maximum load capacity of 50 kg, delivering radial and axial runout targeted at 3 µm. Moreover, TruMotion units feature a user-friendly interface with an optional touchscreen.
Also demonstrated at the show was QuadProfile, a small, precision rotary table for turbine blade inspection.
The Quadrant range of rotary tables provides an additional axis for any high-precision CMM inspecting parts such as gas turbine discs and fan blades. A component is simply rotated to meet the CMM’s measurement probe rather than the three-axis probe being programmed to reach multiple measurement points around a part. Not only does this design simplify the measurement procedure, it helps to deliver fast and accurate indexing, as well as increase the CMM’s application range and effective measuring volume. Overall, this improves the flexibility, productivity and efficiency of the CMM inspection.
For further information www.rpiuk.com

20,000 microscope sales in five years

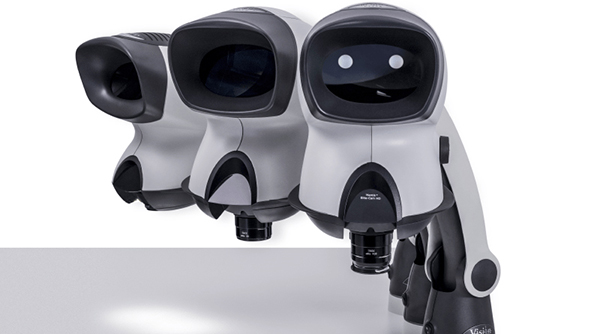
A manufacturer of visual inspection and measurement technologies, Vision Engineering, has sold over 20,000 Mantis microscope products in the past five years.

The Mantis ‘eyepiece-less’ stereo microscope is said to offer high levels of optical performance with magnification options up to 20x, making it a desirable alternative to more traditional inspection stereo microscopes. Vision Engineering’s Mantis was first introduced in 1994. Today, the microscope is still Vision Engineering’s most successful and popular product range, and now comprises Mantis Compact, Mantis Elite and Mantis Elite-Cam HD.
For further information www.visioneng.com