Next-generation Foundrax hardness tester

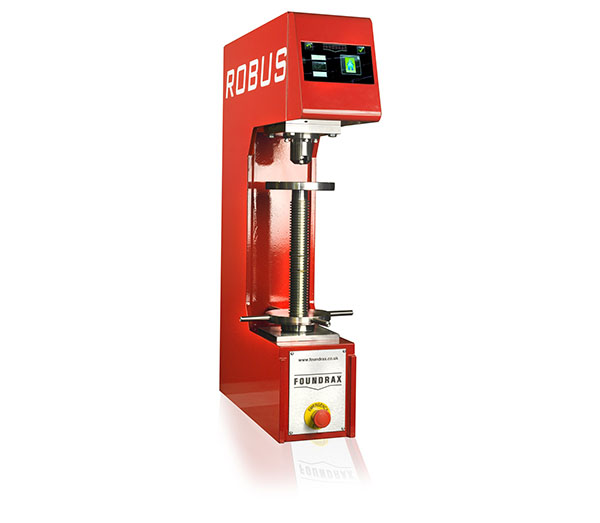
A specialist in Brinell hardness testing, Foundrax, will be launching its next-generation Robus machine at Control 2019 in Stuttgart (7-10 May), and will exclusively preview its newly developed low-force Brinell range of machines.

The company will be present on stand 5509. Foundrax managing director Alex Austin says: “Robus delivers a high-accuracy Brinell hardness testing capability from a robust benchtop system. Our machines provide laboratory-precision hardness testing in steelworks conditions, and we pride ourselves on the accuracy, repeatability and lifespan of our equipment. We have one example of a machine that has performed around 35 million tests.”
The company will also demonstrate the larger floor-standing BRIN400D, a rugged, shop-floor Brinell hardness tester that carries out automatic indentation and measurement for production-level applications.
Pioneers in Brinell hardness testing equipment, Foundrax has over 70 years of foundry, forge and steelworks experience. It is said to be the only company in the world to specialise in Brinell hardness testing equipment and accessories. Foundrax designs and manufactures all its own equipment, including custom-built solutions to customers in 46 countries worldwide, serving sectors such as aerospace, power generation, automotive, leisure and construction.
As well as its core business, Foundrax has recently launched factorysuppliers.com to source and supply materials testing equipment and consumables, as well as thickness and roughness testing equipment. The range is ever expanding and includes reference blocks and metallographic materials used for cutting, grinding and polishing.
For further information https://foundrax.co.uk/

Romi appoints two regional sales managers

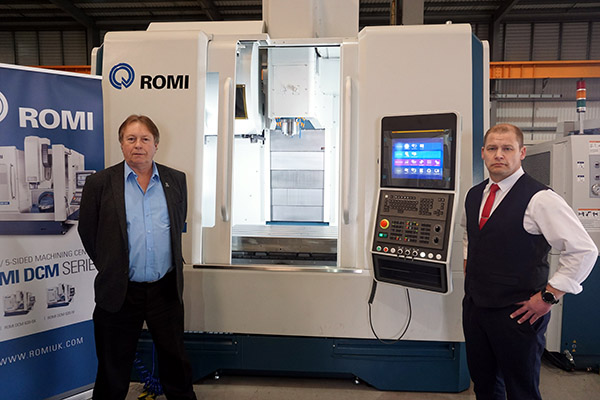
Consistent year-on-year growth, a record 2018 and a strong order book for 2019 has seen Romi Machines UK take on two new regional sales managers.

The company has appointed John Hawkins for the Midlands, North and Scotland, while Wales, the south of the UK and Ireland will be serviced by David Balfour. Hawkins has been in the industry for over 25 years, starting his career as an apprentice and working his way up to the position of production engineer and service engineer with a number of companies. Balfour is also a time-served apprentice, starting his engineering career almost 40 years ago. His time in machine tool sales has taken in extended periods with vendors of both cost-effective machine tools as well as high-end technology solution providers.
For further information www.romiuk.com

API releases 6DoF vProbe

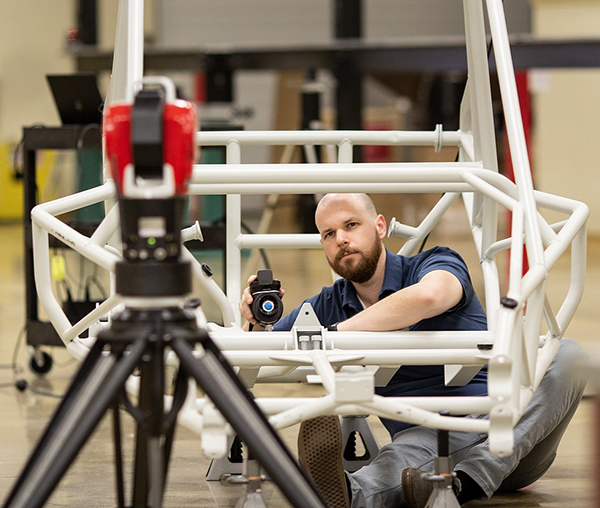
The 6DoF vProbe, a hand-held tactile probing system, has been released by API for use with its portable Radian Pro and Plus laser tracker range.

The probe extends the dimensional measurement capabilities of the laser trackers to perform part inspections conventionally undertaken by fixed CMMs. Availability is via UK reseller OR3D Ltd.
API vProbe, which is wirelessly operated, allows the measurement of intricate part features, including those beyond the tracker’s line-of-site, providing fast and accurate manual part inspections. The device, combined with a laser tracker, can deliver more measurement versatility than a portable-arm CMM, while being more accurate and better suited to larger parts, says API. The portability of the API Radian Plus laser tracker with vProbe allows measurements to be made directly on the shop floor and, in many cases, when a large part is still in situ on large machine tools.
vProbe with easy-hold grip turns a laser tracker into a portable CMM with its integrated, repeatable, quick-change ruby styli, while offering tactile scanning featuring instant part alignment correlation feedback. The probe offers a six-hour battery life, LED indicator and dual styli mount with toggle switch that can carry stylus extensions of up to 500 mm.
For further information https://apisensor.com/

Big year at Control 2019 for RPI UK

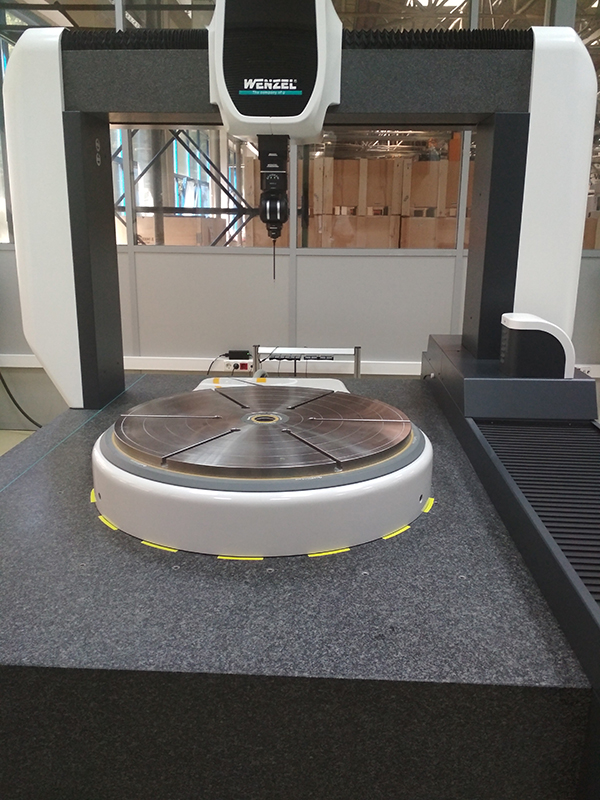
A specialist in precision positioning devices for high-accuracy rotary and angular inspection systems, RPI UK, will be launching the QuadProfile at Control 2019 in Stuttgart (7-10 May). On stand 7180, the company will also be previewing its RotoScan system.

RPI’s sales manager Jim Palmer says: “QuadProfile delivers newly developed capability to the CMM market as the smallest and most accurate rotary table for turbine blade inspection. We will also be demonstrating our prototype RotoScan, which is a robotic system that automates circular geometry in the same way that it has previously been achieved for non-contact metrology.”
According to RPI, the company has more than 750 successful CMM rotary table installations worldwide. Quadrant range rotary tables provide an additional axis for any high-precision CMM inspecting parts such as gas turbine discs and fan blades. Not only does this simplify the measurement procedure, it helps to deliver fast and accurate indexing, as well as increase the CMM’s application range and effective measuring volume.
The latest addition to the Quadrant range, QuadProfile, is said to enable the ultimate in low-profile and compact rotary table design for the
CMM market.
Also on the stand, RotoScan has been designed to automate the inspection of heavy-duty circular components with large diameters, such as bearings, aerospace castings and rotors. The system uses a robot to automate the inspection capability of components using traditional contact metrology techniques. RotoScan has been developed with AccuScan software and complements other assembly platforms such as iMAP and GeoSpin.
In addition to these developments, RPI will be demonstrating its LabStandard range, which offer sub arc second angular accuracy and precision geometry for inspection and calibration laboratories, with the versatility of both single and dual-axis configuration.
For further information www.rpiuk.com

LK develops five-axis CMM

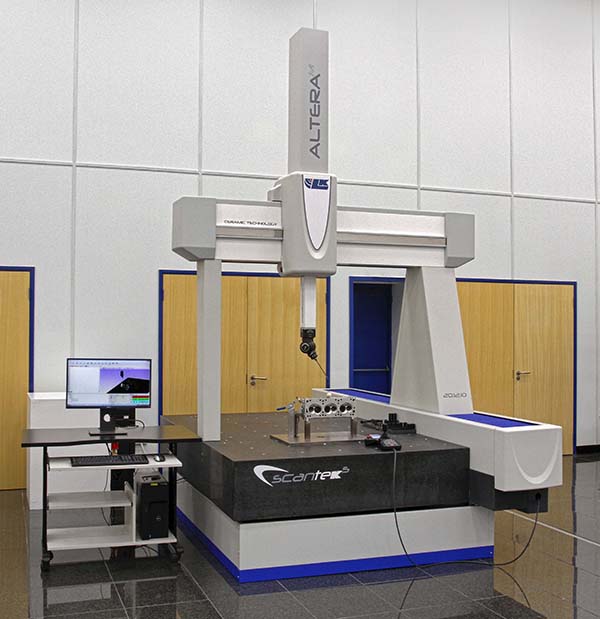
Manufactured in the UK by LK Metrology, the latest Altera range of CMMs has been coupled with Renishaw’s REVO-2 scanning system and multi-sensor technology to offer manufacturers a five-axis solution for inspecting the dimensional accuracy and surface finish of components.

A notable design feature of the newly developed SCANtek 5 package is the ceramic construction of the CMM beam and spindle, which combines optimal stiffness-to-weight ratio for responsiveness with mechanical and thermal stability.
The SCANtek 5 multi-sensor package includes Renishaw’s MODUS software for importing data, controlling the CMM, acquiring results and reporting – including GD&T labelling. High scanning speeds boost measurement throughput, shorten production lead-times, provide awareness of product conformance, and prevent the metrology department from becoming a bottleneck.
LK’s SCANtek 5 is available in a variety of standard measuring volumes from 800 x 700 x 600 mm (8.7.6) to 6000 x 2000 x 1000 mm (60.20.10), with larger options. The Alteram models with repeatability from 1.5 µm are being marketed alongside an Altera SL range offering repeatability from 0.7 µm. LK says it is so sure of the long-term performance of these premium machines that it is the only CMM manufacturer to offer a 10-year accuracy guarantee.
Ready for operation immediately it arrives in the inspection room or on the shop floor, the five-axis CMM gives users a competitive advantage, making it easier to win new work and speed product development. A three-axis measuring solution, by contrast, is often unable to measure some complex features.
Scanning at up to 500 mm/s, without the stylus leaving the surface of the component, allows the co-ordinates of up to 4000 points to be captured ‘on-the-fly’ every second, a rate of data acquisition far higher than is possible using conventional probing techniques.
For further information www.lkmetrology.com