Mills CNC to showcase a medical marvel

Mills CNC will showcase a DN Solutions SMX 2100SB large bore multi-tasking turn-mill centre at Seco Tools’ ‘Aerospace & Medical Inspiration through Innovation’ event taking place at the company’s facility in Alcester on 16-17 October.

The FANUC-controlled machine, equipped with opposing 22kW/5000rpm spindles, a 12,000rpm B-axis milling head, a 40-tool position ATC, a 12/24 position turret with driven tooling capabilities (5000rpm) and integrated thermal compensation, processes complex, high-precision parts in a single set-up.

Mills selected the SMX 2100SB to appear at Seco’s Inspiration through Innovation event to demonstrate the machine’s inherent flexibility, productivity and efficiency in producing medical parts.Following its selection, pre-sales engineers from Mills CNC, working closely with partners from Seco Tools (cutting tools), Hainbuch (work holding) and Open Mind (CADCAM software), began to design and develop a secure, repeatable process to machine a small, high-precision medical implant part in small volumes over the two-day event.

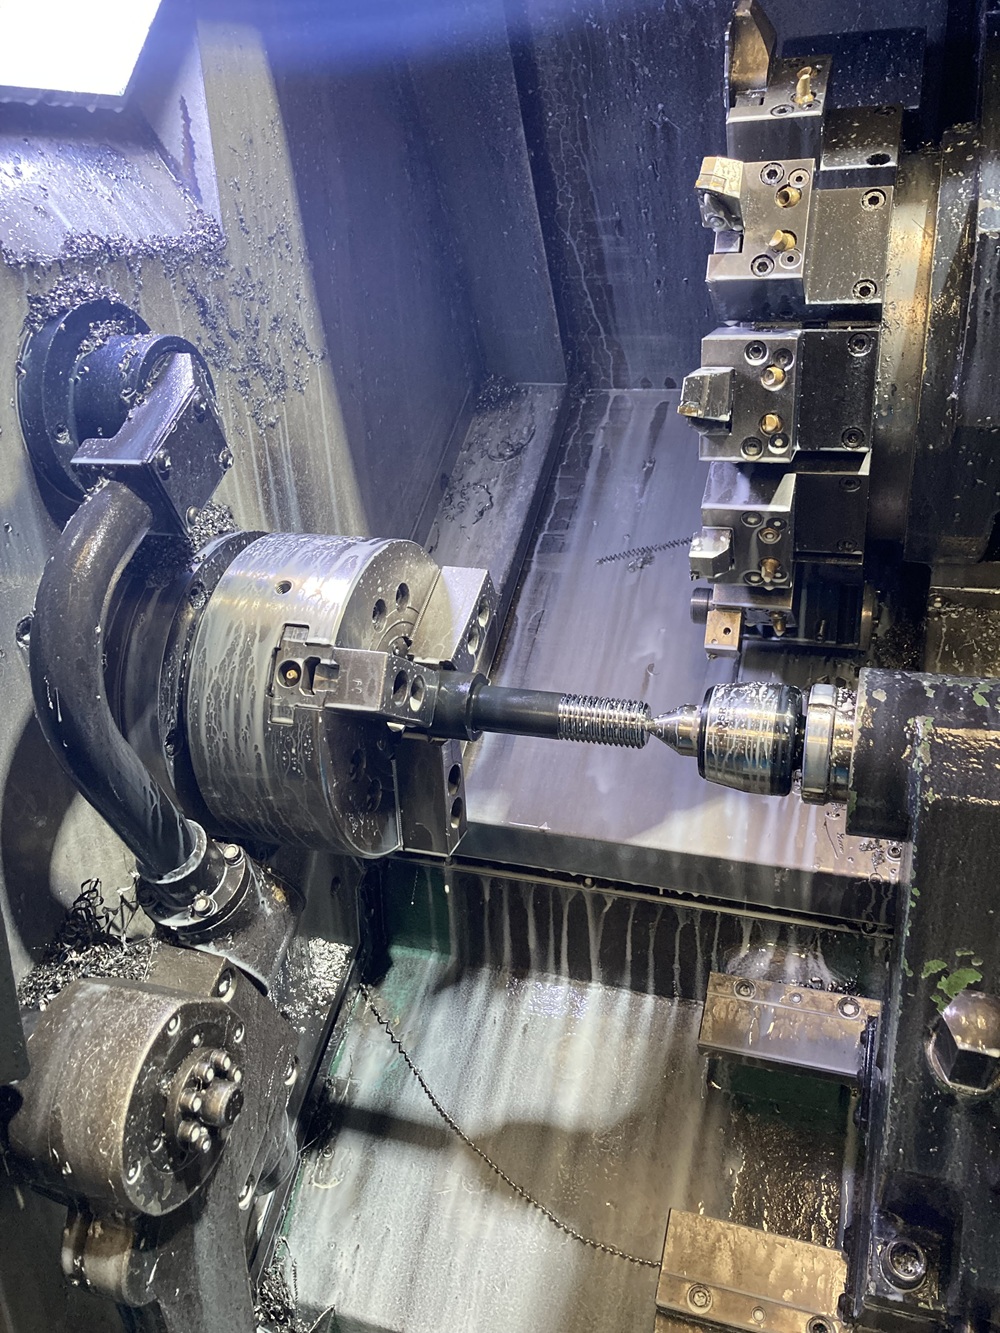
The part selected for the live machining demonstration is a shoulder implant stem made from a solid titanium bar/billet with individual part dimensions of 74mm in length and 50mm diameter. In total, the part cycle time is 45 minutes, including all front- and back-end machining operations. As well as parting-off, other operations include roughing and finishing (front and back-end), OD profiling, slotting, face and side milling, three-axis turning, five-axis simultaneous milling, drilling, and countersinking.

For the Seco event, a number of 600mm length titanium bars will be available which, using a bar puller, will enable continuous production.Mills CNC pre-sales engineers will be available to explain the machining process.

More information www.millscnc.co.uk

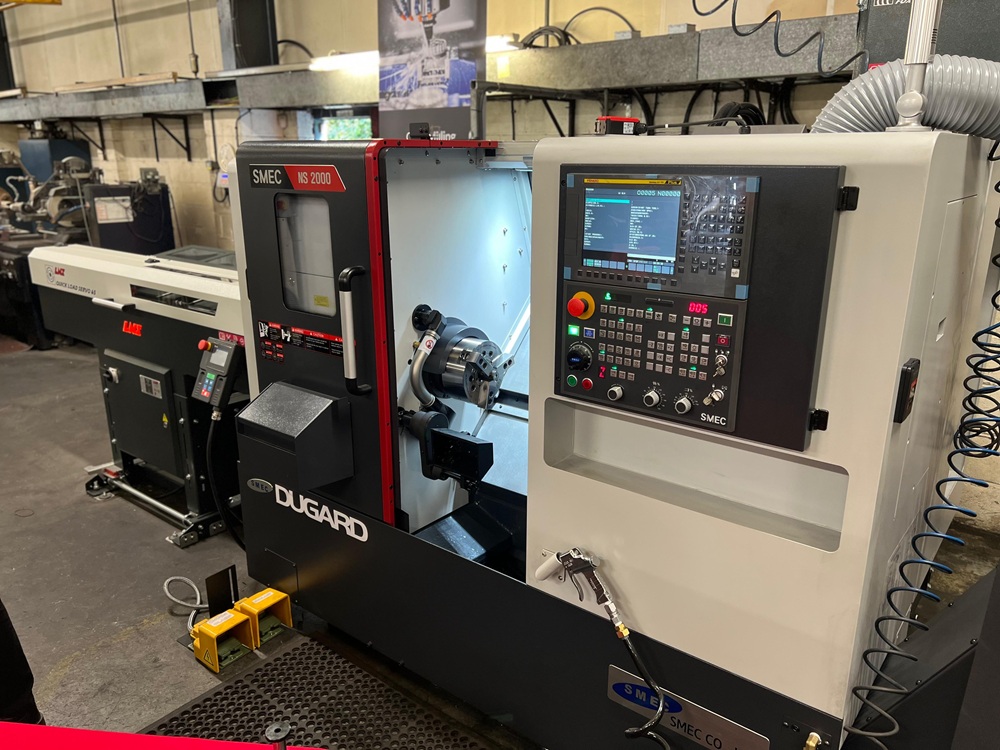
Dugard launches Mylasmulti-axis turning centre

At the top of the Mylas portfolio of turn-mill centres available in the UK from Dugard is the new MTY series of twin-spindle, twin turret, triple channel machines. Designed to create productivity gains, the Mylas MTY range can simultaneously engage three cutting tools on the workpiece through a range of configuration options.

The Mylas MTY is available in two models, the MTY 51 and the MTY 65 that offer 51 and 65mm bar turning capacity. Within the two models are a series of different configurations. For instance, the MTY 51A or 65A configuration offers a single Yaxis with two tools cutting in tandem; the B-type machine offers a single Yaxis, tailstock and two tools in simultaneous cut; whereas the MTY 51C and 65C type provides two tools on the part with double Yaxis.

The MTY D is a double-channel machine with a double Yaxis and tailstock, while the MTY51E and 65E offer three tools in simultaneous cut with double Yaxis and tailstock.

Within these options, Mylas offers a 5500rpm main spindle on the MTY51 and 4000rpm on the MTY65 with a power rating of 7.5/11kW plus NN bearing type and roller bearings at the front and rear of the spindle to deliver cutting power directly to the cutting surface – resisting axial and radial forces. Complementing these capabilities on the sub-spindle is a 6000rpm unit offering 5.5/7.5kW that sits alongside an optional tailstock with 100mm travel to increase turning length up to 5xD.

To offer maximum flexibility, the two BMT55 tooling turrets each provide 16 tool stations with a maximum tool capacity of 64 positions.

More information www.dugard.com

G-Tech invests in new Nakamura-Tome

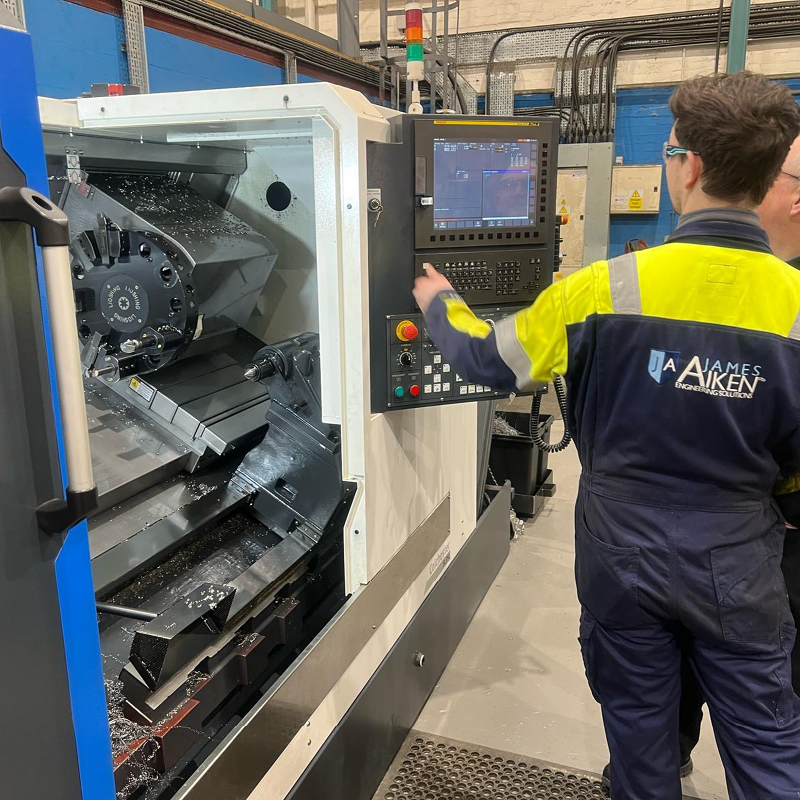
When the turning department at Merseyside-based G-Tech Engineering was having difficulty keeping pace with demand, the company recognised it needed to reduce cycle times and lead times, and add one-hit machining that could take place lights-out. The answer to these dilemmas arrived in the shape of a Nakamura-Tome AS200LMSY turn-mill centre from the Engineering Technology Group (ETG).

As a high-precision subcontract machine shop, G-Tech Engineering has a host of machine tools from a variety of vendors, but two stand-out machinesinclude a 30+ year-old Nakamura TW10 and an ageing Nakamura WT150. Both purchased second-hand, these machines justify their place on the shop floor as they still retain their precision, productivity levels and reliability. So, when it came to buying a new machine, it was an obvious choice for the Wirral company.

Andy Kirkwood,senior production engineer at G-Tech Engineering, says: “We needed to replace a reliable but ageing two-axis chucking turning centre with something more up-to-date. We selected a Nakamura-Tome AS200LMSY to join our already mission-critical Nakamura TW10 and WT150 multi-axis turning centres.”

Undertaking a lot more one-hit machining of parts, the new Nakamura-Tome AS200LMSY saves both time and labour. 

“It also allows us to maintain demanding geometric tolerances consistently and repeatably, such as flatness concentricity of less than 0.03mm between spindle transfers over a diameter of 150mm,” says Kirkwood. “Another new feature proving invaluable is the Y-axis travel of 80mm (±40mm). This is excellent for the footprint of the workstation and saves us time by enabling us to complete a lot more milling operations in the same set-up, reducing the need for secondary milling operations.”

More information www.engtechgroup.com

Renishaw launches longer-length FORTiS encoder

Metrology specialist Renishaw can now offer longer sealed encoder scale lengths to support the development of large machine tools. Customers can choose FORTiS enclosed encoder linear scales as long as 4.24 m.Applications include machine tools for making large casting moulds, vertical turning lathes (VTLs) and gantry-type machines.

The FORTiS encoder design is built upon Renishaw’s ‘Resolute’ encoder technology, providing resistance to the ingress of liquids and solid debris contaminants. It features an extruded enclosure with longitudinally attached interlocking lip seals and sealed end caps. The read-head body is attached to a sealed optical unit via a blade that travels through the DuraSeal lip seals along the length of the encoder.

Linear axis movement causes the read-head and optics to traverse the encoder’s absolute scale (which is fixed to the inside of the enclosure) without mechanical contact.

Customers can choose from two different extrusion profiles to suit their space requirements. The FORTiS-S linear encoder is the standard-size encoder, available with measuring lengths from 140 to 4240 mm, and installs directly to a machined surface via flexure holes in the extrusion’s body.

The FORTiS-N encoder, available with measuring lengths from 70 to 2040 mm, features a narrower cross-section extrusion and a more compact read-head to enable installations in confined spaces. This model mounts directly to a machined surface via two end cap mounting holes or a mounting spar for greater rigidity.

Renishaw FORTiS absolute encoder systems have CE approval and are manufactured in-house using strict quality-controlled processes certified to ISO 9001:2015.

More informationwww.renishaw.com/fortis

Reducing rail-tip measurement time by 97.5%

Bowers Group recently assisted DPMS in the development of an advanced rail-tip measurement solution that reduces the time needed to inspect milling wheels by 97.5%.Collaborating with its distributor H Roberts, Bowers Group worked to construct a tailored solution for the tip measurement station. 

Andrew Yarrow, mechanical engineer at DPMS, says: “We believe our rail-tip measurement system has the ability to transform rail maintenance globally. Collaborating with Bowers Group has been instrumental in achieving our goals of functionality and accuracy. Together, we navigated challenges to develop a system that prioritises accuracy, user efficiency and safety in a high-risk industry.”

Rail operators work tirelessly to maintain and upgrade track infrastructure and ensure smooth operation. A key aspect of this objective is the milling process, where train-mounted wheels with rotating carbide tips remove irregularities and defects from rail surfaces, enhancing train performance and safety.

Inaccurate measurement of milling wheel cutting heads can lead to uneven rail surfaces, affecting train stability and comfort, and causing excessive wear and tear on both the grinding wheel and the rail.DPMS developed a tip measurement station that allows for synchronised inspection of both the left and right milling wheels. Here, Sylvac P5i inductive probes from Bowers enable direct connection to a laptop. The Bowers Group team of experts developed a customised reporting program, using Sylcom, allowing for the export of data to Excel for report generation.

This new system enabled the mounting of all five readout heads in a stack, permitting immediate measurements and collecting data simultaneously. The result?A more accurateprocess that supportssimultaneous measurements. DPMS thus witnessed a reduction in measuring time for both milling wheels from over 1 hour to just 90 seconds.

More information www.bowersgroup.co.uk