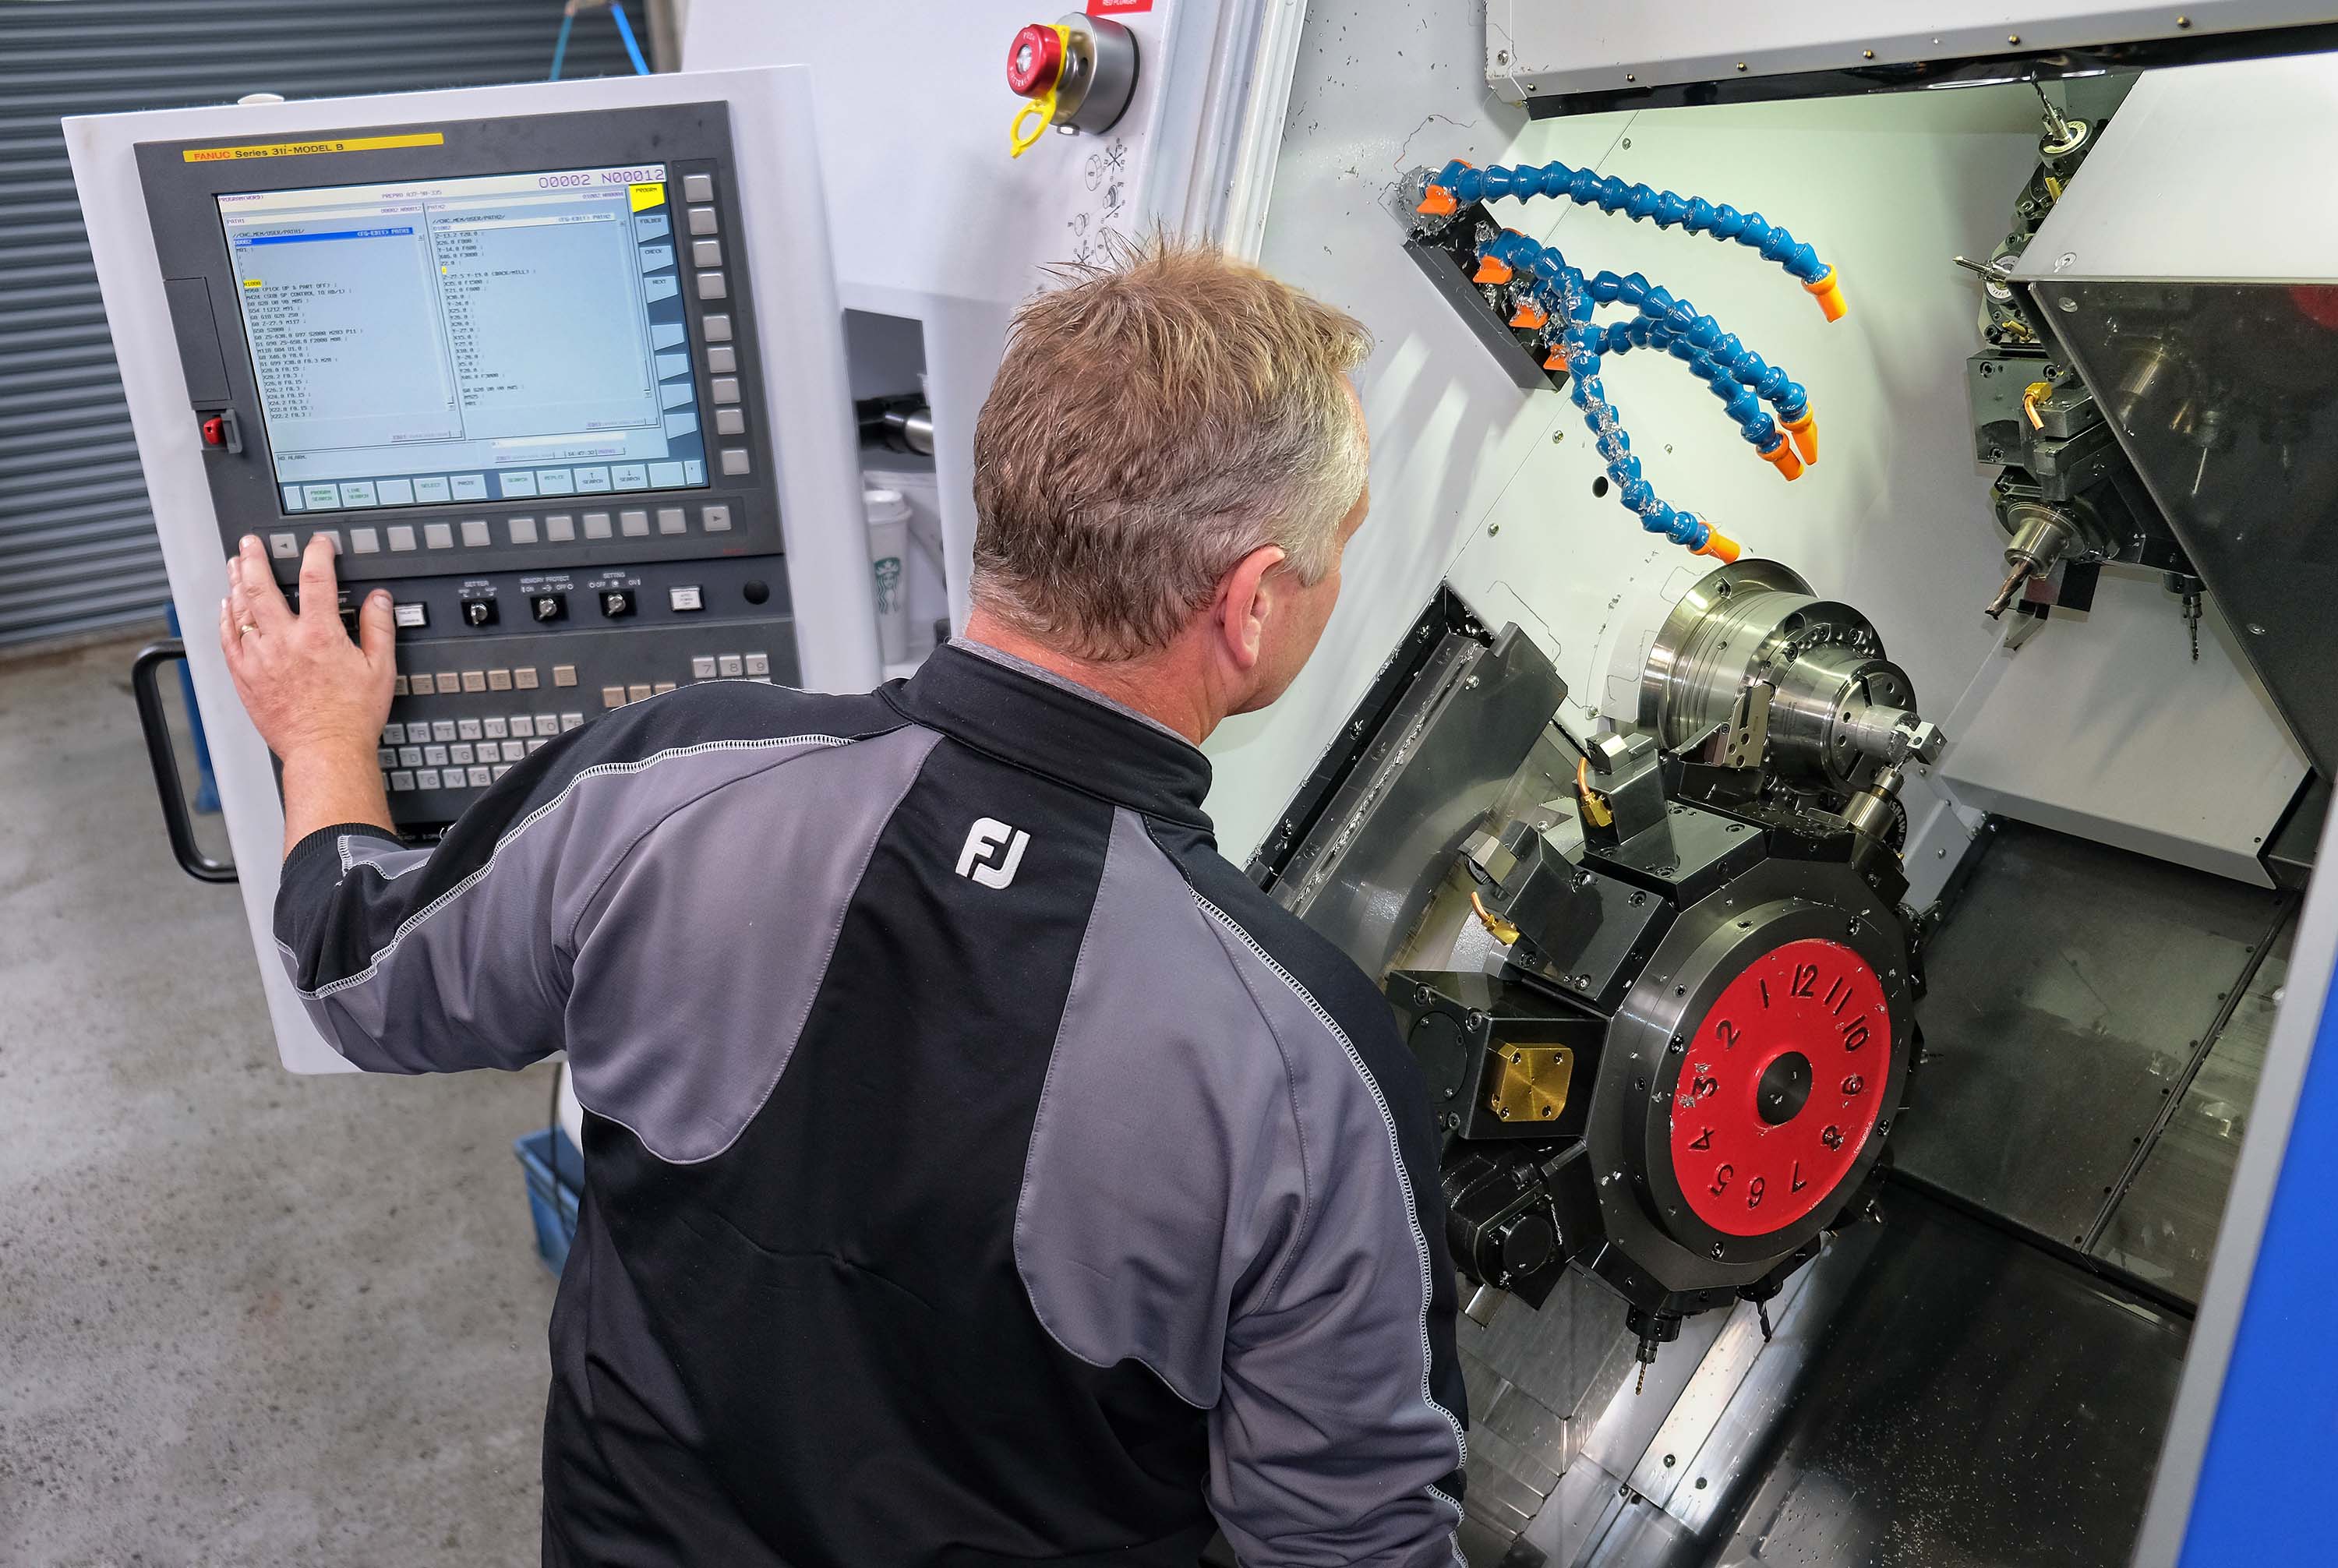
Vericut powers digital manufacturing

CGTech’s VERICUT simulation and optimisation software is providing a crucial step on the MAN Energy Solutions digital manufacturing journey. At the company’s Danish production facility, the software has reduced product prove-out times and minimised scrap levels, helping MAN Energy Solutions deliver on the promise to its customers of a sustainable future.

MAN Energy Solutions is a multinational company that produces large-bore diesel engines and turbomachinery for marine and stationary applications, including marine propulsion systems, power plant applications and turbochargers. The company was formed in 2010 from the merger of MAN Diesel and MAN Turbo, and is a subsidiary of the Volkswagen Group.
Employing a total of around 14,000 people at 120 sites across the globe, its T35 manufacturing facility located just a few miles from Copenhagen Airport produces fuel injection systems that require extremely tight tolerances components for new installs and service life replacement, as well as the refurbishment and retrofit of older vessels and static sites.
Until recently, this facility had lacked investment in digital manufacturing, as process owner – digital manufacturing, Mikkel Jon Hass, recalls: “In comparison to other sites we were behind in terms of technology and investment because there was no strategy for this segment. We just followed the same tried and tested path to produce components as a typical batch flow engineering machine shop.”
That all changed when, three years ago, a new management team began to influence the direction of the business and focus on its future with fresh ideas. “New manufacturing equipment started to be installed and my role was created,” says Hass.
His appointment marked the first time the business had anyone tasked with prioritising the changes to bring about digital manufacturing. During the investigative process of the various business requirements, Hass discovered that MAN Energy Solutions had an established preferred IT provider strategy which determined suitable software platforms.
He says: “Luckily, Vericut was also on the list, which made it a lot easier. So, the digital footprint was set without any further discussion. Vericut was the simulation system chosen globally by our German headquarter facilities in Augsburg, where they have been using the software for many years.”
The tolerances on certain company parts produced from tool steel (with very specific attributes) are very tight. To achieve these levels, the company operates high-specification machine tools, from multi-axis machining and turning centres, to superfinishing systems and jig grinders.

The machine shop runs on a continental five-shift system, but the CAM programmers are available for the day shift, which is when prove-out occurs. If the prove-out is not completed within one shift then the following two shifts cannot progress or make parts. This was one of the key reasons for investing in Vericut, and the software has helped significantly.
Providing some background, Hass, states: “Our machines and processes are very complicated, and that leads to many issues. Honed parts are often held to 3 µm on a parallel bore with a surface finish of 0.2 Ra that is at the absolute limits of what the machines can achieve.
“Before using Vericut it would be difficult to quantify the time required to prove-out any new components,” he adds. “We knew we had to get the new parts running, but nobody knew how long it would take, there was no transparency. They would allow months to get from the design phase to proven and ready for production.”
Now, prove-out has been reduced from typically taking around five days, a whole week effectively, to just a few hours.
“We recently had a prototype design go through that had six redesigns before being proven in Vericut, machined and measured in the quality department in just 24 hours,” says Hass. “With Vericut we aim for the prove-out to be a factor of the cycle time, so for a 1-hour cycle time we want to prove out in 2.5 hours; we are currently at 3 to 4 hours. This is the goal for us going forward, so everyone has to be open to new ideas and new methods.”
Multi-axis machine tools such as the two new DMG-Mori CTX Gamma 2000 machines represent the future strategy of the business. Where possible, the company will opt for two-turret, twin-spindle machines with a B axis, and a further three machines are already on order to replace older turning centres.
“For the first few years the new machines were operated just for turning,” recalls Hass. “No one could handle the programming complexities of the milling and drilling capabilities as they are very difficult to program safely. There are many opportunities for collisions between the tools, fixturing, machine structure and the workpiece.”
Today, Vericut is used to verify the post-processed CAM program to ensure it will run safely without crashing, and the staff to run these machines have been specially selected, not by skilled capability but by attitude and willingness to adopt new concepts.

Prior to using Vericut, machine-tool crashes were seen as part of the operational risk, and were not usually identified during the prove-out as all the parameters were backed off and the process was being monitored very closely. However, when the parts went to production, errors that did not arise during the early stages were often highlighted. Part of the justification and ROI for investing in Vericut software came from the expected saving of one spindle per year.
“We have had several virtual crashes in Vericut, but nothing on the physical machines,” confirms Hass. “However, the real savings come from the prove-out time achieved.”
Another key part of Vericut software that is supporting MAN ES is the ‘Auto-Diff’ module, which enables programmers to compare a CAD design model with a Vericut simulation to automatically detect differences. Using this module in the production process can identify incorrectly machined areas.
Says Hass: “The process is to turn the blank to size and then mill the prismatic features and so on with following sequential operations. Some of this will be removed by the increased mill-turn capacity where we probe the component on the machine, but for some families of parts it is still the most effective route. Previously, if the parts required say four turning operations and two milling operations, and an error was made at any stage, then it would not be detected until the part had been finished, which wasted time and effort, effectively making scrap.
“Now we’re updating our manufacturing documents in NX and using Auto-Diff in Vericut to check the part stock for each stage of the manufacturing process,” he continues. “It is a great tool to provide confidence in the process and eliminate the risk of bad parts being unnecessarily progressed. If you make scrap you have to make the part again, so it is better to catch the error as early as possible to save your resources. Many of our parts are similar with just small detail changes and these can easily go unnoticed, which is why Auto-Diff is important.”
Thanks to CGTech’s Danish reseller, a total of 10 advanced machine tools on the shop floor at MAN-ES are accurately modelled in Vericut.
Accurate machining cycle times simulated by Vericut are providing better control for various cost centres within the business, and are fed into the company’s SAP ERP system.
For further information www.cgtech.co.uk

CNC robot driven by Alphacam software

A company manufacturing industrial furnaces and ovens has switched from a flat-bed router to a robotic cell designed and developed by CNC Robotics Ltd. The cell uses a Kuka robot arm programmed with Alphacam CADCAM software and RoboDK to cut insulation material at speeds of up to eight times faster than before.

Carbolite Gero, based in Hope, Derbyshire, uses a variety of insulation materials like Kerform insulation board, refractory brick and ceramic materials to keep the temperature of its steel outer cases down to around 60°C, while the internal temperature peaks at 1200°C. The ovens and furnaces are used in a range of testing and heat-treatment processing facilities across sectors such as aerospace, general engineering, materials science, medical, bioscience, contract testing laboratories and universities, to see how products and liquids react in a heated environment.
The company was already using Alphacam to drive its three-axis Biesse router, but plant manager Nigel Holmes-Taylor says the Kerform board, along with other insulation materials, produces a highly abrasive dust when cut, which causes considerable wear on exposed parts of the CNC machine.
“We came across robotic arms with a routing attachment, and decided that was the path to take,” he says.
The company approached CNC Robotics, a UK-based robotics integration company that specialises in machining with robots. An important issue for Carbolite, though, was that it wanted to keep its Alphacam programs and integrate them into the robotic cell. No problem, said Nick Parry, systems engineer and technical lead with CNC Robotics, who led the development of the single enclosed robotic cell.

CNC Robotics founder and owner Jason Barker explains further: “When machining, we need to simulate the robot correctly to give raw data of where the robot goes, to check for potential crashes. Simulation is also vital for checking correct posture, singularity, wrist and elbow, and axis limits. The importance of ‘what you see is what you get’ is critical. If it crashes on screen it will crash in the real world. Using software such as Alphacam and RoboDK means you can correct all that before we go anywhere near the robot itself.
“And being able to convert the existing Alphacam programs that powered the router meant there was no downtime learning a new software,” he adds. “Carbolite was able to take their existing programs and redevelop them into the robotics world.”
Martin Measures, Alphacam area sales manager, explains how the simulation issue was overcome: “Tool paths created in Alphacam are passed directly to a RoboDK interface within the software, which simulates the robot kinematics. RoboDK is a specially configured software development kit (SDK) which outputs the co-ordinate cutting data to drive the robot. It means we can see exactly what the robot’s going to do before it processes the parts.”
And Holmes-Taylor says that because Carbolite’s new robotic cell can move at up to 2 m/sec, it provides a significant improvement over the company’s previous manufacturing process.
“Cutting speeds are far quicker on the robot than on the flat bed router,” he states. “While the router was restricted to working in three axes, the robot arm effectively has six axes, but can actually be infinite in the way it operates.”
His team takes the part files from drawings produced by the engineering facility, and imports them into Alphacam.
“This brings all the cutting paths together, and sends the program to the post processor, which is then fed into the RoboDK module for simulating the movement of the robotic arm,” says Holmes-Taylor.

As the Kerform board comes in a variety of thicknesses and temperature grades, the robotic cell designed by CNC Robotics provides an additional benefit versus a flat-bed machine.
“Thanks to a special rotating table, we’ve now got four positions on both sides of the bed, which means we can cut several different types of board needed to produce a full unit, at the same time,” says Holmes-Taylor. “With the flat-bed router we could only deal with one type of board at a time, so this gives us a 4:1 ratio of cutting it quicker. In some circumstances it’s up to eight times faster.
“The rotating table that works this has a set angle at which the cutter hits the board, and Alphacam, in conjunction with RoboDK, ensures the robot keeps to that exact angle at all times, cutting in a straight line and at the correct depth,” he adds.

As the board has a high aluminium content, another improvement is that all the abrasive dust created during the cutting process is contained within the cell and drawn out through Carbolite’s extraction system, meaning the overall environment is much cleaner.
Finally, an added bonus, as Alphacam can produce a full description of what needs to be added to each specific site at the loading bay, CNC Robotics has been able to develop a piece of software that displays the PDF generated by Alphacam.
“This means that the operative loading the machine knows the next material to load, and where it has to go, saving even more time,”
says Holmes-Taylor.
The partnership between CNC Robotics, Alphacam, RoboDK and Kuka is an optimal solution for Carbolite, according to Kuka’s UK sales channel manager Tara Baker: “Kuka works with a system partner network. System partners like CNC Robotics provide even more industry-specific know-how. CNC Robotics designed and integrated everything into the enclosed cell, turning the robot into a highly effective CNC machine. Furthermore, Alphacam/RoboDK provides a back-up service for the software. It’s a one-stop solution for Carbolite, helping them to future-proof their business.”
For further information www.alphacam.com

Projecting a quality image with Faro

Within the demanding marine sector, the accurate positioning, alignment and assembly of components, especially larger, cumbersome elements such as boat hulls, is a regular and often challenging requirement. Superyacht builder Sunseeker has eliminated the difficulties associated with these tasks following the recent purchase of two complementary, laser-based technologies from Faro UK. The Faro products have enabled Sunseeker to reduce its build times and further develop the company’s quality standards.

In order to remain at the technical cutting-edge of the boat-building industry, the Poole-based company’s management team continuously searches for new production and inspection aids. For example, given his extensive Indy-Car and Formula One design experience, Sunseeker’s composite development manager, Stuart Jones, was aware of the advantages that Faro’s laser-based technologies deliver across various classes of global motorsport. Therefore, he was confident that Faro products could provide Sunseeker with improved levels of speed and precision throughout all stages of each boat’s build. A successful on-site demonstration of a Faro laser tracker and a Faro laser projection system validated Jones’ opinion.
Put through their paces in the presence of a group of relevant Sunseeker staff, the Faro equipment was able to prove its accuracy, and ease and speed of use. As the demonstration verified the system’s ability to reduce boat build times, a rapid return on investment was calculated and an order was placed for a Faro Vantage E laser tracker, four Faro Tracer M laser projectors and Faro’s CAM2 software, all of which are now in daily use.
Stuart Jones explains the use of the company’s Faro Vantage laser tracker: “Having previously utilised conventional, time-consuming means of measurement and inspection, we’ve made a quantum leap by adopting the Faro Vantage. We’re now able to rapidly and accurately capture the 3D base geometry of, for example, our superyacht hulls and our large composite components, and ensure they adhere to the designs generated with the help of our in-house design and manufacturing software. Once obtained, this data is used by our four new Faro laser projectors to project a variety of key datums, templates and location positions on to our hulls, allowing the precise fitting of key components during build.
“Having successfully applied it to capturing the base geometry of hulls and large composite components, the ease of use, accuracy and flexibility of our Faro Vantage meant that within days of its delivery, we discovered a multitude of other uses,” continues Jones. “For instance, we found that, as it was a precise and effective co-ordinate measurement system, we could use it to accurately compare many other key components against their original software models. Also, because of its relatively low weight, portability and robust construction, we are now able to bring our Faro Vantage to our suppliers, to assist in problem identification and take the relevant rectification measures.

“As many of our parts have tight tolerances, our tracker routines allow us to accurately detect and quantify any deflection or change in the geometrical shape of components such as hulls that could cause later assembly issues. The use of the precise data gathered by our Vantage laser tracker means that we are able to take early corrective actions and avoid more problematic issues later in the build process.”
Suitable for large-scale 3D measurement applications, the Vantage enables users to maximise productivity and reduce inspection cycle times by 50-75%, says Faro. The device can be applied to assembly, alignment, part inspection, machine installation and reverse engineering tasks.
Jones continues by explaining Sunseeker’s purchase of the four Faro Tracer M laser projectors: “Having identified several key potential applications for Tracer M, an impressive practical demonstration of the laser projection system operating in these areas proved its precision and speed capabilities.
“We now use our Tracer M laser projectors to project precise, virtual templates that enable datums to be marked,” he adds. “This process allows the very accurate location of critical components such as bulkheads, longitudinal elements, stringers and engine beds. The benefit of the Faro projections are that we are able to quickly and accurately complete the ‘right-first-time’ positioning of these important features in all three dimensions. The precision we achieve in establishing an accurate, solid base at this stage of a boat’s build provides many benefits later in the process.
“In addition to the accuracy advantages that our Tracer M devices have delivered to build procedures, they have significantly reduced build times. The installation of wire looms located on our deck liners is a typical example of the time savings achieved. Previously, two people would have manually marked out the cable routes with a tape measure and plotted their routes with marker pens, returning later to then fit the looms in situ. Now, a Tracer M projects our wire loom design model on to the deck liner surface, and the cable mounts and looms are then fitted in one rapid, accurate procedure.
“The fitting of our liners, which had previously been a bottleneck in the build, was subsequently reduced by two days. Added to this, the use of our laser projectors has been instrumental in avoiding problems such as cable pinching during final assembly.”
Tracer M uses existing customer 3D CAD models to project a 0.5 mm wide laser line on to a 2D or 3D target surface or object, creating an accurate virtual template that enables the fast, precise positioning of components. The system covers an envelope of up to 15.2 x 15.2 m. For larger assemblies and use in space-constrained areas, multiple Tracer M projectors can be controlled from a single workstation to provide large-scale virtual templates within a single co-ordinate system.
Sunseeker’s manufacturing engineering manager Steve Efford concludes: “Our association with Faro has proven to be extremely productive. Not only have we been impressed with the efficiency and precision gains made through the use of Faro’s technology, we’ve also been impressed with the levels of service received from Faro UK’s staff. With their help we have been able to quickly develop a range of manufacturing methodologies that have improved our precision capabilities and reduced our build times. For instance, by using Faro’s large-range scanner we have found we can capture data from boat moulds or hulls and have a full colour map of points in under an hour.”
For further information www.faro.com

ITC cuts tooling costs for subcontractor

Founded by managing director Wayne Bouchier at the youthful age of 25, Letchworth-based Maztech Precision Engineering (MPE) today runs four Mazak machining centres, which include a VTC-530C, an i-500 and the jewel in the crown, an i-300 AWC five-axis, 32-pallet machine that runs unmanned around the clock.

However, the journey to acquiring high-end machine tools was certainly an uphill struggle, as the entrepreneur started the business with little more than loans, family support, some good faith from Mazak, a sprinkle of luck and truck loads of hard work and determination. Six years later, the combination of hard work, research and experience has been integrated with some innovative business nous that has seen Maztech invest in machine tools from Mazak, high-end CAM software from Open Mind and, of critical importance, high-quality cutting tools from Industrial Tooling Corporation (ITC).
Recalling the formation of the company and how the relationship with the Tamworth cutting-tool specialist transpired, Bouchier says: “During the early years of the business we relied largely upon one prominent tooling vendor, as well as a few smaller vendors. This combination gave us access to a range of products that would suit our initial needs. The primary supplier continually promised us a vending machine, which never materialised. Simultaneously, the price of tooling kept fluctuating. As a small subcontract manufacturer, we sometimes factor the cost of tooling into our work, so ever-changing prices were unacceptable. Instead of inviting every cutting tool sales rep to our site to conduct countless time-consuming trials, we asked 10 vendors to work with us on one single job.”

Applying this novel and efficient route to selecting the most appropriate tooling vendor, Maztech offered up an EN24 component for the MoD that was required in a volume of 300-off. Utilising one of its five-axis Mazak machining centres and CAM software from Open Mind, each steel cover component required over 10 minutes of continuous trochoidal roughing. So, Maztech asked the 10 invited vendors to supply a couple of their preferred five-flute solid carbide end mills to test. Each participating tool was run at identical speed and feed parameters that had been agreed with each of the 10 cutting-tool engineers from the various suppliers.
Bouchier says: “Every company claims to have the best cutting tools, so we put that theory and the confidence of the reps to the test. This was a genuine test of carbide quality and the performance of tool geometry. I ran every single tool until it broke and then recorded the data and tried the next tool – that was the fairest way of conducting the trials. The contrast in performance was staggering. We had one end mill that lasted just 30 seconds. However, most of the leading names in the industry machined five, six or seven parts, with some of the best performers reaching 10 finished parts before failure. The second-best tool managed to cut its way through 14 parts before failure, which we considered very good performance when measured against all the previously tried brands. However, the ITC tool was in a completely different league: the ITC Widia 577C five-flute solid-carbide end mill blew everything else out of the water.”
The ITC Widia 577C completed 25 parts before performance started to diminish. However, despite the deteriorating performance, the end mill would not break.
Following this testing process, Maztech introduced ITC Widia solid-carbide end mills to other components at its facility.
“Over 20% of our work is EN24 and another 20 to 30% is stainless steel, so we rapidly introduced ITC’s solid carbide tools to all our steel parts,” says Bouchier. “Based on the performance of the ITC Widia 577C, we felt confident that we could roll them out across our machine shop. I probably didn’t give ITC the ‘fairest of opportunities’ in the early days, but the 577C trial changed all that.

“The next step was to try the aluminium cutters and it has just grown from there,” he adds. “In the past couple of years we’ve implemented ITC’s deburring tools, thread rolling taps, ball-nosed end mills, through-coolant drills and much more. We only use solid-carbide tooling, and ITC now supplies 99% of our cutters. The remaining 1% will be tools that ITC do not manufacture. Our decision to work almost solely with ITC has been fully justified. We used to spend upward of £3000 per month on cutting tools, but ITC has helped us to half this cost. While a 50% cost reduction is great, what’s more impressive is that we’ve doubled the size of our business, our productivity and our output in the last two years since introducing ITC. So, in real terms, without ITC, our tooling costs would be four to five times higher than what they actually are today.”
One reason behind ITC now claiming 99% of the tooling supply at Maztech is the service.
“We machine 1000 steel blocks every six weeks for an aerospace customer and this job requires the rough machining of 2” cube sections,” says Bouchier. “We were using a long-series, five-flute 10 mm diameter solid-carbide end mill with a 42 mm flute length and chip breaker from our previous, unreliable supplier. At that point, ITC didn’t have a 42 mm flute tool with the dimensions we required, but they produced one for us. The performance of the ITC five-flute 10 mm diameter tool was comparable with that of the previous tool, so ITC revised it to extend tool life from 40 parts per tool, to 50.”
Looking to the future, Maztech is venturing into the realms of indexable cutting tools. Again, ITC has been on-hand to support the company.
“We’ve tried a few of the ITC indexable tools and had some good results, especially with the Widia VSM490,” states Bouchier. “We have been cutting stainless steel dry with a 50 mm diameter five-insert VSM490 face mill and that has been very good. We did a few trials from numerous suppliers and found that the Widia VSM490 face mill from ITC halved our tool spend on the inserts, and made an improvement to tool life. Basically, we were taking a 5 mm deep cut in stainless 304 and the ITC indexable reduced tooling costs by 15% and improved tool life by over 20%. This is a big saving on a job that is produced in batches of 150-off at least four times a year. The first-op machining time is 50 minutes per part using the VSM490 face mill, with a second op that requires another 40 minutes of machining, so ITC is again delivering huge benefits.”
For further information www.itc-ltd.co.uk

Carney UK boosts in-house machining

Carney (UK) Ltd began life as a business development consultancy in 2014 to deliver the project management expertise of founder Simon Carney to small and medium-sized engineering companies. While working on a business turnaround project for a fabrication company, things fell into place, with Carney UK Engineering & Automation being invited to work as project manager on the design and development of fixtures for a powertrain assembly used by a luxury vehicle manufacturer.

This opportunity was the first step in the transformation of Carney UK into a leading designer, developer and manufacturer of bespoke assembly jigs and fixtures, production line equipment such as end-effectors for robots, pneumatic handling systems, and special purpose machinery for assisted assembly – all with a focus on the automotive sector.
“Through hard work and dedication to delivering projects on-time and to budget, we overcame the challenges faced by small businesses breaking into large OEM automotive manufacturers,” says Carney. “We are extremely proud of what we have achieved.”
With a UK customer base ranging from prestige, low-volume manufacturers, through to high-volume vehicle producers, Carney UK develops solutions to the specific assembly and automation needs of customers. This service looks set to grow thanks to the significant interest generated by Carney products, such as multi-purpose jigs that can be used on more than one model of vehicle. Also fuelling the rise in demand is the growing number of start-ups in the electric vehicle sector, while interest from as far afield as China is a further factor.

Initially, the machining required on the designs created by Carney UK was carried out by subcontract machine shops in the local Runcorn area. However, as demand grew and time pressures from customers increased, the subcontractors were struggling to deliver what tended to be lots of low-volume component batches. With the relocation to its current premises, Carney therefore took the decision to start bringing machining in-house. Initially, this was low key, with a few ‘old’ manual machines as stop gaps, but he recognised that investment in new machining technology was the way to go. Having employed Edward Hibbert as his technical manager, Carney asked his advice as to what the next move should be; his immediate response was XYZ Machine Tools.
“Through working with subcontractors I had seen XYZ machines almost everywhere I went; this, along with the trust that Eddie put in them, convinced me it was the way to go,” says Carney. “Our first purchase was an XYZ 500LR vertical machining centre, which was quickly followed by an XYZ CT65 turning centre. We then added further vertical machining centre capacity with an XYZ 750LR featuring 4th-axis capability and, to round off, we brought in an XYZ 1330 manual centre lathe to cover smaller turning work.”
The two XYZ LR machining centres, which make use of the latest linear-rail technology, offered a good starting point for Carney UK, with the Siemens 828D control system providing straightforward conversational control. At the same time, the control allows the business to develop its use of CADCAM systems to generate programs and overcome the local challenges of finding skilled machine operators. The LR machines also provide the capacity needed for the vast majority of components produced by Carney UK, with the XYZ 500 LR and XYZ 750 LR having axis travels of 510 x 400 x 450 mm and 750 x 440 x 500mm respectively.
Both machines feature the same 8000 rpm, 13 kW, BT40 spindle and 20 m/min feed rates in all axes. The LR machines are complemented by the CT65 for turning, with its 65 mm bar capacity and 17 kW spindle, a maximum turning length of 260 mm and maximum diameter of 200 mm. Along with the use of the ShopTurn version of the Siemens 828D control, the CT65 provides a compact yet highly capable addition to manage the company’s turning needs.
“The XYZ vertical machining centres and the addition of the 4th-axis on the 750 LR, along with CT65, give us the versatility and competitive edge that we need, but most importantly, we now have total control over our machining requirements,” says Carney. “While initially we programmed at the machines, the move to OneCNC CADCAM software is a further step in developing and streamlining our machining capability. We are now confident that we can produce anything that falls within the capacity of the XYZ machines.

“As we move forward, we will continue to expand and realise greater ambitions,” he continues. “Although we first went to XYZ because of a recommendation, we have developed a good relationship with them as they share the same dynamic and forward-thinking outlook that we have. As we grow, I’m confident that they will continue to provide the support we need to meet our future machining challenges.”
For further information www.xyzmachinetools.com