Valuable insights gained at Index open house

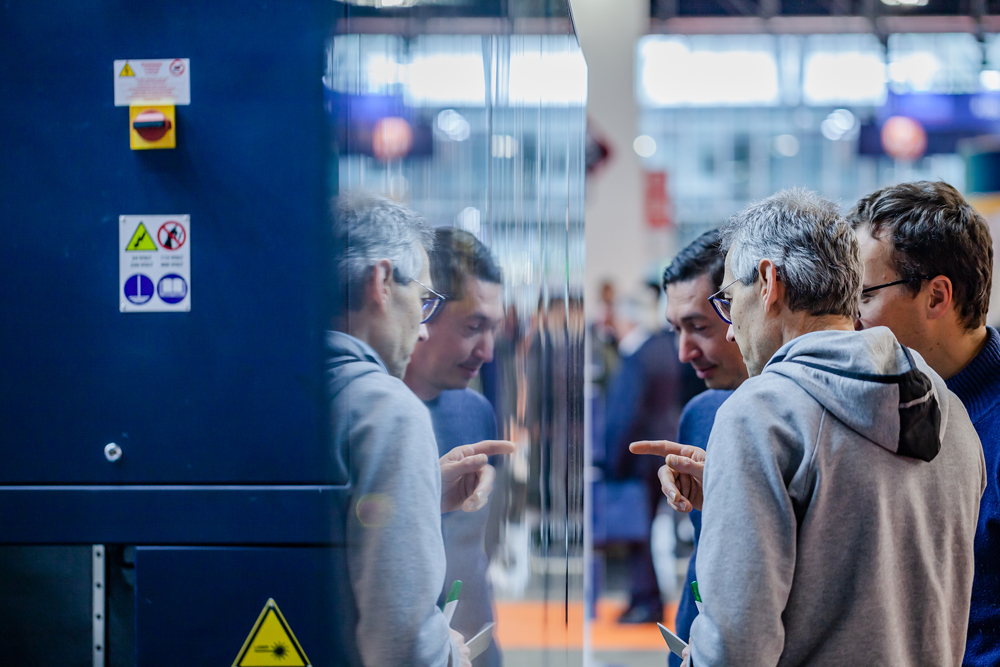
The Index open house 2025 event at the company’s new iXperience Centre in Deizisau concluded with great success last week. With visitors able to explore numerous Index and Traub machine innovations, the event also featured tailored automation solutions, expert presentations and discussions with technology specialists from various industries.Additional highlights included a demonstration of ‘high dynamic turning’ with indexing turret-mounted tools, along with an integrated information session on machining hydraulic components.

Index equipped its customer centre with a range of turn-mill centres, production turning machines, multi-spindle turning machines and universal turning machines. All models were fully loaded for live demonstrations and integrated with automation solutions.

Making its debut at the event was the new Traub TNK40 production turning machine (pictured), a fixed-head machine based on the Traub TNL32 compact sliding/fixed-head machine. Instead of a sliding head for Swiss-type turning, the TNK40 features a fixed head with 40 mm clearance. Thanks to low-vibration, simplified bar guiding (such as via a short loader), Index says the machine offers greater overall rigidity than a sliding-head machine, resulting in enhanced dynamics and improved part quality.

Also making its debut was the Traub TNL12 lean, a cost-effective entry-level sliding/fixed-head turning machine equipped with just one turret and a back working unit. Its live guide bushing is adjustable but not programmable, though optional expansions remain available.

For those seeking high productivity, short cycle times and minimal tooling times, another highlight wasthe compact Index MS24-8 multi-spindle CNC turning machine, featuring eight spindles and MBL bar-loading magazine. With its extensive features and software tools, the machine can be quickly re-tooled and is well-suited to machining new material standards, such as lead-free brass.

More information www.index-group.com

Seco moves to sustainable packaging

As part of its ongoing commitment to sustainability, cutting tool manufacturer Seco is
making a significant change to its product packaging. The company is transitioning to
environmentally friendly packaging made from 98-100% recycled materials, a move that will
result in an estimated reduction of 131 T of CO₂ emissions annually. Seco says the new
packaging, made of recycled polypropylene or polyethylene depending on the supplier,
maintains the same high standards of quality and functionality that customers expect while
contributing to a more sustainable future.
More information www.secotools.com

Tailor-made modernisation of an LH gantry

With increasing market demand and growing technological innovation, Jintongling Technology Group Co Ltd is facing new challenges: the wind turbine components it manufactures are becoming increasingly larger, and measurement requirements are becoming more complex. Existing measurement devices can no longer meet the demands for high precision and efficiency. A new measurement solution was therefore necessary to meet both current requirements and provide future expansion options.

For this reason, Jintongling decided to collaborate with Wenzel to upgrade its existing Wenzel LH Gantry CMM (built in 2015). The goal was to future-proof the existing system and meet increasing demand for precision and flexibility. Wenzel’s professional team conducted a comprehensive inspection of the original measuring system.

“We not only inspected the core components but also conducted a detailed performance evaluation to find the optimal solution for Jintongling,” reports a Wenzel engineer. After intensive technical co-ordination, a custom modernisation plan was developed. The main modification consisted of converting the original bridge-type CMM into a gantry-type CMM to ensure greater measurement accuracy and stability. Furthermore, the measuring range was expanded from the original 2 m to 2.5 m in the X axis, and from 1.5 m to 2.8 m in height. Thanks to underground construction, the load-bearing capacity also saw a significant increase – a decisive advantage for the large-format measurement requirements in the fluid power and wind power industries.

In addition to the improved workpiece holding capacity and load capacity, the expanded inspection function is particularly noteworthy. The modernised CMM now also enables gear inspection, enabling Jintongling to measure large gearboxes for wind turbines with high precision.

“With this solution, we can not only meet the increasing demands of the market but also gain a competitive advantage,” says a Jintongling representative.

More information www.wenzel-group.com

Mitutoyo unveils Formtracer Avant FTA-H3000

Mitutoyo’s Formtracer Avant series now welcomes the FTA-H3000, a model that seamlessly integrates surface roughness and contour measurement into a single drive unit. This addition completes a robust line-up, which includes the FTA-S3000 for surface roughness, the FTA-C3000 and FTA-C4000 for contour analysis, and the FTA-D3000 and FTA-D4000 featuring dual drive units. With the Formtracer Avant series, Mitutoyo says it offers a versatile and comprehensive range to meet the demands of precision measurement. 

Traditionally, measuring surface roughness and contour required two separate devices or drive units. The FTA-H3000 enables both measurements in just one operation, reducing user error while maximising productivity.

One of the defining features of the FTA-H3000 is its Z1-axis measuring range of 16 mm, a 3.2-fold increase compared with the previous model. This enhancement allows the device to measure workpieces with large height differences effortlessly, offering versatility for diverse applications. Whether dealing with intricate components or larger structures, Mitutoyo says the FTA-H3000 enables precise, high-quality results.

Precision lies at the heart of the FTA-H3000. With a Z1 accuracy of (0.5+0.02H) µm and low straightness noise, users can have confidence in their measurement data, reports the company. The system is compliant with ISO21920 and other industry standards, ensuring reliable and consistent performance. Additionally, its stylus attachment and removal mechanism allows for interchangeability, offering a range of styli with different geometries to meet various measurement needs.

A key advantage of the FTA-H3000 is its retrofit capability, providing existing Avant customers with a simple and cost-effective upgrade path. The ‘hot-swap’ function enables users to replace their drive units quickly and easily using a tool-free rotary clamp system, ensuring minimal downtime and uninterrupted workflow.

More information www.mitutoyo.eu

New era in performance and flexibility for QC

Zeiss has launched its Spectrum family of CMMs, which the company says is engineered to deliver stability and flexibility at an attractive price-performance ratio. According to Zeiss, Spectrum is set to transform quality control processes across various industries, including automotive and general machinery.

Zeiss Spectrum CMMs combine both tactile and optical scanning capabilities, featuring the Vast XXT TL3 compact design sensor that enhances available measuring volume, as well as the LineScan One laser scanner for high-speed optical measurements. By offering seamless integration of these technologies, Zeiss Spectrum empowers businesses to perform comprehensive inspections with a single machine, improving productivity and precision.

Available in four sizes, Zeiss Spectrum delivers adaptability for measuring a range of parts and geometries. The RDS probe carrier for Spectrum Verity enables flexible angle positioning, with up to 20,736 possible positions, allowing for accurate and versatile measurement configurations. The system’s glass ceramic scales have near-zero thermal expansion, which minimises temperature-based errors and ensures stability over time.

For delicate and flexible parts, Zeiss Spectrum offers the SoftTouch Mode sensor option, incorporating the Vast XXT TL1 sensor. This feature enables precise and rapid results, with the potential to reduce measurement cycle times by up to 40%.

The compact footprint of sensor option also allows for optimised lab space utilisation without compromising measurement volume, making it ideal for workshops of any size. Furthermore, the newly integrated LineScan One allows optical scanning with high speed in a single set-up, enabling users to capture complex geometries and surface details with minimal effort.

“We’re excited to introduce the sensor option to the market,” states Andrzej Grzesiak, head of the multisensory CMMs business unit at Zeiss. “This product provides our customers with the precision and flexibility they need while maintaining a focus on affordability and efficiency.”

More information www.zeiss.com