The apex of quality for Carville

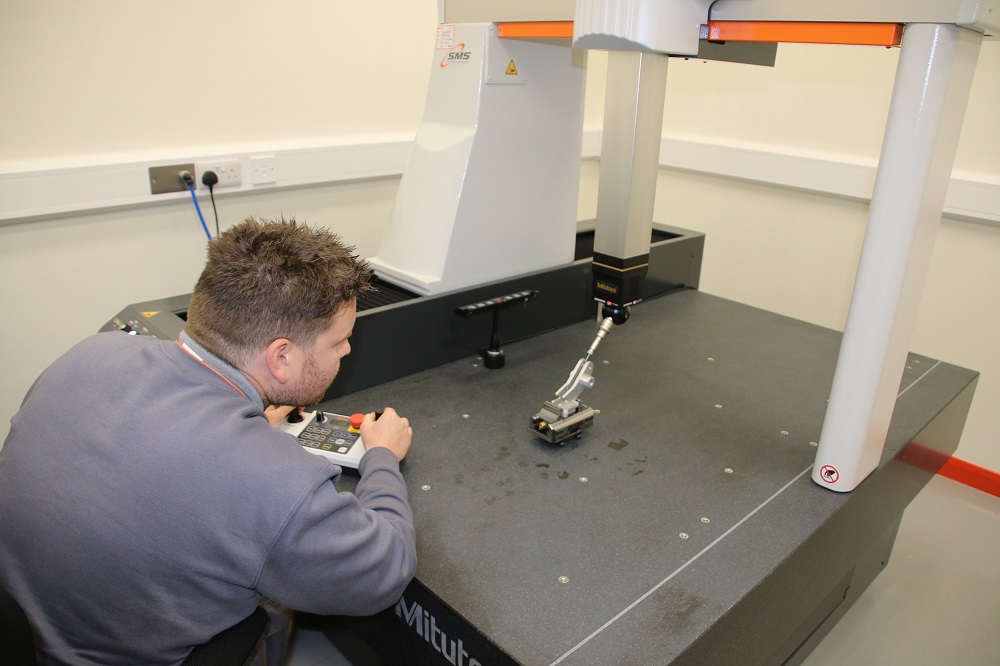
Typical of loyal Mitutoyo customers that have embraced the recently launched Crysta-Apex-V CNC CMM range is Dorking-based Carville Ltd, a specialist in precision plastic machining.

Carville purchased its first Mitutoyo CMM over 20 years ago, and since that time the business has installed a further three Mitutoyo CMMs in its quality department. After two decades of sterling service, the company’s original Mitutoyo’s CMM was recently replaced with a new Crysta-Apex-V CNC CMM.

Carville managing director Vince Ellis explains: “Carville supplies many clients based in the medical device and in-vitro diagnostics markets, sectors that produce the highest safety class of products (such as Class III medical devices). Our parts are often classed as “critical to function and safety”. We therefore support all of our clients’ ISO13485 requirements with our QMS, including full traceability, testing, measurement and vigilance support.

“Along with several other improvements, we’ve been very impressed with the increased precision, speed and automated nature of our new Crysta-Apex-V CNC CMM,” he continues. “These advantages have already helped to increase the throughput of work in our quality department. Along with our existing two older Mitutoyo CMMs, our new model is now being kept busy measuring components, including first-offs, last-offs and mid-production run samples, and generating SPC data and in-depth inspection reports.”

Unlike earlier generation CMMs, a controlled environment is now unnecessary as the Crysta-Apex-V series machines maintain their accuracy over a temperature range of 16-26°C. An active scanning feature enables high-speed measurement by evaluating discrepancies between design values and actual workpiece dimensions while maintaining the advantages of 3D optimal-path scanning. When compared with conventional CNC CMMs, the V Series delivers higher maximum drive speed and acceleration of around + 20% and + 40% respectively, says Mitutoyo. This rapid movement, combined with typically 60% higher measuring speed, significantly reduces inspection times.

For further information
www.mitutoyo.co.uk

Gibbs gears up for quality

Gibbs Gears produces high-precision gears, shafts and machined components for sectors such as aerospace, motorsport, medical, marine and electric vehicles. In keeping with its enduring quality philosophy, the Stoke Mandeville based business regularly updates its equipment in this critical area. The latest additions to Gibbs Gears’ quality control aids are two newly installed Zeiss CNC CMMs.

As an enthusiastic user of a Zeiss DuraMax CMM for many years, the company placed an order for a Zeiss Contura CMM for use within its temperature-controlled quality department and a latest-generation Zeiss DuraMax CNC CMM for use on the shop floor. Both machines feature rotary tables to provide 4th-axis capabilities and the ability to undertake complex, high-precision gear inspection routines.

Chief inspector Rob Jackson says: “Having enjoyed trouble-free operation from a DuraMax CMM and excellent service from Zeiss UK for the past eight years we have a natural bias towards the brand. However, given the potential major outlay and importance of accurate CMM inspection to our quality function, we also looked at alternative options.”

The Zeiss Contura CNC CMM is now helping to ensure the rapid completion of high-precision, complex inspection routines in Gibbs Gears’ busy inspection department. Notably, the machine is Industry 4.0 ready thanks to the use of a common interface. Gibbs Gears’ inspectors can therefore switch between different sensor technologies, such as optical or tactile probes, in just a few simple steps. The DuraMax is equipped with the VAST XXT scanning sensor so, in addition to undertaking all customary inspection routines, the adaptable CMM can also capture contours and freeform surfaces.

“The impressive speed and accuracy of our new Zeiss CMMs has enabled us to meet the challenges of increased precision and significantly reduce our inspection times,” concludes Jackson.

For further information
www.zeiss.co.uk

Boosting shop-floor efficiency

New in-machine measurement technologies released by Hexagon’s Manufacturing Intelligence division significantly increase the variety of probing and tool-setting options for manufacturers seeking efficiency gains in a variety of production environments. Hexagon’s multi-sensor machine tool measurement capabilities now include compact tactile radio probes and a flexible tool-setter that can be used interchangeably to identify and correct manufacturing problems early in the production process.

While in-machine measurement makes it easy to collect and quickly apply manufacturing data to work-in-progress, integrating probes and tool setters that match the requirements of a specific machining environment can be a challenge. Without access to metrology equipment that can accommodate tight machining envelopes, manufacturers strive for efficiency with limited inspection options, often with mixed results.

With the launch of a new metrology system that offers both compact tactile measurement and tool-setting capabilities, manufacturers gain the ability to design in-machine inspection processes that fit their needs. Hexagon’s versatile new m&h R-400 multi-sensor radio probe system can fulfil both in-machine workpiece measurement and tool-setting requirements. The system is suitable for a variety of purposes in a range of environments, including machining set-ups with any machine tool, the highly accurate measurement of complex freeform geometries with tight tolerances, and the checking of machine kinematics.

Hexagon’s dual-purpose m&h R-400 probe system is the first tactile probe on the market that includes a built-in display. It provides status data at a glance, enables users to save or load settings, and makes it easy to switch between tactile sensor and tool-setting functions. Designed for shop-floor flexibility, the system can be used as a radio probe by equipping it with a probe shank or as a radio tool setter by mounting it on a tool-setter base.

For further information
www.HexagonMI.com/MTM

Automated dimensional QC solutions

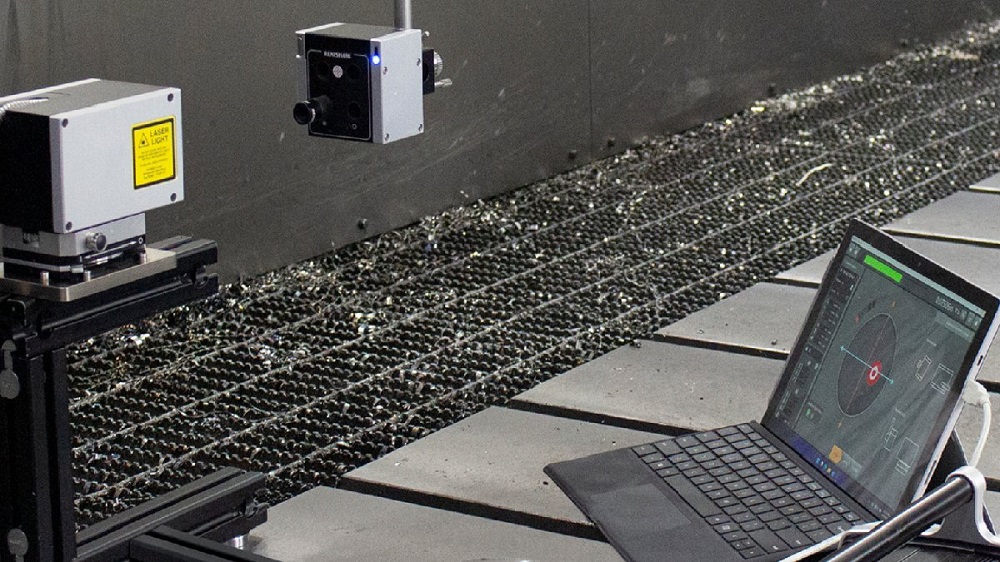
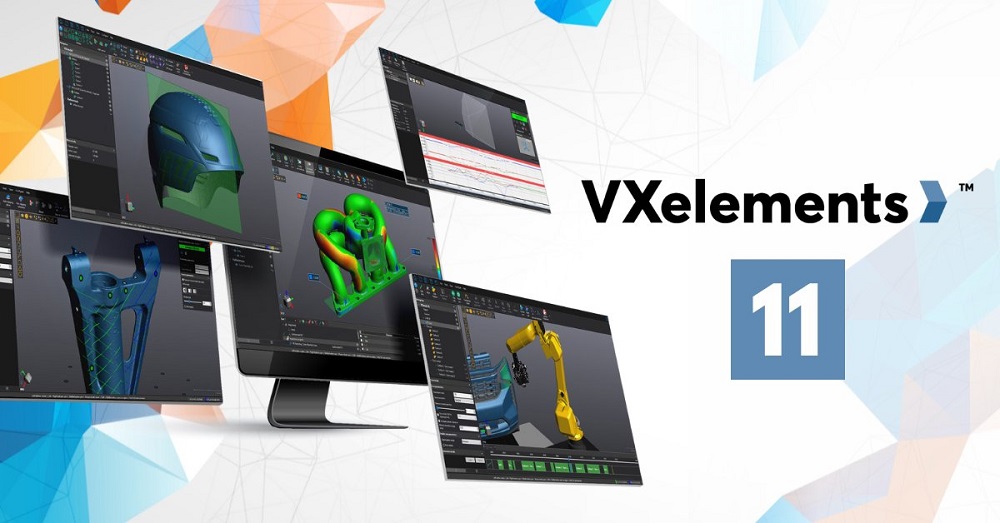
Creaform has unveiled its new MetraScan-R Black Elite HD, as well as a new edition of VXelements for long-term support (LTS). This latest set of solutions also includes a new version of VXscan-R module specially made to accommodate custom automated 3D scanning cell layouts, while keeping the ease-of-use of its digital-twin programming software.

Notably, MetraScan-R Black Elite HD offers an optimised field of view for increased performance levels during challenging applications, such as 3D measurements on sheet metal parts. Creaform says that the system is ideal for the automotive market. With its 69 laser lines and 3 million measurements per second, this specialised 3D scanner is suitable for parts with many edges, trims and boundaries.

The intuitive VXscan-R software module makes it possible to include the custom features of any 3D scanning CMM (enclosure, robot base, turntable) for fast and easy programming.

Exclusive to the R-series products, the new VXelements LTS version extends the period of software maintenance, while increasing software robustness and dependability by limiting the number of new feature releases.

Thanks to its compatibility with major 3D metrology software, offline programming and seamless integration within any production workflow, the R-Series is accessible to all, regardless of expertise or experience level.

Jérôme-Alexandre Lavoie, product manager at Creaform, says: “In the quest to gain efficiency, manufacturers require QC solutions that can adapt to their workflow and environment, while being easy to use. For better decision-making to get better quality parts, they also need fast and precise data. With these latest innovations there has never been a better time to easily move to automation.”

For further information
www.creaform3d.com

High-speed measurement made simple

Industrial measurement systems specialist, the Sempre Group, is now offering demonstrations on the UK’s first InspecVision 2D and 3D measurement machine. Potential and existing customers can visit the Sempre Group’s facility in Gloucester to see the new features of Planar and Optiscan systems, such as the automated turntable feature for 3D measurement, the SurfScan and 2D repositioning upgrades. Customers can use these additions to improve measurement accuracy and integrate 2D and 3D measurement.

Manufacturers, particularly in the automotive and sheet-metal industries, can exploit these systems to measure and obtain traceable results, without the need for hand tools or manual input. They can also link the system to CAD models, easily showing users if a part is in or out of tolerance with overlaid colour mapping.

The Sempre Group can provide expert demonstrations of the technology, including the range of add-ons, such as SurfScan, a high-resolution projector that can be simply retrofitted to an existing Planar vertical column. This allows manufacturers to improve the accuracy of their 2D and 2.5D inspection without investing in an entirely new and possibly costly system. The addition enables businesses to accurately inspect forms, louvres and small bends with a single click, streamlining complex part measurement.

Sempre can also demonstrate the 2D repositioning Planar add-on to customers looking for an unbiased opinion about the technology. OEMs cam use the system’s integrated optical markers to measure parts larger than the base table in one cohesive process. The system stitches 2D scans together, removing the manual and time-consuming process of accurately repositioning parts. Ultimately, this allows manufacturers to invest in one system, rather than multiple systems for different sized parts, potentially saving thousands.

For further information
www.TheSempreGroup.com