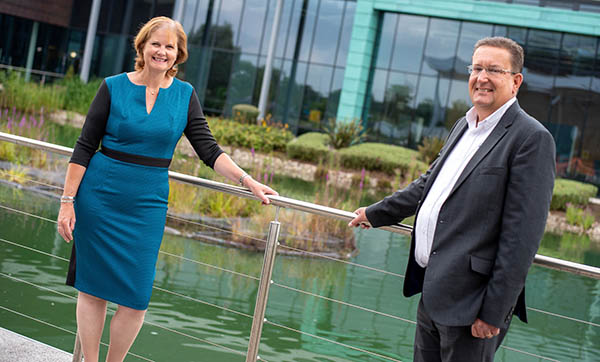
Father and son team Andy and Owen Phillips, both of whom are pilots and aviation engineering enthusiasts, started a subcontract machining business in Havant in 1994. After four years, they applied their extensive knowledge acquired over many years of building and flying aircraft to transition their firm, Andair, into a manufacturer of fuel system components for light aircraft in the sport, amateur-build and commercial aviation sectors.
The QAS International and ISO9001-certified business is now a global producer of such equipment, with 90% of its fuel selectors, filters, check valves, gascolators and fuel pumps going to export markets. Regular customers include Cessna, Cirrus, Czech Sport Aircraft, Diamond, Grob, Grumman-Northrop, Rotax/Bombardier, Scaled Composites, Technam and Vans.
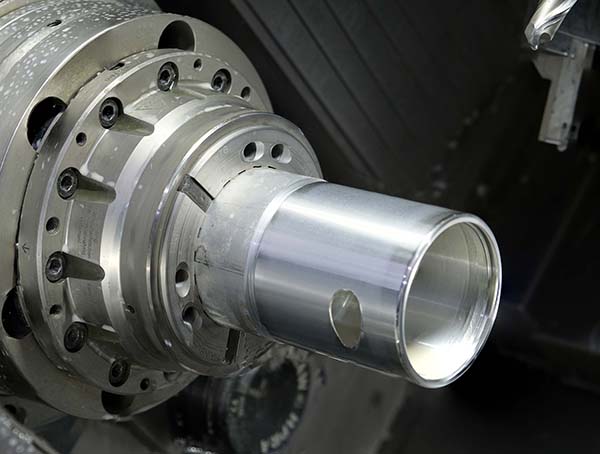
Miyano fixed-head, twin-spindle CNC lathes from Citizen Machinery UK have underpinned the production of Andair’s turned and milled parts since January 2005, when the first turning centre with sub spindle arrived at the Havant factory: a five-axis BND-42S. The machine proved so efficient that a second, identical model took its place on the shop floor six weeks later. Fast-forward 16 years and the company has bought a total of seven Miyanos, the latest being the first 80 mm bar capacity ABX lathe to be installed in the UK. The ABX arrived in June 2020, equipped with an Iemca KID 80 short bar magazine.

Andair had been waiting eagerly for the launch of the 80 mm version of this twin-spindle machine with two Y-axis turrets, having since 2015 been producing 3-inch and 2.75-inch diameter components from billet held in a Hainbuch chuck in the main spindle of a smaller ABX-64SYY, of which there are two at the Havant factory. The high requirement for components of this size meant that the lathes were performing chuck work 60% of the time.
Says Owen Phillips: “The production efficiency of our larger parts used to be lower because we could only manufacture a limited number of components from a billet, say five or perhaps seven. In the case of the aluminium body for an oil-air separator we are currently machining, we could only produce one per billet. Now we can machine all these parts from bar using the 80 mm capacity lathe, saving a lot of time. It runs continuously throughout the day and, although we are not set up for 24/7 operation at present, with this machine and our other Miyano bar autos it is feasible in the future.”
The other lathes in the factory all have twin turrets and Phillips had ordered a similar specification for the 80 mm model. Due to the cancellation of the MACH 2020 machine tool exhibition, however, Citizen Machinery had in stock a triple-turret ABX-80THY 12-axis model with a Fanuc control system that it had intended to launch at the show. Owen was initially hesitant, having never used a lathe of that configuration before, but decided to buy it anyway as it was available immediately. The machine turned out to be a complete revelation.

“I would not buy another twin-turret machine in future, because having three turrets is so much more productive,” states Phillips. “I would like a four-turret version if Miyano made one.”
He adds: “It’s no problem to transfer work to the more complex lathe, as a new program can be checked easily using the manual retrace function in the control, avoiding any possibility of interference between tool and workpiece.”
Phillips explains that the two turrets positioned above the spindle centreline, each with 12 live stations, work at the main and counter spindles respectively. The third turret is located below and has unrestricted travel to operate at either spindle, thus providing flexibility for balancing front and reverse-end machining. Three tools can be in cut simultaneously to achieve very high levels of machining efficiency.
So far, the company has produced around 60 different parts on its new lathe, all from 3-inch diameter bar. In fact, in one instance where a customer required a large valve machined from a 4.5-inch diameter billet, Owen turned the end of it down to 80 mm to allow machining in the collet.
In the case of the oil-air separator body, it is now possible to machine five from bar in 30 minutes whereas before, with an operator loading billets manually into the chuck of an ABX-64SYY, it took at least 45 minutes to achieve the same output. In other words, productivity is up by more than 50%. A further benefit to Andair is that the two 64 mm bar lathes can now be devoted to collet work, as per the original intention.
Another example of where the 80 mm bar machine has introduced benefits is when machining one of the few Andair components that the pilot actually sees, a fuel selector fascia plate. This aluminium part requires a very high level of surface finish, necessitating the use of a diamond-tipped tool. Engraving is also necessary to indicate tank selection. Previously, after turning the part from a billet, a second operation was required on a machining centre to mill material from the reverse and drill four holes.

Today, however, milling and drilling – as well as turning – are carried out from bar on the Miyano, leaving only a small operation to clean the bore on a separate machine. Cycle time is now at least two minutes less, while one operation has been eliminated.
In the case of another component, in fact the first that Andair made on the ABX-80THY, all three turrets had almost an identical amount of work to perform. Cycle time is 2 minutes 15 seconds, including parting-off and the component comes off finished, whereas previously the cycle was 4 minutes. Plus there was the need for a second operation, requiring extra time for both metal cutting and inter-machine handling.
Aluminium accounts for three quarters of throughput at the Havant factory, with a wide range of other materials also machined, including brass, bronze, plastics, tool steel and stainless steel. Batch sizes are relatively low, normally between 100- and 500-off, so there is a lot of machine preparation.
The Miyanos are quick to set up however, as they have built-in tool setters and program preparation takes place offline using an Esprit CAM system. Typical tolerances are in the realm of ±0.02 mm. Phillips reveals that any occasional out-of-tolerance parts are always the fault of the tool, as the machines do not move.
For further information
www.citizenmachinery.co.uk


