Prova buys stake in Composite Braiding

Prova Investments continues to grow its European portfolio of early-stage businesses operating at the forefront of cleantechnology, sustainability and the circular economy by taking an equity stake in Composite Braiding.Based in Derby, Composite Braiding produces advanced composites by combining materials such as carbon, glass, aramid and basalt fibres with thermoplastics. Using an award-winning automated manufacturing process, it is possible to braid components quickly and at scale, reducing labour costs by 90%, waste by 97% and energy consumption by 95%.
For further information www.compositebraiding.com

All-in-one: Mitutoyo’s Roundtracer Extreme

Covering every base in the area of roundness testing, the all-new Roundtracer Extreme is a CNC roundness/cylindricity measuring system that the company says is ready for anything. This novel quality-assurance machine integrates roundness, contour and surface roughness functions in oneefficient device.

Mitutoyo’s Roundtracer Extreme consolidates processes and improves productivity through the combination of multiple measuring methods. Notably, the machine is able to perform a variety of quality assurance and precision measuring tasks with the aid of Mitutoyo’s powerful yet easy-to-use software.

The multi-functional system is equipped with cutting-edge technology to improve the efficiency of measuring tasks. To this end, Mitutoyo has enabled continuous automatic measurement through the application of a three-step motorised sliding axis and a detector and holder, capable of changing the stylus angle. This feature makes it easy for users to measure objects of any shape or size, while avoiding interference from the workpiece.

To improve repeatability and reproducibility, Mitutoyo took great strides in advancing the architecture of the system’s centring table to reduce any positional changes of the workpiece during the measurement process.

Conceived as a premium Mitutoyo product, the Roundtracer Extreme intends to be the upcoming standard for multiple measurements in quality assurance departments around the globe. Ready for applications across a wide variety of workpieces, it will deliver efficient, high-precision measurements and analysis, reports the company.
For further information www.mitutoyo.co.uk

Benefits of interferometry during optical profiling

Surface characteristics can determine a range of scenarios. For instance, the finish on the body of a Formula One car can influence the racer’s finish time, and an engineered part’s surface will help influence its performance. Here The Sempre Group and one of its principals, Sensofar, set out how manufacturers can benefit from optical profiling in R&D applications.

To ensure parts meet their intended purpose, manufacturers will often measure surface finish during development, allowing them to adapt manufacturing techniques accordingly before mass production. As probes that touch the object could compromise the surface,optical profiling is the most common choice.

The Sensofar 3D optical surface profiler uses interferometry techniques for areal surface characterisation, as well as an optical design that makes it possible to double the field of view without compromising the resolution. By using a combination of phase-shifting interferometry (PSI), extended phase-shifting interferometry (ePSI) and coherence scanning interferometry (CSI) techniques, manufacturers can use the profiler to measure a range of surface characteristics.

PSI is best for ultra-smooth and very flat continuous surfaces, such as those on optical components. CSI is the most versatile mode, measuring smooth and rough surfaces with 1 nm resolution, and can also measure transparent layers with thicknesses from 1.5 to 100 µm. Meanwhile, ePSI, a kind of combination of PSI and CSI, is for measuring smooth surfaces with structures, making it suitable for measuring features on semiconductor wafers.

Interferometry has a high level of repeatability and accuracy and is faster than some confocal technologies, like laser confocals. By using this technique, engineers can produce topographies with a high number of measured data points, clearly showing the surface of intricate components.
For further information www.thesempregroup.com

Verisurf features engine builder metrology solution

Verisurf Softwarefeatured a turnkey metrology solution designed for performance engine builders at the PRI (Performance Racing Industry) show in Indianapolis last month. The solution includes 3D measurement software, hardware, training and support, for reverse engineering, designing, building, tuning and verifying high-performance engines and components. Engine builders can use the solution to replicate and check engine heads, blocks, pistons, crankshafts, intake and exhaust ports, camshafts, conrods, rocker stands and more.

A major components of the metrology solution is Master3DGage, a portable CMM arm powered by Verisurf software. The Master3DGage is a high precision, six-axis, 1.2m portable CMM arm that is compact and shop-floor ready. AC or battery-powered, the Master3DGage can be used on the bench, in the shop or even right under the hood, if necessary, to check for best fit or confirm clearances before components are produced or installed.

The solution,powered by Verisurf software, was developed based on features modules. For maximum user flexibility and efficiency, users can combine certain modules to create application suites. The engine builder solution includes:Verisurf CAD, Measure and Reverse modules; software updates and technical support; a Master3DGage portable CMM; a 9.5 mm silicon nitride extended-port probe; a Master3DGage and Verisurf installation and set-up video; and unlimited online training.

Verisurf is built on the Mastercam platform and can import, modify and export any CAD file format. The unified user experience is able to 3D-scan and reverse-engineer features, surfaces, parts and assemblies; generate CNC programs; back-plot and verify tool paths; push files for CNC machining; verify finished part quality against the intelligent 3D CAD model; and output quality reports.
For further information www.verisurf.com

British Steel invests £330m

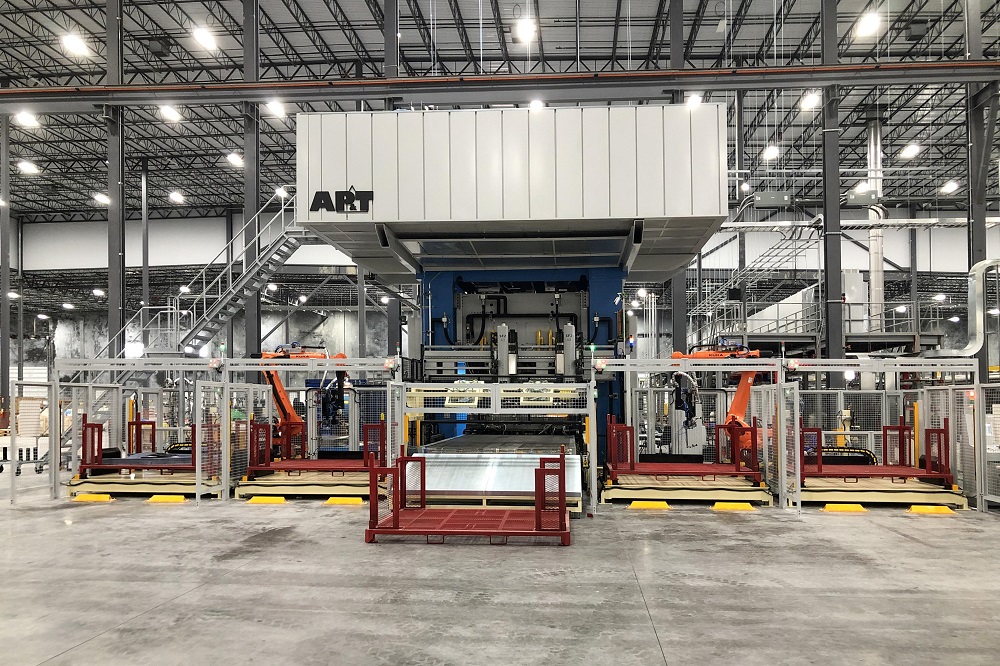
British Steel’s new billet caster, which is among £330m worth of investments that parent company Jingye has made in the UK business since acquiring it three years ago, is duefor commissioning this spring.The new caster will manufacture semi-finished steel billets with enhanced internal and surface qualities. This £54m project is the largest single investment by Jingye. British Steel’s investment strategy aligns to its decarbonisation plans, which will see it embrace new technology and ways of working to help reduce emissions and support clean growth.
For further information www.britishsteel.co.uk