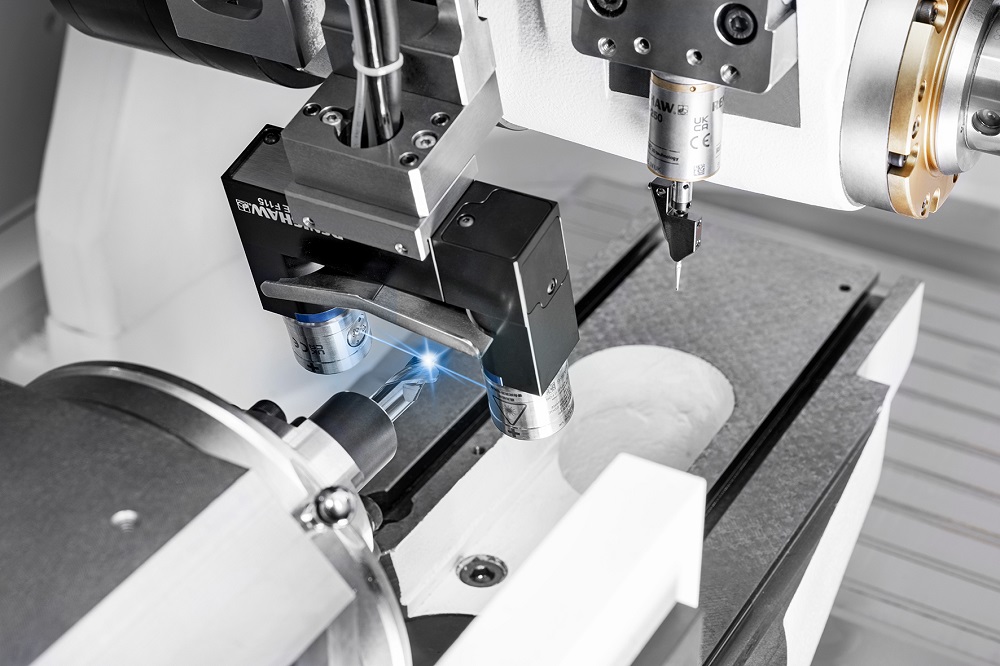
The United Grinding stand at the EMO exhibition in Hanover last month featured a host of Walter machines and technologies for effective and efficient tool and insert grinding/erosion. In particular, parent group United Grinding’s CORE (Customer Oriented REvolution) hardware/software architecture and Walter’s Laser Contour Check non-contact tool measurement development, shared centre stage.
CORE architecture embraces the digital age by offering intuitive operation that facilitates machine set-up, operation, networking and maintenance. Underpinning this ethos is ‘work simplification in production’ topave the way for a new generation of machine tools which fully embrace the digital age.
Laser Contour Check is now optional on all Walter Helitronic tool grinding and erosion machines. This featureensures high precision and fast in-process measurement of tool parameters using blue laser technology in conjunction with process intelligence to measure various features on cylindrical tools from 1 to 52 mm diameter. Compensation for any deviations takes place during the machining process.
Laser Contour Check’s analogue laser beam measures a tool’s entire contour rather than just specific points, as with tactile or digital methods. Laser technology also avoids possible damage to the tool’s cutting edges, as well as measuring errors that could occur due to probe tip wear during tactile measuring routines. It is possible to integrate the measuring system directly into the machine’s working area, so it moves into position when required.
At EMO, visitors saw both CORE and Laser Contour Check on Walter’s Helitronic Mini Plus and Helitronic Micro tool grinders.While the former produces tools of 1 to 16 mm diameter and up to 255 mm long, and re-grinds tools of 3 to 100 mm diameter, the latter processes tools from 0.1 to 12.7 mm diameter and 220 mm long.
For further information www.walter-machines.com/en


