Hexagon and Hendrick Motorsports enter partnership

Hexagon has joined 14-time NASCAR Cup series champions Hendrick Motorsports as its official metrology hardware and software provider for the next decade. The shared goal of the partnership is to take the race team’s performance to the next level by applying the latest scanning, measuring and digitisation technologies from Hexagon’s Manufacturing Intelligence division.

Running to 2032, the 10-year agreement includes Hexagon’s sponsorship of a 3000 sqft advanced quality control laboratory on Hendrick Motorsports’ Concord, North Carolina, campus. The technical partnership delivers the ability for the team to enter competitive environments with additional confidence. Hendrick Motorsports is closing in on its milestone 300th NASCAR Cup victory and 500thNASCAR national series engine win.

“A relentless focus on quality, accuracy and attention to the finest details is what wins races and championships in NASCAR,” says Jeff Andrews, president and general manager of Hendrick Motorsports. “In today’s environment, the level of competition is very high and we must maximise everything we can control. Hexagon’s precision products provide us peace of mind as we enter race weekends on the cusp of some remarkable milestones. With this landmark decade-long commitment, we look forward to celebrating many exciting achievements together in the future.”

New collaborative robotic inspection capabilities will help eliminate inspection bottlenecks, as they will allow the team to automate unattended measurement so that it can devote more valuable manpower to other mission-critical tasks. Furthermore, the addition of three new CMMs will provide greater inspection capacity while ensuring the organisation has the technology needed to diversify both probing and non-contact measurement capabilities.
For further information www.hexagonmi.com

Quality control takes-off at Hill Helicopters

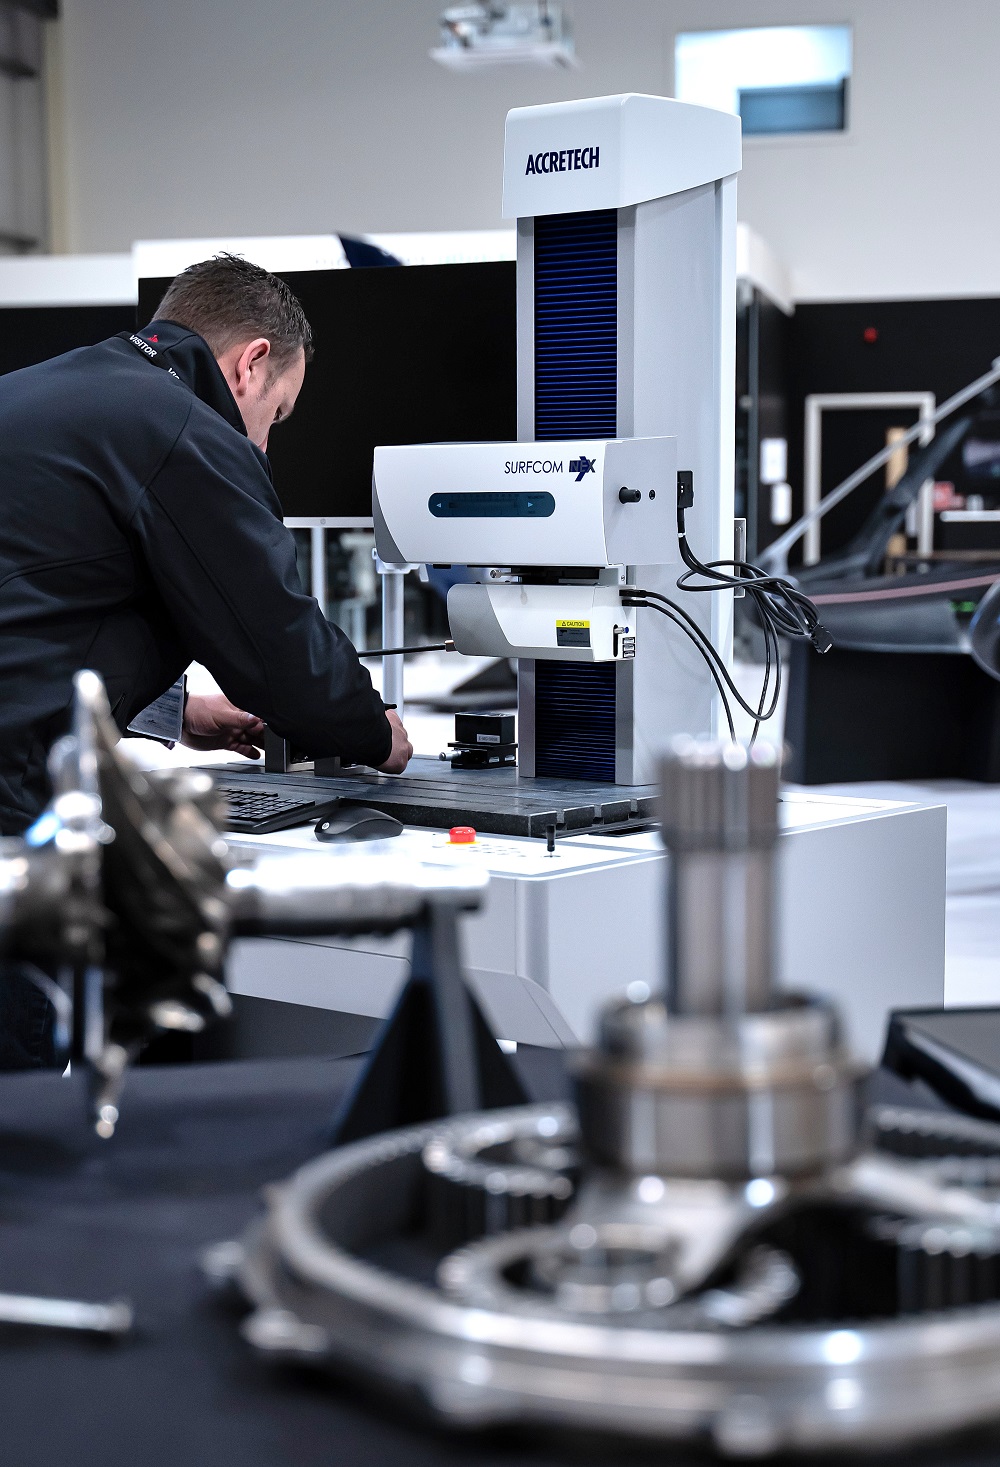
The recent installation of an AccretechSurfcom NEX240 DX-13 surface and contour measuring machine at the Staffordshire facility of Hill Helicopters illustrates the advantages that aerospace manufacturers gain when they are able to achieve rapid, high-precision inspection results.

Mark Webb, lead production engineer at Hill Helicopters, says: “Our literature describes our new HX50 helicopter as delivering a whole new experience in safety, performance, adventure, comfort and elegance. It isn’t a coincident that ‘safety’ comes first on this list of attributes. To ensure the highest safety standards we oversee a rigorous company-wide quality regime. In addition to employing skilled quality personnel, we invest in the best available inspection equipment.

“After searching for a high-precision, rapid-acting surface and contour measuring instrument, we concluded that the Accretech machine best met our demanding accuracy and efficiency standards,” continues Webb.“During the development and testing of our components,the new Accretech machine will be used by our skilled machinists and our production and quality engineers. Then, when we move into full production, we plan to purchase further Surfcom NEX machines for use on our shopfloor. Given the Surfcom NEX’s ability to provide high-precision surface and contour measuring results within production environments, it will be ideal for inspecting components throughout our production runs and for generating and archiving FAIRs [first article inspection reports].”

As each HX50helicopter has 38 different high-precision bearings, the Surfcom NEX machines will inspect the critical surface and contour specifications.

“The impressive operational speed and ease-of-use of our first Surfcom NEX and that of our planned additional models means that we’ll be able to keep pace with our high-precision surface and contour inspection needs as our production volumes continue to grow,” says Webb.
For further information www.accretech.eu

New director at EngineeringUK

EngineeringUK says Maddie Dinwoodie will join as director of engagement programmes this summer. Dinwoodie joins the organisation from UK Youth, where she is currently chief programme officer. With a background in the not-for-profit sector, she has 20 years’ experience in developing programmes for young people, growing partnerships and improving impact. Says Dinwoodie: “It will be a privilege to work with the team and partners to create the systemic shift that we need to see: inspiring more young people from all backgrounds into engineering and technology, and tackling employment inequalities.”
For further information www.engineeringuk.com

Microscopes offer more functionality and usability

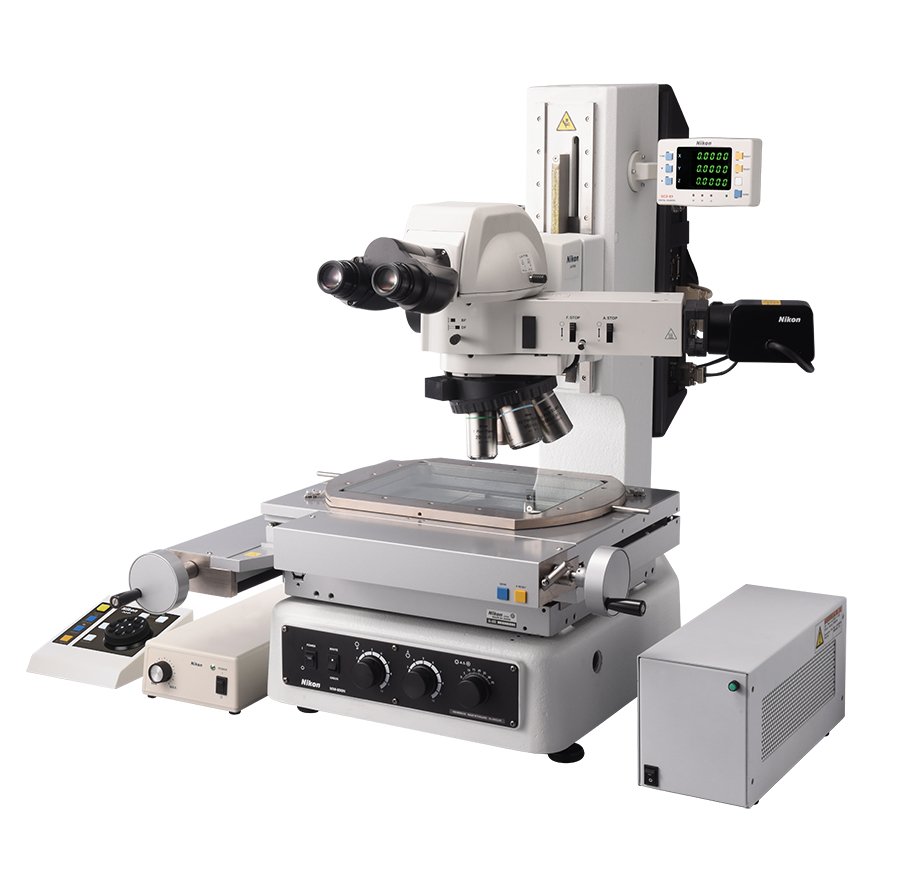
The new Nikon MM-series of industrial measuring microscopes has been periodically upgraded since the early 1950s, but not to such an extent as during the latest, sixth makeover. The new generation was unveiled at the Control 2023 exhibition in Stuttgart earlier this month.

Nikon’s new MM-400N and MM-800N series measuring microscopes have aperture diaphragm control on the diascopic illuminator, which allows an operator to adjust the aperture to optimise both contrast and resolution. It is also possible to set the lighting conditions for measuring cylindrical products.

Notably, the newly-developed diascopic LED illuminator has both white and green light sources, allowing the operator to change easily from one colour to the other by pressing a switch on the front of the microscope, without having to insert or remove a filter. Furthermore, by integrating the diascopic illuminator into the main body of the measuring microscope, the depth of the instrument is 30 mm shorter, reducing the installation footprint.

As part of the makeover, Nikon has modernised the appearance of the measuring microscopes, which sport the company’s new, clean-white and black livery. Furthermore, power consumption is 10% lower than the former MM-400/MM-800 series models. Nikon says it provides environmentally friendly products and complies with the RoHS Directive and other laws and regulations.

Many components are common to the new and previous series models, including the measurement stage, objective lenses and optical accessories, which a user can continue to use for simple, accurate and highly reproducible measurement applications.
For further information www.nikonmetrology.com

Blum shines spotlight on laser measuring systems

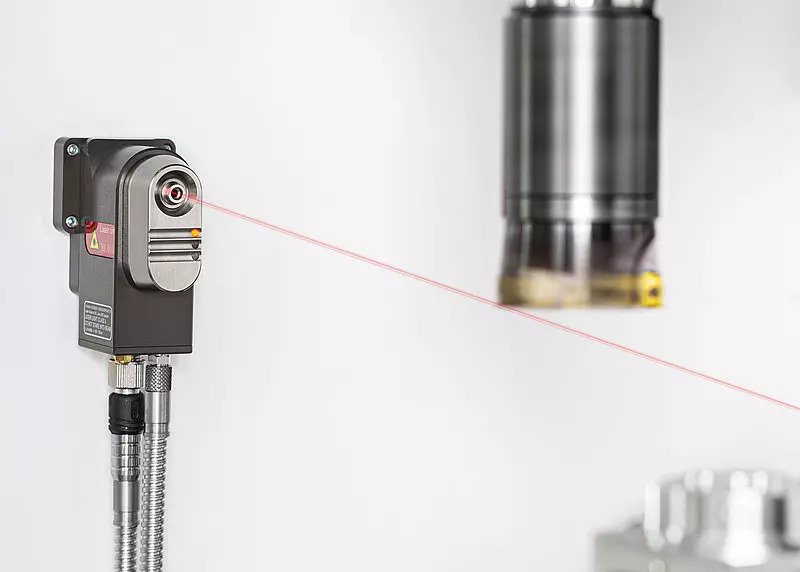
Blum-Novotestpresented its new LC53-Digilog laser measuring system for tool measurement and monitoring in CNC machining centres, at the recent Control 2023 show in Germany. With this system, Blum has expanded its product spectrum to include an optical system with a separate transmitter and receiver unit alongside forward-looking Digilog technology.

Devices with separate transmitter and receiver units – namely the predecessor systems Mini NT and Micro Single NT – have been in the company’s portfolio for many years and are valued for their high degree of precision and process reliability. Thanks to the Digilog technology employed in the LC53-Digilog, it has been possible to enhance these attributes even further.

While the tried-and-test digital/switching laser measuring systems based on NT technology generated only a small number of signals by shading the tool, the new Digilog laser measuring systems generate many thousands of measurement values per second while dynamically adjusting the measuring speed according to the tool’s nominal speed. The LC53-Digilog also measures each cutting edge individually, rather than just determining the value for the longest cutting edge, and thereby makes a comparison possible from the shortest to the longest cutting edges. Run-out errors, caused by contamination of the taper of the tool holder, for example, are automatically detected. Furthermore, due to the large number of measurements per cutting edge, the LC53-Digilog is able to detect contaminants and cooling lubricant adhering to the tool. By deducting them from the calculations, it makes measurement results even more reliable.

The LC53-Digilog is particularly easy to install with the newly developed mounting set, which comfortably aligns the transmitter and receiver unit. It is possible to attach systems to a machine wall using only a single threaded hole.
For further information www.blum-novotest.com