Relying on Accretech precision

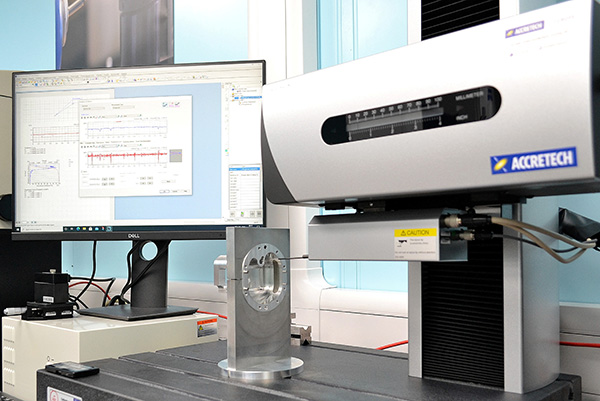
After recently purchasing an Accretech Surfcom NEX100 surface roughness and contour measuring instrument, Huddersfield-based Reliance Precision is gaining significant advantages.

Head of metrology at Reliance Precision, David Torr, says: “Now in regular use, the NEX100 is able to measure surface roughness and contour in a single pass, satisfying our need for increased inspection efficiency while making a significant contribution to upholding our precision standards. Although it was purchased through Zeiss, trouble-free installation and operator training was provided by Accretech UK.”

The NEX100 performs three functions: roughness, contour and roughness/contour measurements. Notably, the machines are available with a range of sensors covering all functions, or with detectors dedicated to specific needs.

Further aiding flexibility and speed of inspection, Surfcom NEX series machines are now available with the world’s first hybrid detector featuring dual-sensor technology (as specified by Reliance Precision). Unlike conventional detectors, Accretech’s new technology has a high-accuracy linear Z scale for wide-range measurements, and high-resolution differential inductance for narrow-range measurements. The system’s Z axis has an indication accuracy of ±(1.0+|2H|/100) μm, which represents a 60% improvement for first-term accuracy when compared with Accretech’s previous models.

Describing the co-operation between Zeiss Industrial Metrology and Accretech in the UK, the latter’s regional director for north Europe, Tim Wood, says: “This project illustrates the synergy between each business’ high-precision products. As with all previous sales, the staff of Accretech were pleased to assist Zeiss in ensuring an efficient installation. All training took place at Reliance Precision.”

For further information
www.accretech.eu

Speed, consistency and ease-of-use

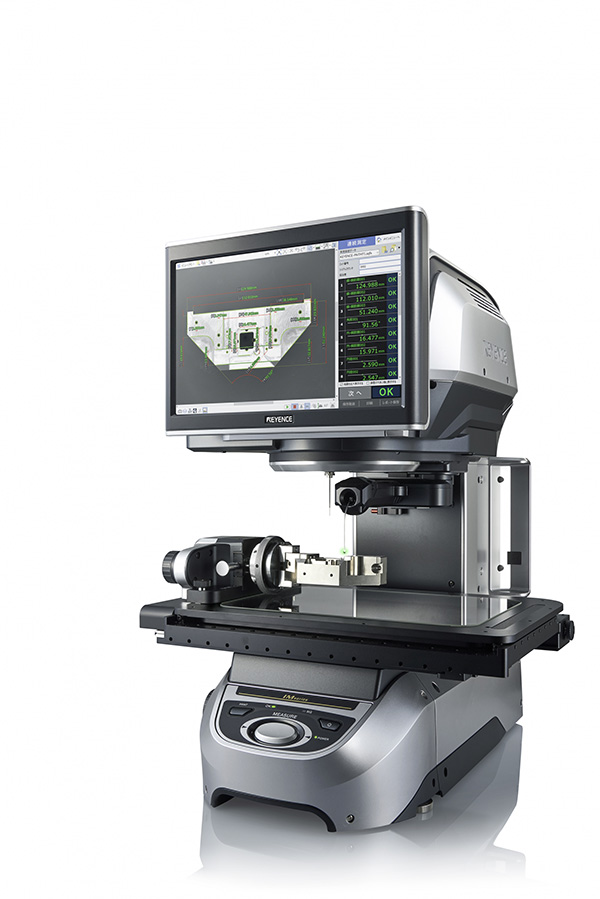
Measurement specialist Keyence has further enhanced its dimensional measurement system range with the introduction of the IM-8000, which delivers all the benefits of the previous IM-7000 series, but with even greater speed, accuracy and ease-of-use.

Boasting a rotary unit allowing 360° multi-surface measurement capability for both turned and milled parts, the IM-8000 is fitted with a 20-megapixel CMOS – more than three times that of conventional systems – as well as a new algorithm for stable edge detection. In addition to the new CMOS, the screen is now larger and features enhanced resolution.

As well as standard metrics, the IM-8000 can perform a range of new measurements, including symmetry, plane, flatness, cylindricity, coaxiality and run-out, delivering new data visualisations such as roundness graphs. Keyence says this capability makes the IM-8000 suitable for parts with even the most complex geometries.

Able to measure more than 300 dimensions per component, the system starts to measure automatically as soon as the object is placed on the stage, which now moves at up to 80 mm/s – twice as fast as the IM-7000 series. It is possible to attain precise dimensional measurements in as little as 1 second. The wide field camera now boasts single field of view accuracy of ±3.9 µm, compared with ±5 µm previously.

There is no need for positioning or datum set-up, meaning even inexperienced operators can get the most out of the system. Measurements can be rapidly set up with just a few clicks, and it is equally simple to set up virtual lines and points. The user can measure all of the specified dimensions at the touch of a button, with focus adjusted automatically.

For further information
www.keyence.co.uk

Live AM events

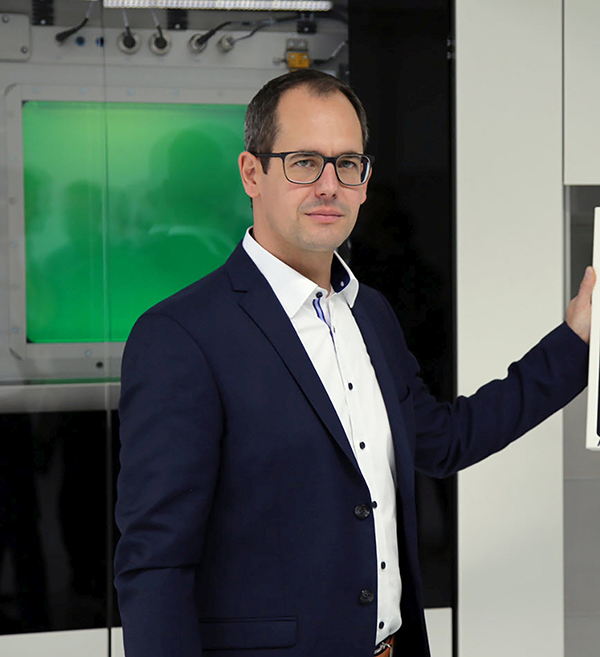
AM Solutions will shine a light on additive manufacturing in an upcoming six-part live event series called ‘Inside AM’. Representatives from renowned companies, active in different sectors, will provide ‘behind the scenes’ insights about their experiences and visions, as well as obstacles that must be overcome. The first event with Christoph Hansen, director technology & innovation at Sauber Engineering, will be broadcast on 9 June at 15:00 CET.

Viewers can register free-of-charge at the web address below. Subsequent events will take place monthly, with dates and times communicated in due course.

For further information
www.inside-am.com

Sales team changes at Bowers Group

Bowers Group is making a series of changes to its UK sales team, including the appointment of Ryan Kingswell as UK sales manager and Patrick Curry as technical product manager. Furthermore, southeast sales manager Stephen Maughan will take on the additional responsibility of national accounts manager, while central east sales manager Dan Beaulieu will become the country manager for Ireland as part of his extended role. Deputy managing director Martin Hawkins says: “It’s great to see the team progress into new roles and responsibilities; a true testament to their dedication, knowledge and success.”

For further information www.bowersgroup.co.uk

‘Strong-arm’ approach to precision

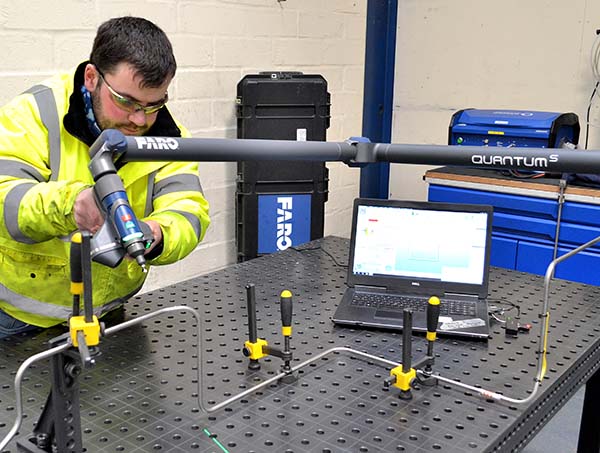
The mainstays of Aberdeen-based L&N Scotland’s inspection regime are its three recently-purchased Faro QuantumS ScanArms, where they help maintain the quality of products that include subsea production flow spools, chemical injection lines and control systems equipment.

Quality engineer at L&N Scotland, Robert Knowles, says: “The technical advancements in Faro’s latest generation of ScanArms have enhanced our precision capabilities and accelerated inspection throughput.”

Although L&N Scotland’s new QuantumS ScanArms have delivered significant benefits to several company departments, it is in the area of subsea control system manufacturing that they have provided the biggest advantages, as QC inspector Adrian Chalmers points out: “We produce complex, pre-manufactured subsea control system kits that feature a large number of very long pipes. These pipes feature intricate compound 3D shapes with challenging dimensional tolerances. Further complicating matters, the pipes are located in close proximity to each other.”

He adds: “As it was the ideal combination for our requirements, we specified our three new ScanArms with Faro Prizm laser probes. Importantly, as the pipes in our kits can spring and flex under physical inspection, the accurate non-contact scanning capabilities of our QuantumS ScanArms have provided a major advantage. We can now precisely scan the most complex-shaped tubes and compare our findings to their CAD models. Then, if needed, we’re able to instantly send any required bending correction information back to our CNC bending machine. Also, when required, we can reverse engineer existing pipes and create precise models for use at any point in the future.”

The accuracy specifications for the Quantum ScanArm product line-up is certified according to ISO 10360-8 for non-contact CMMs. Faro says it is the first portable measurement arm manufacturer to publish its non-contact accuracy specifications according to this standard.

For further information
www.faro.com