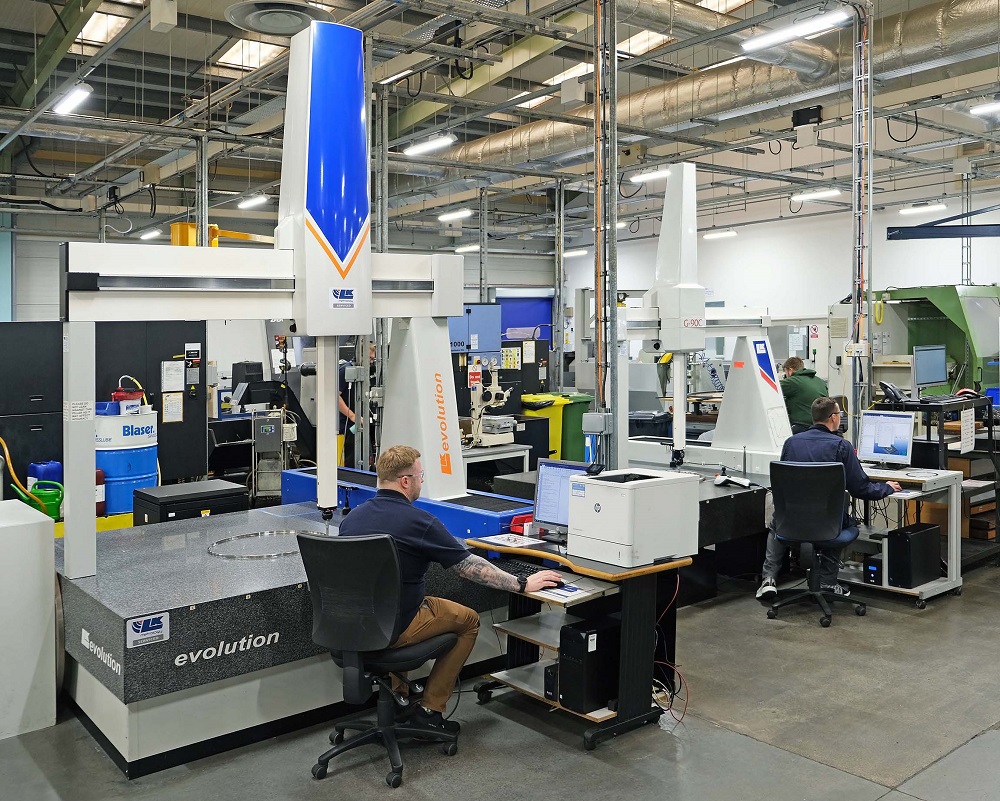
At one of two factory units in Devizes operated by sealing specialist Cross Manufacturing, two CMMs built by LK Metrology in 1997 and 2007 have been given a new lease of life following an upgrade. The project involved the future-proofing of both machines by retrofitting multi-wired NMC300 controllers with updated firmware and software. Among the many advantages is the ability to deploy different types of sensor in addition to touch-trigger probes. Within the scope of the project, LK also fitted two new Renishaw PH10MQ motorised probe heads.
As a result of the improvements, Cross Manufacturinghas the ability to use its Renishaw SP25M tactile scanning probe, which the companyhopes will cut metrology cycle times by at least one-third when implemented in early 2024. It is possible to add further types of contact and non-contact sensor in the future should Cross Manufacturing choose to extend the CMMs’ capability and consolidate other automatic measuring functions into a single metrology routine.
Located on the shop floor in one of two adjacent sites, the CMMs are an LK G90C 10.10.8 and an LK Evo 15.15.10 having nominal inspection volumes of 1000 x 1000 x 800 mm and 1500 x 1500 x 1000 mm respectively. They fulfil a critical role serving the turning section, where the company products brush seals ranging in size from 1.83 m down to 102 mm in diameter for high-temperature gas turbine applications in aerospace and power generation.
“The vast majority of our parts are 100% inspected,” states senior project manager Mark Bolwell.“Upgrading our CMMs means we’ll be able to increase throughput by introducing tactile scanning, allowing us to support ever increasing demand without having to invest in another CMM at this time.”
For further information www.lkmetrology.com


