Located in Schwabmünden, Germany, family-run subcontractor Heinz Knöpfle GmbH is taking maximum advantage of the productivity potential of automation. The company recently installed five robot load/unload systems from Halter, whose range of LoadAssistant robotic machine tending equipment is available in the UK from 1st Machine Tool Accessories.
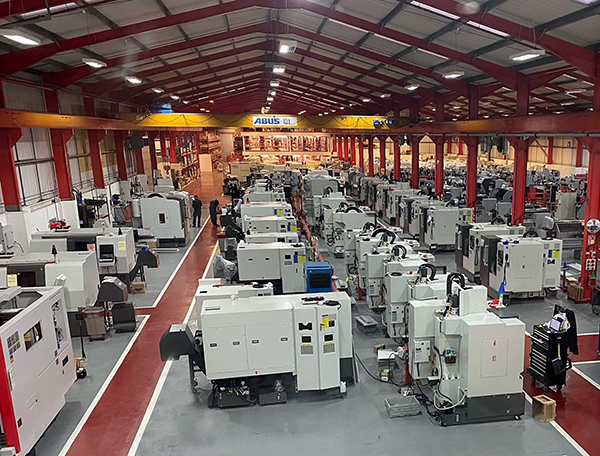
About 16 years ago, the company acquired its first machine from Mazak, which was automated a year later with a bar feeder. Despite Heinz Knöpfle employing just five people, there are currently 22 Mazak machining centres and lathes on the shop floor.
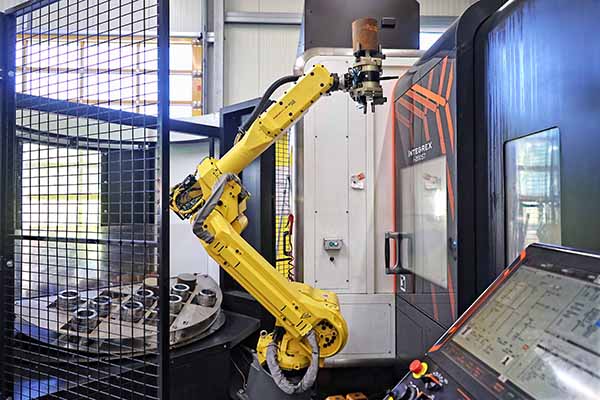
The subcontractor’s entry into robotic automation began in 2018 when second-generation managing director Christian Knöpfle became aware of Halter during a discussion with a Mazak sales manager. A short time later, the first turn-mill centre, a Mazak Integrex i-200ST, was coupled with a Halter Universal Premium.
All Halter automation solutions are compact, versatile robot cells in a variety of designs for CNC lathes, machining centres or both, as in the case of the Universal Premium. They have been developed for automated loading and unloading of rotationally symmetrical and prismatic workpieces. A wide variety of grippers is available, as well as grid plates that act as buffer storage for components.
While the robot loads and unloads a machine, an operator at the rear of the automation cell can replenish the system with raw material and remove machined components, without having to interrupt production.
The benefits of the first robotic cell were so convincing that Heinz Knöpfle has since invested in four further automation solutions from Halter – two additional Universal Premiums for a CNC turn-mill centre and a three-axis machining centre, a Halter Big for a Mazak i-200S turn-mill centre, and a Halter Turnstacker Compact 12 for a Mazak QuickTurn Nexus 250-II MSY lathe.
For further information www.1mta.com


