MetLase launches ‘smart’ products

One of the UK’s leading specialists in tooling, intelligent fixturing and components is launching a new range of ‘digital’ solutions that will connect manufacturing processes and enable easier, faster automation.

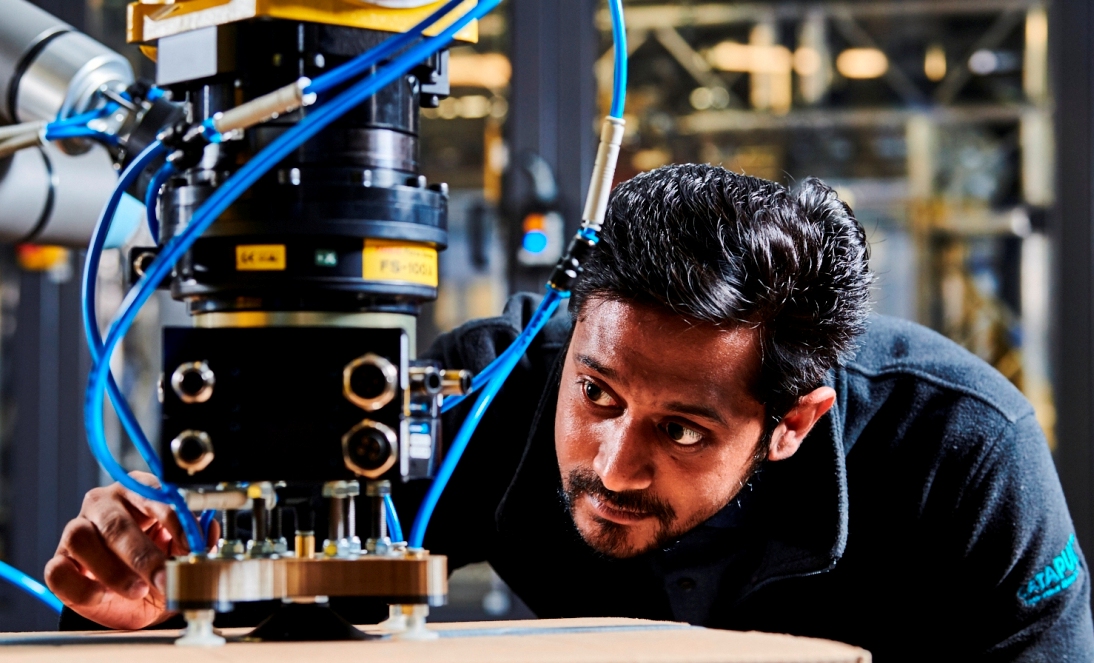
MetLase, a joint venture between Unipart and Roll-Royce, commissioned a dedicated team to develop ‘smart’ products, including the Digital Gauge (conducts a digital dimensional inspection process), Smart Bench (ensures no-fault forward in the assembly process) and Smart Cell.

These digital products are already having an impact on industry, with one of the most striking examples being a project with Kautex Unipart Ltd and a leading supercar manufacturer to support in-line composite preform measurement.

Digital gauges are being used to support the inspection of blow-moulded plastic fuel tanks in just four seconds, replacing an inspection system that would usually take 45 minutes, during which time the line would churn out parts. If a fault was found at this stage, all of the components made in that period would be destined for the scrap heap. In addition, digital gauges allow data to be collected that is ‘actionable’ for process improvement and machine learning.

Richard Gould, business development manager, says: “This is just the start. More and more customers are switching on to the benefits of digital manufacturing in the overall process. And we’re not just talking about impact on shop floor. One project we’re currently exploring is the introduction of a Smart Bench to support a maritime application, where a global business has won a contract that includes an element of regenerating a region’s manufacturing sector.”

For further information www.metlase.com

Step-up in portable scanning precision

Nikon Metrology’s new MCAx S articulated arm augments the company’s ModelMaker H120 with improved precision, user confidence and connectivity.

The device is suitable for use in the metrology lab, on the shop floor or in the field.

The combination of the ModelMaker H120 laser scanner with the new MCAx S articulated arm gives users even greater insight to improve quality, accelerate time-to-market and streamline manufacturing processes. Precision and user confidence is confirmed by system scanning and arm-probing accuracy certifications to ISO 10360-8 Annex D and ISO 10360-12 standards. The MCAx S arm further enhances the user experience by adding the ability to scan truly cable-free, through high-speed Wi-Fi connectivity and battery power, with absolutely no reduction in productivity.

Seamless integration with leading metrology software suites gives users the security of working within their chosen platform, enhancing existing workflows with shorter measurement times and greater understanding of critical quality issues.
The new MCAx S ranges in size from 2.0 to 4.5 m, and comprises three performance levels for user choice of optimal configuration. Compatibility with tripods and magnetic bases allows freedom to select the right mounting for the task in hand. Infinite rotation and seven-axis freedom of movement give unrestricted reach in and around parts, while thermal stability and advanced encoder technology eliminates warm up, reducing set-up and inspection time.

True multi-probing is offered. Alongside the scanner, tactile probes can be used in parallel to measure geometric features or hard to reach areas. Advances such as automatic intelligent pre-selection of scanner or probe, depending on type of measurement, enhances ease-of-use for full remote operation.

For further information www.nikonmetrology.com

Autonomous visual quality control

MusashiAI, a joint venture between SixAI Ltd of Israel and Musashi Seimitsu of Japan (a Honda Motor Corporation affiliate company), has launched its autonomous visual quality-control inspector, autonomous forklift driver and mobile robots fleet-management system.

Live trials of the technology were first announced in December 2019 at Musashi Seimitsu’s factory: a visual quality-control inspector for surface defects and an autonomous forklift driver robot coupled with an autonomous fleet-management system. The results of the trials have exceeded expectations and overcome technological barriers documented to date in the autonomous industrial robot market.

In addition to its initial commitment with an advance payment of $10m, Musashi Seimitsu is willing to expand the deployment of MusashiAI’s autonomous quality-control inspectors and autonomous forklift drivers in its factories globally, subject to the company meeting certain milestones in the development process.

In a further boost, MusashiAI has also secured a POC for its autonomous quality-control inspector with one of the world’s largest bearing manufacturers.

Human workers have traditionally been the mainstay of visual quality-control inspection when it comes to industrial products. This situation has prevailed because robots have not been able to surpass or even match the ability of humans to detect and identify surface defects quickly and accurately. MusashiAI’s team can customise the robots to suit the needs of individual customers The completion of live trials has confirmed that MusashiAI’s autonomous robotic visual inspector exceeds the speed, accuracy and stamina of human workers, reports the company.

For further information www.musashiai.com

Ellis eyes expansion and growth

A specialist in cable-cleat manufacture, Ellis Patents, has invested £0.5m in a 25% expansion of its North Yorkshire headquarters, the main element of which is a new 10,000 sq ft warehouse.

While the new facility will be used primarily for assembly and storage, its construction has released 7000 sq ft of space in existing parts of Ellis’ premises. This space will be used to expand the company’s manufacturing facilities – a development that is seen as vital for future growth and improved business efficiency.

For further information www.ellispatents.co.uk

Latest Wenzel CT scanner unveiled

Wenzel has released a new CT scanner, the exaCT M, which is designed for measuring and testing small to medium-sized components.

The exaCT M was built around a workstation-concept. Its compact design with well thought-out ergonomics make it possible for this new CT scanner to combine more power and flexibility with less space requirements, says the company. In addition, the machine has an integrated evaluation unit that allows for easy loading and makes it suitable for automating measuring and testing processes.

With a measuring volume of 300 mm in height and 200 mm in diameter, the exaCT is particularly suited to use in the dimensional inspection and non-destructive testing (NDT) of components, assemblies and materials. The machine’s flexibility makes it applicable to a variety of other fields: dimensional control; wall thickness analysis; actual-to-nominal comparisons; tool and component optimisation; development and rapid prototyping; reverse engineering; material defect analysis; structural analyses; assembly tests; and joining technology testing.

Manchester Metrology Ltd is an official reseller of the Wenzel exaCT M. The company is a specialist metrology business offering subcontract engineering work and metrology equipment for hire or purchase. Typical sectors served include automotive, aerospace, power generation and medical.

For further information www.manchester-metrology.co.uk