The world of precision machine tools is a remarkably niche area that is increasingly in demand as certain industries demand ever smaller components with dimensions and tolerances in the ‘micron’ range. Loxham Precision, a UK manufacturer of ultra-precision machine tools is making waves in this sector, but such a rapid rise to prominence would not have been possible without partnering with Open Mind Technologies and its HyperMILL CADCAM system to develop its machine solutions and market presence.
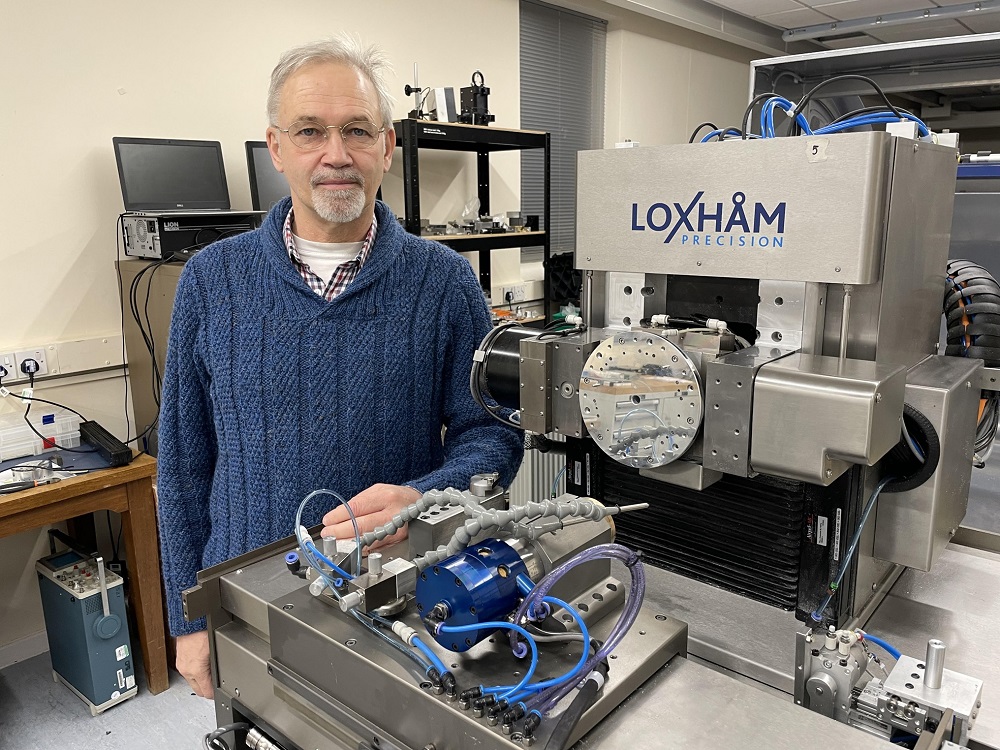
Industries as diverse as consumer electronics and jewellery, automotive to the semiconductor, aerospace and many more – the world is demanding smaller parts with tighter dimensions. Achieving this objective is only possible with machine tools capable of delivering micron precision. All machine tool manufacturers want to claim they can achieve it, but only the top echelon actually does. Sitting at the top of this pyramid is Loxham Precision, a company that spun out of Cranfield University in 2011. Located on the campus of the university, Loxham specialises in the development and manufacture of next-generation ultra-precise machine tools and motion systems.
The company’s product range includes the BoX freeform grinding machine, the μ6 Micro six-axis turn-mill machine, the μ5 turn-mill machine and the AeroloxSeries 200 linear motion slides.As a niche manufacturer, Loxham also offers services such as product development, FEA (finite element analysis), dynamics and modal analysis, specialist optic fabrication, ultra-precision fabrication, electrochemical machining, complex device fabrication, and specialist bearing manufacturing.
Machine tools produced by the company can perform everything from diamond turning and micro milling for quantum devices, electro-optics, medical devices, watch components and sensors. The machines provide high flexibility in precision turning and milling suitable for finishing near net complex shape AM substrates, laser targets, electro-optics and air bearing components, as well as precision free-form grinding.
As an ex-head of the engineering division at the NPL and also the Cranfield University Precision Institute (CUPE), Loxham Precision CEO Professor Paul Shore has worked at the very highest levels of academia, industry and cutting-edge research – the perfect background for developing machine tools that break the boundaries of convention. However, when it comes to manufacturing and selling these innovative advances, Loxham Precision has chosen to work with Open Mind Technologies.
Recalling the start of the relationship, Shore says: “As a machine tool builder, we wanted to work with an industry-leading CAM vendor to not only develop and manufacture many of our machine components but also validate our machine tools. We identified Open Mind as the industry benchmark and entered discussions in 2021. As a small UK machine tool manufacturer, Open Mind provided us with a development licence for HyperMILL, their CADCAM software solution.”
He continues: “In the three years that we have worked with HyperMILL, we’ve been bowled over by their level of expertise, innovation and willingness to provide us with support. We were looking for a CAM developer that has an impeccable reputation for innovation, so we can sell our machine tools with a competent CADCAM system that is capable of not only driving our machines but also meeting the very diverse demands of our end users.”
Recalling the decision to work with Open Mind, Shore says: “From the very outset, the people and the level of communication was exceptional. Open Mind recognised that we are a small UK machine tool builder and they wanted to support us. Additionally, HyperMILL is a CADCAM system supported by a team with no boundaries. For example, our machines operate in the ‘nano’ scale, not ‘micron’, which deterred some CAM developers from wanting to work with us. Open Mind instantly said that was not a problem. They have not only enabled us to become CAM-competent, they have also taken charge of certain challenges and made our partnership a seamless and easy process.”
Highlighting an example of this willingness to work with any situation, Shore adds: “We don’t use conventional Siemens, FANUC or Heidenhain CNCs on our machines as we prefer an open architecture system. Open Mind had no problem with this, informing us that whatever CNC system we chose to power our machines they would ‘make it work’.”
Loxham Precision supplies its machines to market segments that were once niche but are all rapidly expanding to become the norm. As the relationship blossoms, Loxham Precision is offering its machine tools with licences for HyperMILL incorporated to help customers drive their five-axis investments.
Concluding on this point, Shore says: “The relationship with Open Mind is certainly a huge benefit to both parties. They supported our CAM competence and given our customers confidence in purchasing machine tools that are driven by an industry-leading CADCAM software suite. Likewise, our ultra-precise machines are being sold to rapidly ascending market segments and we are opening the doors of these niche areas for Open Mind.”
For further information www.openmind-tech.com


