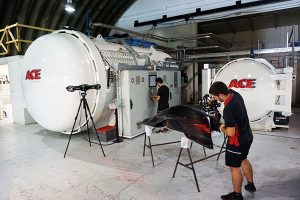
In 2004, three individuals with an extensive range of skills formed ACE Technology. Originally established to serve the motorsport industry, their goal was to offer “best in class” composite manufacturing services. Through a process of continued investment in skills and technology, ACE Technology now employs 50 skilled personnel across two factories in Cambridgeshire.

Motorsport is a demanding sector, requiring fast manufacturing and the flexibility to implement frequent design changes in a short a timeframe. It is therefore vital for organisations to keep ahead in a highly competitive world, extending capabilities to offer complete solutions. ACE has done exactly that, by introducing capabilities that make it a full service supplier, including the design and manufacture of products such as pattern and mould tools, and jigs and fixtures. These capabilities are complemented by four autoclaves and a focus on quality control processes.
As experienced by all engineering companies in this sector, customer demand has its highs and lows. ACE experienced exactly this during the economic crash in 2009, with the major automotive OEMs retracting their investment in the British Touring Car Championship.
Fortunately, due to its blend of competencies, ACE was able to diversify and soon won contracts within the aerospace, defence and communications industries. One significant contract in the latter involved the manufacture of satellite reflectors. Due to the high-accuracy requirements of the reflector shape and the demand for specific RMS value measurements, ACE was convinced to make its first investment in advanced metrology equipment through the acquisition of a portable measuring arm, “which at the time was the only portable solution available as an alternative to a fixed and expensive CMM”, says director Paul Skinner.
Since 2009, ACE has maintained and developed client relationships across several sectors, with the implementation of advanced metrology becoming a fundamental part of business. Combined with this strategy was a desire to offer customers additional services, particularly in the early stages of a design project.
Early project phases often involve 3D laser scanning, a good example being a project where ACE Technology was contracted to ‘composite engineer’ a complete LMP sports racing car. This task required the forward-thinking company to use its experience in the geometric optimisation of composite materials, while working to stringent mass targets and crash testing requirements.

Optimising geometry involves first digitising and capturing the existing design or the existing shapes to re-design within.
“It was during such applications that we realised the portable arm solution is really not so portable,” says Skinner. “Our services often require us to travel across the UK to visit customer facilities, and immediately a large, heavy tripod becomes a concern both logistically and from a health and safety perspective. In addition, mounting an arm inside a vehicle offers two problems: access and, more importantly, the vehicle moves as you enter, hence any datums set are immediately lost and subsequently all data is useless.”
ACE therefore decided to evaluate developments in 3D scanning and consider new portable technology. The project was handed over to Edward Smith, an engineering Intern within ACE Technology.
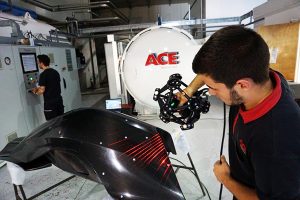
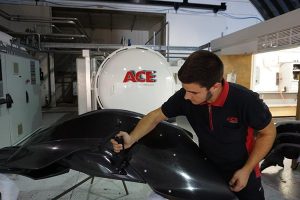
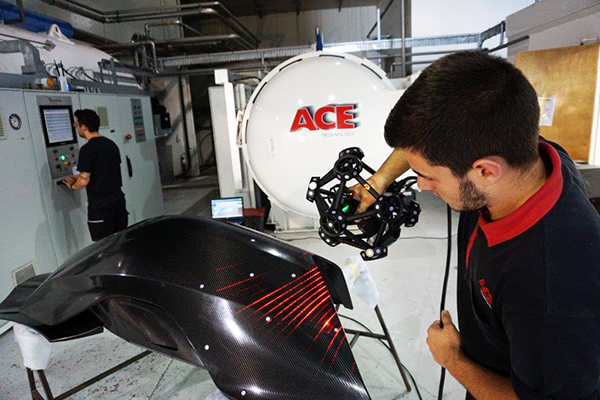
After assessing two of the major portable arm suppliers and their respective laser line scanners, Smith quickly realised that such solutions still had the same limitations as before, namely, a lack of portability and manoeuvrability around the scan subject. As an alternative, trials were carried out using an optical solution based on the Creaform MetraScan and HandyProbe Elite from Measurement Solutions, and it soon became obvious that this new technology was able to solve the problems previously associated with a measuring arm.
“Having used an early version of the MetraScan at a previous company, I was familiar with the concepts and benefits of the Creaform system compared with traditional measurement arms – such as superior scan speed, manoeuvrability around the subject, and consistent accuracy,” explains Smith. “With the latest developments in the MetraScan, the scan quality of mirror-like surfaces and carbon parts were exceptional.
“We actually had Measurement Solutions come back to visit us twice – we simply couldn’t believe how this system was two or three times faster than everything else we had witnessed,” he adds.

As a result of the trials, it did not take long to make a decision.
“We were seeking a product with a relatively friendly learning curve that several technicians could pick up and use intermittently, sometimes weeks apart,” says Smith.
The VXelements software suite supplied by Measurement Solutions meets these criteria. Previously, during a reverse-engineering process, data was exported and modelled within a SolidWorks plug-in or via another complex third-party point-cloud software. With the introduction of VXmodel software, a live transfer enables surface-ready data and section cuts to immediately appear in SolidWorks for final modelling or design updates.
A previous advantage of a measuring arm was that the design and manufacture of mould tools and fixtures would typically require tactile measurements of datum tooling holes and key critical feature measurements. Retaining this thought, the MetraScan was supplied with the HandyProbe, a hand-held and wireless probing system that enables users to probe features, just like a measuring arm. Both systems work independently as handheld accessories and are tracked by an optical camera system called the C-Track, providing six degrees of freedom over a 16m3 volume.
The HandyProbe dynamically reports a Cartesian co-ordinate of a component or tool datum, which can be used to build tools and set nominal positions or report surface deviations to a nominal CAD file.
Similar approaches used in Formula One and Aerospace tooling utilise either a portable arm and a laser tracker, or a laser tracker with a handheld probing and scanning solution, but both solutions present significant mobility limitations around the scan area. As with any large volume build or inspection, during the measurement ‘line of sight’ must always be maintained between the laser source (tracker) and the probing device. Here, the C-Track solution automatically realigns using the optical cameras, removing all of the complexity and significantly reducing measuring time.
In the coming months, ACE Technology will finalise a new accreditation and supplier compliance for further growth in the aerospace sector as composite components continue to expand their application. In parallel, the company has also recently invested in a high-end Markforged 3D printer to offer fibre-reinforced nylon tooling and components.
“The MetraScan plays a fundamental role in enabling us to adopt this new technology by capturing data from patterns, tooling or final parts that we can quickly convert into files suitable for 3D printing,” says Skinner. “While we can print end-use parts, the technology will be used to print items for use on jigs, templates and fixtures, thereby reducing the time required when developing our various composite production processes.”
Recent examples include jigs for up-issued hole locations on pattern surfaces and/or mould tools, scribing templates to assist the fitters in the trimming of awkward profiles, and fixtures for clamping parts during machining.
“The MetraScan is a key investment to support our ‘Scan2CAD’ initiative over the coming years, and with support from the Measurement Solutions team we are confident that this will play a vital role in our continued and aggressive expansion,” concludes Skinner.
For further information www.measurement-solutions.co.uk


