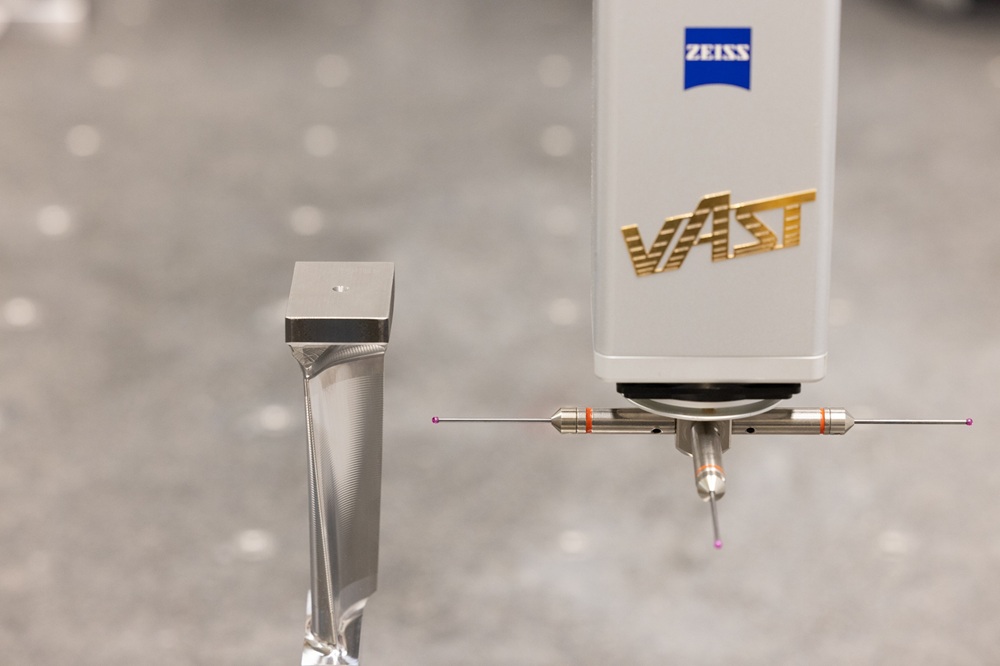
Starrag develops and produces manufacturing solutions for many leading manufacturers in the aerospace industry. By way of example, to shorten the measuring times for turbine blades, the Swiss company was the first in the world to work with the Zeiss Prismo fortis CMM as part of a pilot project.
Starrag says people react with fascination and great amazement when they see how accurately and quickly turbine blades can be measured on a Zeiss Prismo fortis, using Zeiss CMM Acceleration Mode for aerospace applications.
Roland Ziltener, plant director at Starrag AG in Rorschacherberg, remembers the project well: “We had a look at the machine in Oberkochen and were immediately impressed.”
To check whether the new development delivers the required precision despite the considerable optimisation of measuring time, all turbine blades manufactured by Starrag on behalf of partner customers were measured with the Zeiss Prismo fortis over 18 months. As the size, material and geometry of the turbine blades are different, the machine was “widely tested”, says Ziltener.
To evaluate the accuracy of the Zeiss Prismo fortis, the measurement results were compared with reference values from the Zeiss Prismo navigator. Zeiss used this information to optimise further the start-up and acceleration behaviour of the rotary table and the machine. Zeiss also simplified the usability of the machine and the creation of test plans during the pilot phase.
The pilot project showed that productivity in the measurement of turbine blades can be significantly increased with Zeiss Prismo fortis. The standard measurement, which took 4 minutes and 30 seconds at Starrag and delivered accurate and reproducible results, was reduced to 70 seconds during the pilot phase.
More information www.starrag.com


