Park upgrades measuring capacity

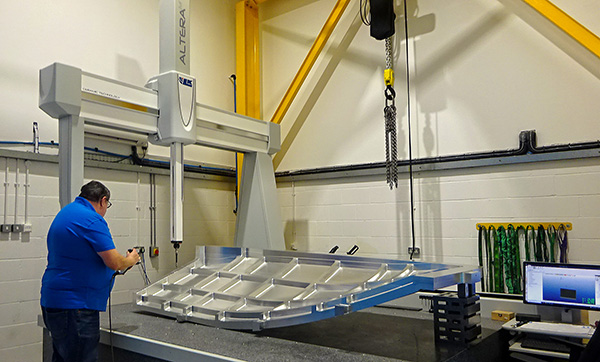
Stalybridge-based engineering company Park Engineering has significantly increased the size of parts it can machine and subsequently measure on a CMM. It follows the installation at the start of 2022 of two new machines, a Spanish-built Correa Fox 50 five-axis machining centre having a 5.0 x 3.25 x 1.6 m working envelope, nearly 16% larger than the company’s previous largest machine, and an Altera M 30.20.15 CMM with 3.0 x 2.0 x 1.5 m axis travels built by LK Metrology. Compared with the largest of three LK machines previously operated by Park Engineering, it offers twice the measuring volume.

Quality manager Will Reeves says: “The increase in speed and accuracy of the Altera M, which is around six times faster and 216% more accurate than the oldest of our previous CMMs, was a great selling point, but we were also delighted to have a larger capacity CMM with a smaller overall footprint. It’s down to the top-class LK machine design, incorporating the best of modern materials and technology. “

In day-to-day operation, the Altera M CMM supports the inspection of large parts with drawing tolerances of typically ±50 µm, but is sufficiently accurate to measure smaller parts down in the 10 µm region. Irrespective of tolerances, LK’s software application CAMIO with its user-friendly operator interface allows the generation of CNC programs either online or offline for the inspection of batch quantities, further reducing inspection time and cost, especially when CAD models are available.

“Across the broad spectrum of work packages, we have access to CAD models approximately 50-60% of the time, with the remainder being work to print,” says Reeves. “However, the provision of CAD models is something we are always encouraging our customers to provide, as it minimises the risk of incorrect data being entered due to human error during the programming process.”

For further information
www.lkmetrology.com

New member for MTC

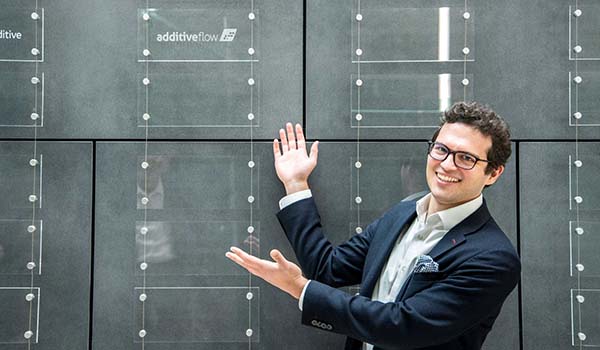
A UK-based optimisation expert in additive manufacturing workflow has become the latest member of the Manufacturing Technology Centre (MTC) in Coventry. Additve Flow, located in London, has worked with the MTC-based National Centre for Additive Manufacturing (NCAM) on projects with major
multi-nationals, using its software technology for optimising the speed, cost and quality of additive manufactured products. Additive Flow’s technology connects data silos to help manufacturers and engineers realise the benefits of the digital thread across their product development lifecycles.

For further information
www.the-mtc.org

£1m export funding boost

The Institute of Export & International Trade (IOE&IT) is making over £1m in funding available to help British businesses export. The institute’s International Trade Accelerator Voucher scheme can help manufacturing businesses large and small through access to world-class training, consultancy and educational services. Each voucher issued is worth £1100 and is redeemable against the wide range of services available from the IOE&IT. The voucher scheme is available to all UK-based businesses regardless of IOE&IT membership.

Apply for a voucher at
www.bit.ly/3wom8uJ

Boosting inspection efficiency

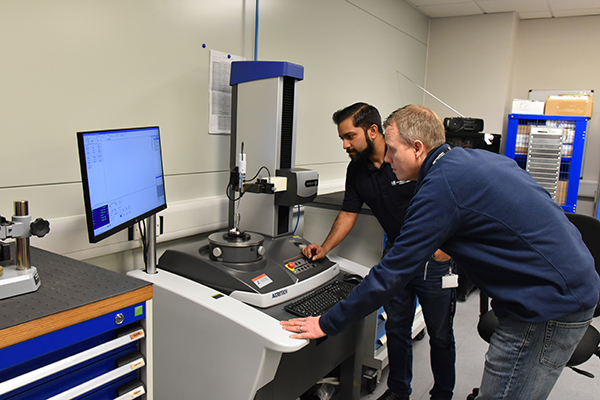
HydraForce, the world’s largest supplier of high-performance hydraulic cartridge valves, electro-hydraulic valves, custom manifolds and electro-hydraulic controls, has invested in an Accretech RondCom NEX roundness and form measuring instrument.

European quality/warranty manager at HydraForce Birmingham, Ali Mohammed, says: “We manufacture a comprehensive line of high-quality hydraulic valves and manifold systems to quality standards that include ISO9001 and QS9000. The bores in our hydraulic manifolds have extremely challenging geometrical tolerances. Parameters checked include roundness, roughness, cylinder form, perpendicularity, parallelism, straightness, flatness, coaxiality and concentricity. All of these attributes need inspection to an extremely high degree of accuracy.”

HydraForce recently increased its number of European suppliers and reduced the amount components it imports from its US plant. As all of the parts previously sent from the company’s North American operation arrived in a fully inspected condition, to enable all brought-in European components to be 100% inspected HydraForce needed to increase its quality control capacity in the critical area of highly precise bore geometry measurement.

“This situation was further compounded as we have recently considerably increased our bore honing capacity,” says Mohammed. “To help overcome these potential difficulties I searched for a suitably accurate and efficient profile measuring instrument. Having studied the available models from three leading metrology manufacturers I came to the decision that Accretech’s RondCom NEX CNC instrument was the most capable option.

“As the RondCom NEX is relatively easy to operate, following operator training our new Accretech profile measuring instrument soon proved its high-precision capabilities across all bore parameters,” he continues. “Since we are now able to recall pre-written programs and start fast, highly-accurate bore inspection routines, our RondCom NEX is making a significant contribution to the efficient operation of our quality department.”

For further information
www.accretech.eu

Investment improves inspection capability

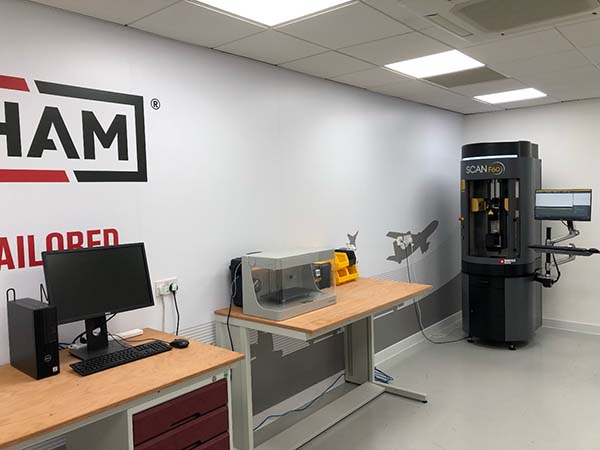
Boneham & Turner has increased its ability to offer more complex parts within its tooling and precision-engineered component operations thanks to its investment in a Sylvac Scan F60L optical measurement machine supplied by Bowers Group.

A fourth-generation, family-owned precision engineering solutions provider established in 1918, Boneham & Turner serves the aerospace, defence, motorsport, composite and yellow goods industries by manufacturing and supplying drill bushes, dowel pins, simple and complex shims for the manufacture and assembly of jigs and fixtures, work holding, hydraulic systems and machine building.

With previous processes in place, the company needed to decline work, not due to the complexities of manufacturing parts, but limitations on inspection. The inspection of micro-pins had always proven to be a time-consuming challenge for the production and quality teams.

To improve its inspection capabilities, Boneham & Turner applied for funding through the ‘Aerospace Unlocking Potential’ project, provided through the European Regional Development Fund Revenue Agreement, to help fund the purchase of the Sylvac Scan equipment.

Used by quality personnel, machine operatives completing first-off checks, as well as the engineering team for samples and R&D, the Sylvac Scan F60L measures even the most demanding of cylindrical parts.

Stacy Denton-Beaumont, operations manager at Boneham & Turner in Sutton-in-Ashfield, says: “The Sylvac Scan F60L has vastly improved our scope of metrology. As an AS9100 Rev D certified manufacturer, we pride ourselves in offering outstanding quality to our valued customers and core markets. With its Swiss precision engineering, the Sylvac Scan F60L offers an efficient, exact and effective inspection method, complementing the current catalogue of equipment here at Boneham & Turner.”

For further information
www.bowersgroup.co.uk