Bore gauges help DKW meet demand

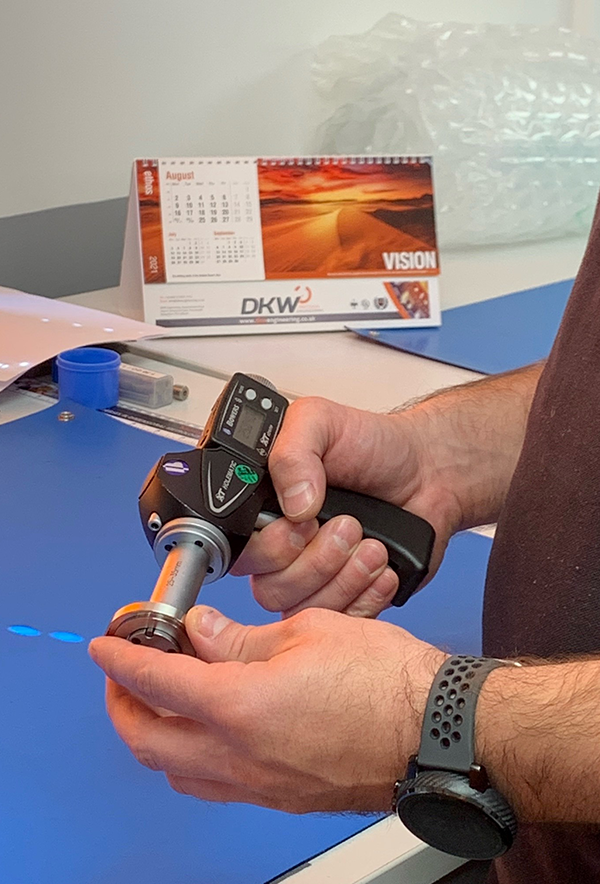
The quality team at DKW Engineering is using Bowers’ pistol grip bore gauges to ensure the quality of its machined components. As a subcontractor, DKW Engineering receives a constant influx of new jobs in addition to its more regular work. This demand means that the team faces new inspection challenges daily, depending on the type of work and the diversity of components that it manufactures.

Instead of buying new plug gauges to suit the demands of individual jobs, DKW Engineering decided to invest in a more flexible and cost-effective measurement solution in the bore gauges from Bowers Group. Used several times a day, the bore gauges are an integral part of the inspection process. Operatives on the shop floor also use the bore gauges to measure parts with particularly tight tolerances during the production process.

Vitalij Cernomorec, quality inspector at DKW Engineering, says: “We find the Bowers bore gauges much better than standard plug gauges; they’re far more versatile. As a subcontractor, the type and size of components vary, so it helps that we’re able to use the bore gauge to check a range of measurements, including series of step bores, all in one go. They’re quick and easy to use on the shop floor for in-process checks and we always trust the bore gauges; the accuracy is excellent.”

The digital pistol grip bore gauges offer an ergonomic design with a large, clear LCD display, IP67 electronics protection and proximity output featuring built-in Bluetooth, allowing bi-directional communication for flexible data acquisition and storage.

For further information
www.bowersgroup.co.uk

Tata Steel enhances quality with Mitutoyo

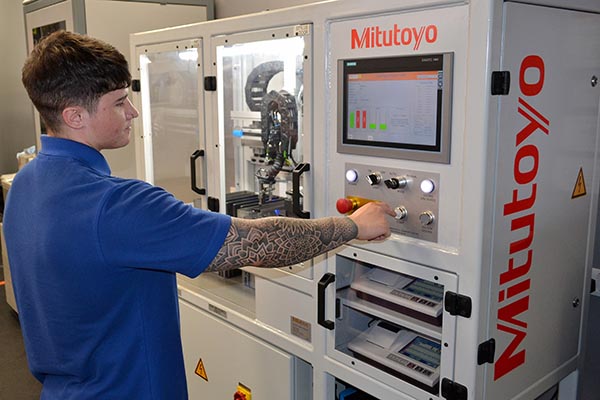
To ensure the consistent supply of first-class steel strip, the Port Talbot facility of Tata Steel performs regular quality control checks. In accordance with the plant’s quality policy and its pursuit of further efficiencies, a search was recently made for an automated surface finish testing system. The answer arrived in the form of a bespoke machine designed and installed by Mitutoyo Gauging Technology.

Tata Steel Port Talbot section manager metallurgical testing, John Lovegrove, says: “Although our previously used manual surface-finish testing method delivered accurate results, it was extremely laborious and, at times, we struggled to keep pace with the amount of tests required.

“Having decided that we needed to source a highly efficient, automated testing system, we approached three companies with a list of requirements,” he continues. “Not only did the staff of Mitutoyo Gauging Technology quickly understand our needs, they also suggested several other improvements to our wish list that would bring additional benefits. Furthermore, as the project evolved and we realised the potential of the new custom-built tester, we asked for a couple of extra design tweaks that the Mitutoyo staff incorporated.

“Now installed and fully operational, our bespoke Mitutoyo machine performs rapid, very accurate surface finish tests on both sides of our strip samples in a single-pass, slashing our inspection times.”

As surface finish testing is now a fully automated process, after loading a large batch of samples into the machine, the operator concerned is able to perform other duties while the new tester operates unattended.

“In addition to drastically reducing our surface finish testing times, as all relevant inspection data is now downloaded automatically, our new Mitutoyo system has removed the potential for errors when inputting inspection data,” says Lovegrove.

For further information
www.mitutoyo.co.uk

Business Minister in MTC visit

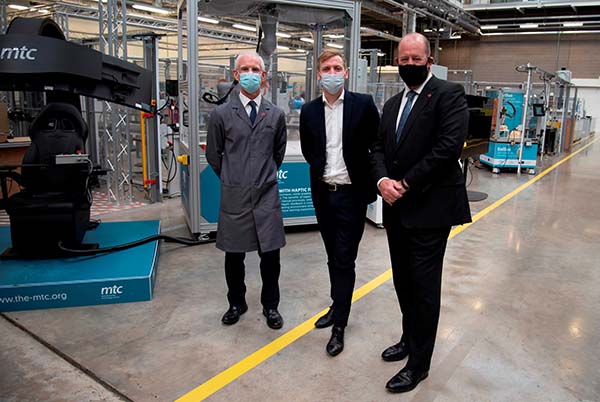
The Minister for Business and Industry, Lee Rowley MP, saw the latest technologies enabling modern methods of construction and advanced manufacturing when he visited the Manufacturing Technology Centre in Coventry. For instance, Rowley saw the development of the latest technologies to construct the buildings of the future, in particular schools, hospitals and prisons, using offsite platform-based construction. The minister has special responsibility for the construction sector, as well as advanced manufacturing, skills and infrastructure.

As a point of note, the MTC is a key member of the Construction Innovation Hub, a partnership of experts in manufacturing, digital, building performance standards and construction technology that drives innovation and technological advances in the construction and infrastructure sectors. The hub is working to create better outcomes for current and future generations by driving the adoption of manufacturing and digital approaches that improve the delivery, resilience and performance of infrastructure.

For further information
www.the-mtc.org

Norton opens new UK headquarters

Norton Motorcycles has officially opened its new headquarters at Solihull in the West Midlands. The 73,000 sq ft facility is complete with state-of-the-art equipment and the capacity to manufacture up to 8000 motorcycles per year. With the creation of many highly-skilled jobs, Norton has more than doubled in size and expanded its leadership team with all departments housed under one roof.

Inside the production area, new equipment and tooling improve the manufacturing processes for motorcycles, with every stage designed with quality and consistency in mind. In fabrication, the inspection of frame tubes takes place prior to polishing and in-house welding. Finally, the manual polishing of the frames gives them their complete finish and shine. Even more exciting, Norton now has its own in-house non-destructive and destructive testing laboratory.

For further information www.nortonmotorcycles.com

BOST gains from machine calibration solution

A well-established manufacturer of heavy-duty lathes and mills based in Gipuzkoa, Spain, BOST Machine Tools Co (BOST) is reducing machine set-up time by 50% and improving rotary axis accuracy with Renishaw’s XR20-W rotary axis calibrator and off-axis rotary software.

With an increasingly demanding market, BOST was facing the need to verify and improve the precision of rotary axes – the primary challenge being the calibration of rotary B axes. B-axis calibration is critical in five-axis machine performance verification to maintain quality, but due to the design of the rotary heads, it was not possible to mount equipment at the centre of these axes to confirm performance. BOST also wanted to improve the performance of C axes, which the company measured previously using a pentaprism system. This method offered no measurement flexibility; a 360° test is limited to capturing 12 positions at 30° intervals.

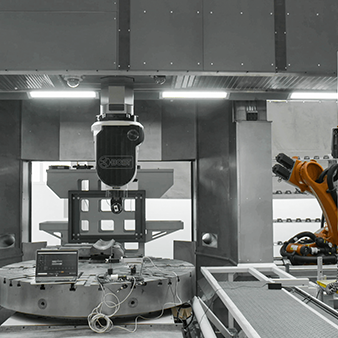
Renishaw engineers demonstrated the XR20-W rotary axis calibrator on various machines at BOST. The XR20-W offered complete flexibility with test method set-up. It became possible to configure tests with capture intervals and measurement ranges to suit the requirements of the axis in question. Furthermore, Renishaw’s off-axis rotary software allowed BOST to mount the XR20-W away from the centre of axis rotation, providing a simple solution for the calibration of rotary B axes. In fact, this flexibility enabled the company to see improvements in specification for both rotary B and C axes.

BOST decided to purchase the XR20-W rotary axis calibrator as it offered the best five-axis calibration solution for its requirements. When used in conjunction with the company’s existing XL-80 laser interferometer it provides high accuracy of ±1 arc seconds, easy set-up, and fast data capture.

For further information
www.renishaw.com