Rather than acquiring manufacturing plant on a piecemeal basis, the practice of companies purchasing and using machine tools of various categories from single, preferred vendors is now firmly established.

A case in point can be seen at Glenrothes-based A&D Precision Engineering. Engineering quality manager Harry Fernando explains: “In addition to reaping the benefits of favouring the products of certain manufacturers in each of the machine-tool categories we use, we have extended this way of working across all of our quality and inspection endeavours. As we consider that a component is not made until it is inspected, it makes sense that we treat quality and inspection as integral parts of our production processes.
“In the company’s early days we used metrology equipment from several sources,” he continues. “However, the reliability, accuracy and repeatability of our first Mitutoyo products and the excellent service we received from the company, meant that as the company grew, and our older metrology equipment needed to be replaced, we invariably invested in further Mitutoyo products. This has resulted in our measuring system inventory now consisting of 99% Mitutoyo equipment.
“We now use examples of Mitutoyo technology in all of our measurement and testing areas, from digital hand tools, through height gauges, vision equipment and surface roughness testing, to quality department and shop floor-based CMMs.”
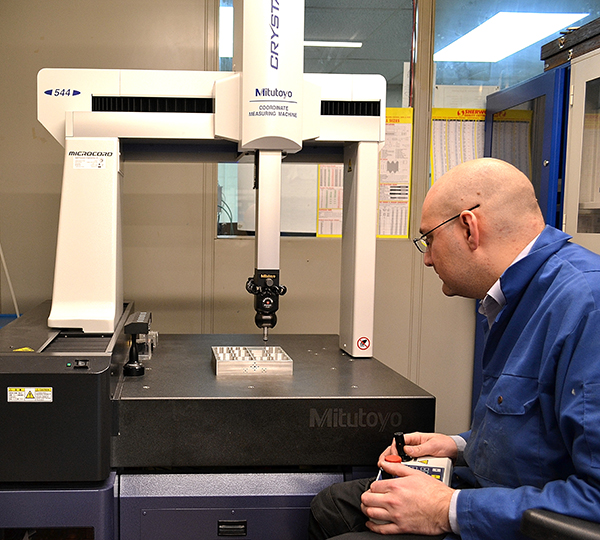
Just as A&D Precision Engineering uses premium quality machine tools that deliver high levels of accuracy and productivity, the company’s management expect the same levels of precision and efficiency from its inspection equipment. These critical requirements are reflected in the company’s latest Mitutoyo acquisition, a Crysta-Apex S CNC CMM.
“Following a trouble-free installation, the Crysta-Apex S is now delivering the promised levels of speed and accuracy,” concludes Fernando.
For further information www.mitutoyo.co.uk


