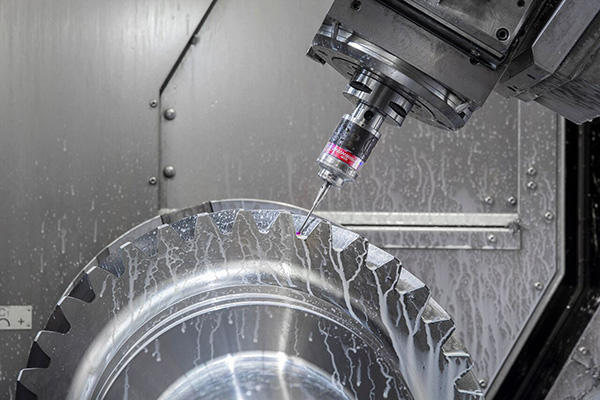
What can be done when the production machines for an essential component have been discontinued and the process simply takes too long? At Schuler Pressen AG, a manufacturer of pressing and stamping machinery, the decision was taken to find a new way of producing gears – using profile cutters. This is where Blum-Novotest’s TC64-Digilog scanning touch probe came into play. The probe enables the examination of the interlocking tooth and ensures that the process as a whole is consistent and verifiable.

At Schuler AG, gears for large press drive shafts were in the past produced with the aid of special gear-cutting machines. However, shaping the gears alone takes between 16 and 19 hours. Moreover, the machines are now obsolete.
The solution to this issue came in the form of milling the drive shafts on a turn-mill machine using a specially manufactured profile cutter. To reduce handling and improve quality and consistency, the company decided to carry out measurements on the machine.
The advantage of the Digilog touch probe is that it can perform both digital measurements as well as analogue scans. This means that it is possible to guide the probe over a surface and register measurement data continuously.
Complete cogwheel inspection consist of 144 individual measurements on a slanted track along the whole tooth flank. This includes 36 teeth with two flanks each in both halves of the double helical gear. The entire procedure only takes 13 minutes at a scan speed of 1.8 m/min. During this time, the Digilog touch probe records 570,000 individual measurement values. However, only the linear axes are used during the scan as this then excludes any errors of the rotary axes used for production.
For further information www.blum-novotest.com


