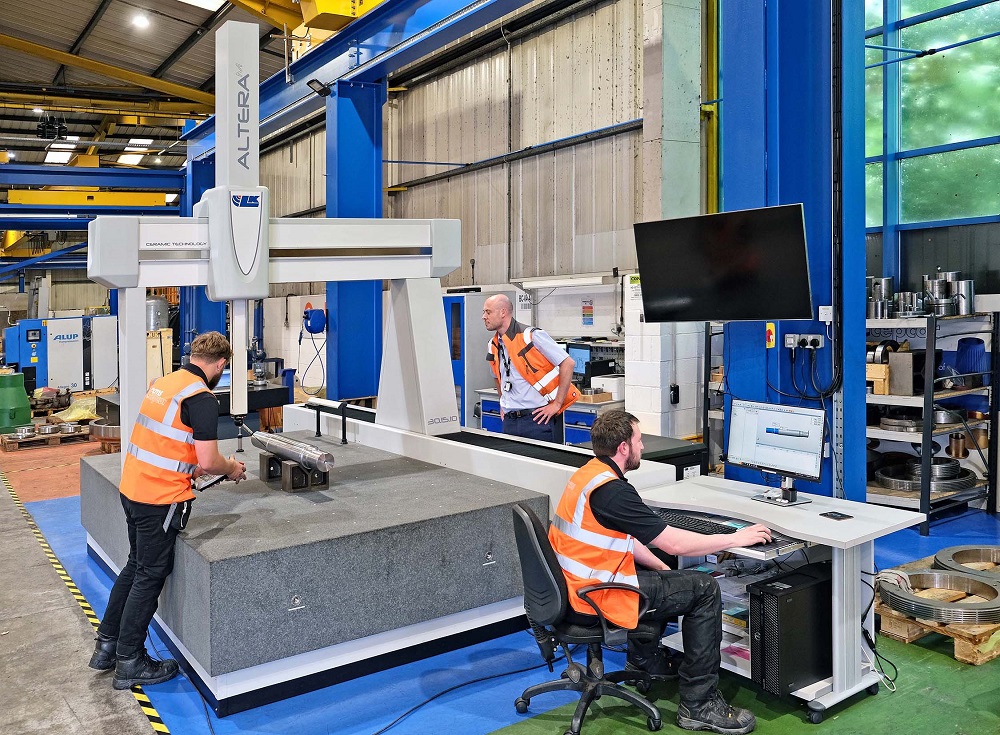
Founded in 1989 and headquartered in Coalville, Leicestershire, CMS Cepcor is a supplier of aftermarket crusher spares, manganese-steel wear liners and other equipment to the mining and aggregate production industries worldwide. In February this year, the company took delivery of its first CMM, enhancing the quality control of the products it manufactures or refurbishes to tight tolerances. Offering a nominal inspection volume of 3000 x 1500 x 1000 mm, the CMM is an Altera M built by UK firm LK Metrology.
Previously, CMS Cepcor had been using a pair of manually-operated, portable six-axis arms with 2.5 and 3m reach respectively to check components by touch-probing. This was a lengthy process and insufficiently precise to measure some parts without difficulty. For example, it was challenging to inspect bearing seats with tolerances down to 30 µm, shafts up to 500 mm in diameter which need accuracy within 20 µm, and various features on housings tied up to half that tolerance.
Consequently, there was a requirement to use micrometers and other traditional manual gauges to measure those dimensions, which was even more time-consuming and subject to operator-dependent inconsistencies. Additionally, some parts up to 400 mm in diameter by 700 mm long have eccentric tapers with tolerances down to as little as 15 arc-seconds, which were problematic to check manually.
Les Hickens, quality manager at CMS Cepcor, says: “The LK CMM has a maximum permissible first-term error of less than 2µm, so is able to measure even very large parts exactly and repeatably. It’s at least an order of magnitude more precise than a portable arm, giving us – and more importantly our customers – extra confidence in the results.”
More information www.lkmetrology.com


