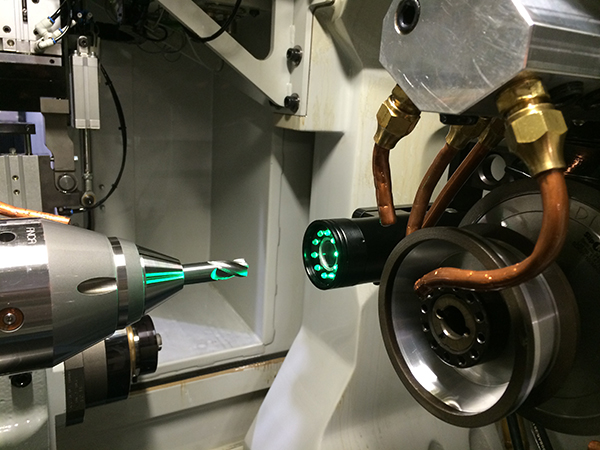
Anca’s iView now enables single set-up cutting-tool manufacture through the semi-automatic measurement and compensation of profile tools, end mills and drills.

A newly developed camera bracket increases the measuring capabilities of iView to inspect a tool’s end face, and measure land widths, lip distances and chisel angles, without the need for camera commissioning or qualification.
“To remain competitive in tool manufacturing, more and more businesses are looking towards automation or semi-automation,” says Thomson Mathew, Anca’s software product manager. “Taking the time to set up the infrastructure smartly is delivering significant business advantages, such as improved productivity, better access to machine data and lower production costs.
Tooling manufacturers use iView to take an image of the ground tool using the camera and then compare the data with an ideal overlay profile generated by the iView software, without having to take the tool out of the grinder. This capability means faster set-up time and better accuracy, as the ground tool is checked against the tool requirements in one clamping.
Accurate to 0.002 mm, iView allows the accurate comparison and measurement of the actual cutting tool against the profile. The technology automatically compensates the tool and, based on the overlay and profile error, it is adjusted and re-ground. This process also eliminates any accuracy loss that can occur when tools are transferred between grinding and measuring machines.
One iView camera can be used across multiple machines in Anca’s MX, TX and GX/FastGrind range. The latest bracket assembly, which is suitable for new and retrofit applications, allows the iView camera to be mounted horizontally, inside machine.
For further information www.anca.com


