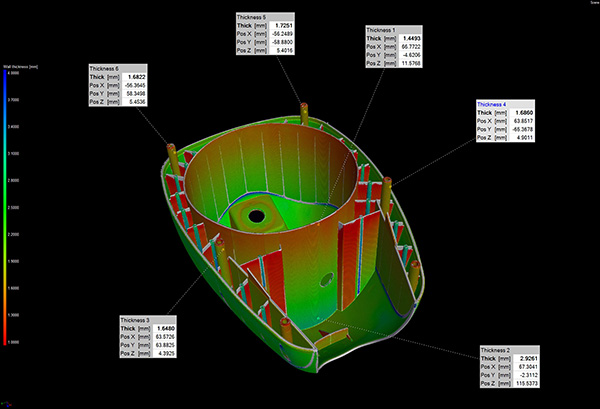
Heavy-duty industrial lighting manufacturer Nordic Lights is using computed tomography (CT) to avoid the expense of destructive testing and eliminate critical measurement errors caused by powder spraying for part preparation.

To supersede the company’s previous white light system, a new measurement solution was required capable of dealing efficiently with a variety of materials as well as both internal and external feature inspection. The Nordic Lights team consulted various suppliers to determine the best solution. A Nikon CT machine, XT H 225 ST, with dual reflection and transmission targets, has since been installed to inspect and approve components before assembly.
The primary purpose of the CT system is to validate samples from suppliers, as well as new parts and modified components from new moulds. A secondary purpose is troubleshooting. During the test phase, if there are any failures, complete assemblies can be scanned to identify the cause without having to open or destroy the product. The system has, for example, been used to search for air pockets or voids in the silicone glue between the aluminium housing and the lens of a light that has suffered water leakage. This would not have been possible with the white light system.
Test engineer Carl-Anton Manns, who took part in the search for a new inspection system, says: “The instrument needed to be able to analyse smooth reflective surfaces with high precision, which the XT H 225 ST does with repeatable accuracy. Being a non-destructive process was also a big plus point.”
For further information www.nikonmetrology.com


