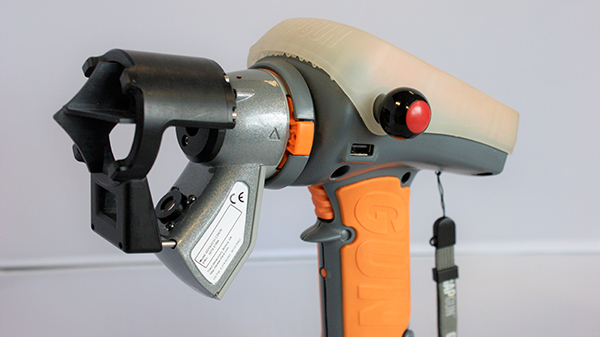
Third Dimension has launched a countersink measurement solution for its GapGun range.

Said to be the first of its kind on the market, the solution can calculate the dimensions of a countersink hole to accurately predict the flushness of fasteners once fitted. What’s more, the innovation can operate in real time on the production lines of aircraft, cars and vans, and in energy and marine markets.
Last year, in the commercial aerospace industry alone, some 1481 planes were manufactured with a total estimated 296 million countersinks. The average requirement is to measure 5% of each aircraft’s 200,000 countersink holes, meaning 10,000 countersink holes would have to be measured for every commercial aircraft produced. Done manually, these checks rely heavily on the competencies of the operator and are extremely time consuming. Conversely, Third Dimension’s patented systems takes just a couple of seconds per measurement, with no possibility of operator error.
The GapGun Countersink Inspection System enables the prediction of fastener flushness much faster and more accurately than mechanical gauges, with the addition of an auditable data trail. Importantly, tolerance bands can be preset, against which the measurement is recorded, before the result can be read on screen or automatically sent to a PC to enable comparison and analysis.
Countersinks are notoriously difficult to measure; one of the main challenges for manufacturers is finding a way that considers how to calculate the centre of the hole. The Third Dimension solution addresses this issue with a specially designed stand-off integrated into the sensor that enables the system to calculate the hole centre and therefore check the required dimensions before the fastener is fixed in place.
For further information www.third.com


