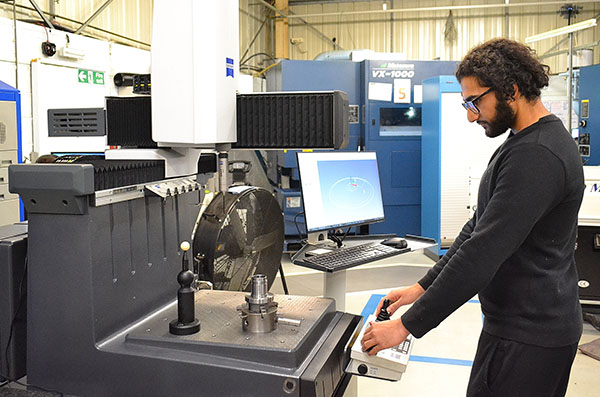
Gibbs Gears produces high-precision gears, shafts and machined components for sectors such as aerospace, motorsport, medical, marine and electric vehicles. In keeping with its enduring quality philosophy, the Stoke Mandeville based business regularly updates its equipment in this critical area. The latest additions to Gibbs Gears’ quality control aids are two newly installed Zeiss CNC CMMs.
As an enthusiastic user of a Zeiss DuraMax CMM for many years, the company placed an order for a Zeiss Contura CMM for use within its temperature-controlled quality department and a latest-generation Zeiss DuraMax CNC CMM for use on the shop floor. Both machines feature rotary tables to provide 4th-axis capabilities and the ability to undertake complex, high-precision gear inspection routines.
Chief inspector Rob Jackson says: “Having enjoyed trouble-free operation from a DuraMax CMM and excellent service from Zeiss UK for the past eight years we have a natural bias towards the brand. However, given the potential major outlay and importance of accurate CMM inspection to our quality function, we also looked at alternative options.”
The Zeiss Contura CNC CMM is now helping to ensure the rapid completion of high-precision, complex inspection routines in Gibbs Gears’ busy inspection department. Notably, the machine is Industry 4.0 ready thanks to the use of a common interface. Gibbs Gears’ inspectors can therefore switch between different sensor technologies, such as optical or tactile probes, in just a few simple steps. The DuraMax is equipped with the VAST XXT scanning sensor so, in addition to undertaking all customary inspection routines, the adaptable CMM can also capture contours and freeform surfaces.
“The impressive speed and accuracy of our new Zeiss CMMs has enabled us to meet the challenges of increased precision and significantly reduce our inspection times,” concludes Jackson.
For further information
www.zeiss.co.uk


