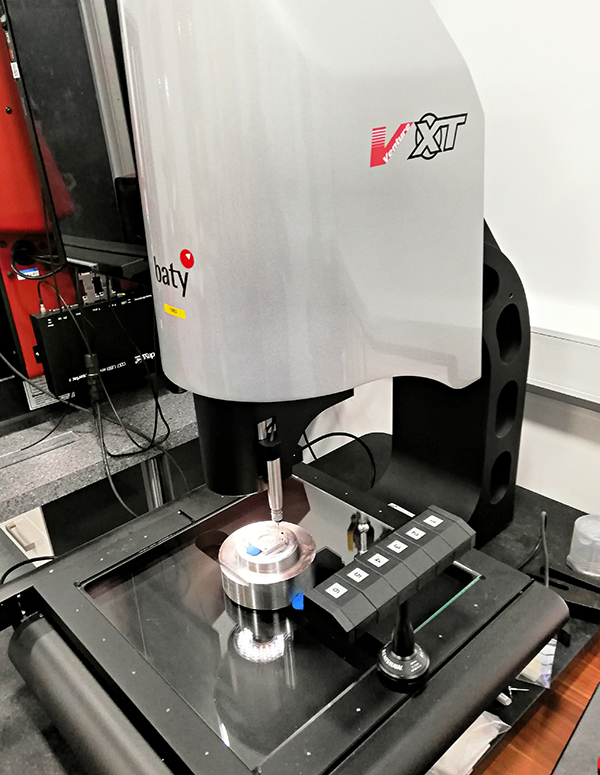
Williams Aerospace Engineering has invested in a Baty Venture XT CNC vision system to measure critical precision-machined components manufactured at its facility in Northam, Southampton, where tolerances in turning, milling, grinding, honing and gear/spline cutting are often 0.002 mm.
One of the biggest challenges facing Williams Aerospace Engineering was the amount of time it took to measure components and collate all the data for its customers. By way of example, for a client with particularly high measurement requirements, it would take the quality department 1-2 days to measure the positions of two holes on a batch of 100 cover plates, in addition to entering data on an Excel spreadsheet.
Since investing in the Baty Venture XT CNC vision system, this measurement process takes just 2 hours, which is a massive 96% increase in measurement efficiency. The inspection team at Williams Aerospace Engineering is able to load the fixture to the machine, insert a part, recall the program and teach the datum position, completing the same batch of 100 parts within this much shorter timeframe.
David Fripp, managing director at Williams Aerospace Engineering, says: “The Baty Venture XT helps to ensure our product quality by giving us a more consistent and repeatable measurement method. Once we have a new program, the Venture is far more accurate than our old manual CMM, which is reliant on the points taken by the operator moving the probe by hand, rather than the CNC control on the Baty system. It is very easy to use and the camera resolution is far more accurate than a standard projector using surface illumination.”
For further information
www.bowersgroup.co.uk


