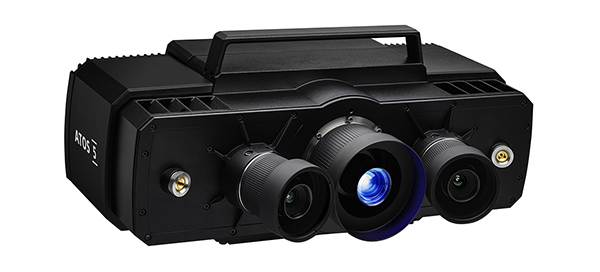
An optical measuring machine – the ATOS 5 for Airfoil – has been unveiled by GOM that is particularly suited to small parts and complex freeform surfaces. The sensor is designed for the inspection of aerofoil components like turbine blades, nozzle guide vanes or blisks in the aerospace and power-generation industries.
GOM’s ATOS 5 for Airfoil expands the ATOS 5 series in the measuring area for small parts. This machine adds to the existing all-rounder ATOS 5, which performs a range of tasks in measuring areas from 170 to 1000 mm in length, and the ATOS 5X, which is effective when used for large surfaces and parts due to its strong, focused light. The ATOS 5X demonstrates its applicability in sector’s such as automotive, where even entire car bodies can be digitised quickly.
Following the launch of a 3D measuring machine for small parts with a size of 100 x 70 sq mm to 400 x 300 sq mm, GOM closes the gap in the lower measuring area. At the same time, the ATOS 5 for Airfoil is particularly suited to the inspection of turbine components produced for the aerospace industry, like blades, blisks and air-conducting structures. The complex edges and surfaces on such parts have been a challenge during 3D digitisation, until now. The ATOS 5 for Airfoil sensor is also said to excel during the maintenance and repair of nozzle guide vanes. The costs associated with the MRO sector are large – replacing turbine blades can exceed €10,000. Using ATOS technology, partnered with techniques such as additive manufacture and adaptive machining, can lead to considerable savings.
For further information www.gom.com


